transfer_files
#Transfer Files to SOCET SET Workstation
From the ISIS processing machine, we need the following files generated by the hi4socet.pl and hidata4socet.pl scripts for each image in the
ISIS pre-processing stage:
-
<ProjectName>/<imgdir>/<noproj_img>/*.raw: The distortion corrected images in 8-bit raw format -
<ProjectName>/<imgdir>/<noproj_img>/*_keywords.lis: The associated SOCET SET USGSAstroLineScanner keywords files, and -
<ProjectName>/<imgdir>/<noproj_img>/campt*.prt: The campt report associated with the image.
If your plans are to control the stereo pair to MOLA, you will also need the following files generated by the hidata4socet.pl script in the ISIS pre-processing stage:
-
<ProjectName>/MOLA_DTM/*.asc: The MOLA DTM as an ARC Grid. -
<ProjectName>/MOLA_TRACKS: The entire MOLA Tracks directory which contains the files associated with the Shape file.
It is strongly recommended that the *.raw, *keywords.lis and campt*.prt files (items 1, 2 and 3 from the above list) be copied into a subfolder named ISIS in the project’s images folder on the SOCET SET machine (e.g., E:\\IMAGES\\<ProjectName>\\ISIS), and the MOLA data files (items 4 and 5, above) be copied into the project’s data folder (e.g., D:\\DATA\\<ProjectName>).
- Bring up Windows Explorer and navigate to
E:\\IMAGES\\<ProjectName>. - Create a folder in
E:\\IMAGES\\<ProjectName>and name it ISIS.

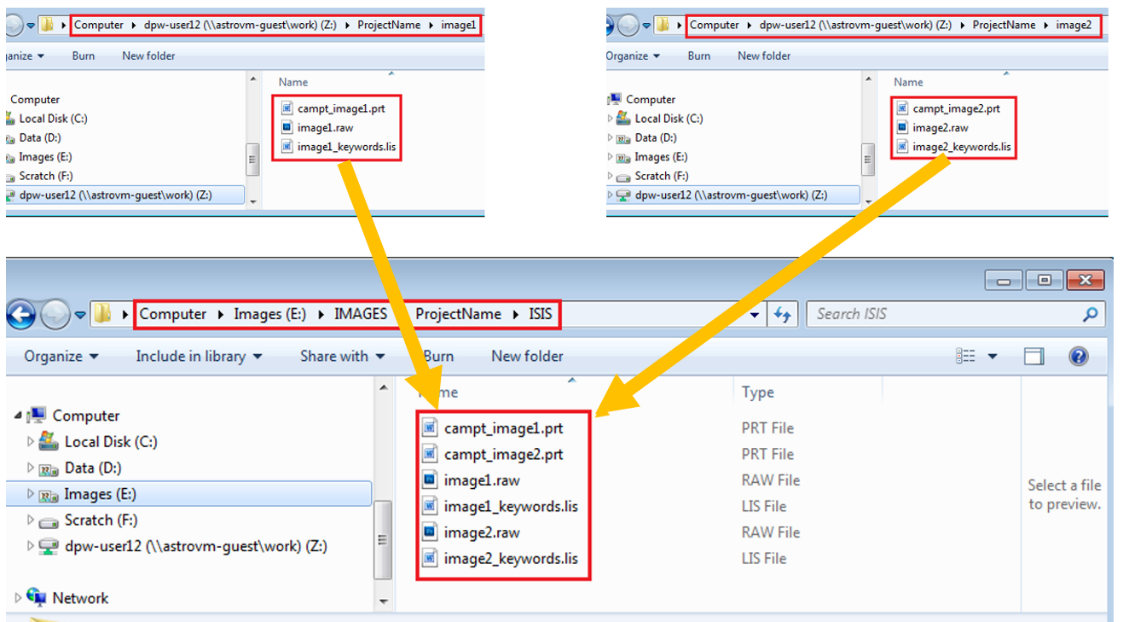
- Navigate into
E:\\IMAGES\\<ProjectName>\\ISIS. - Open a second Windows Explorer window, and navigate into
Z:\\<ProjectName>\\<image>. - Copy the
campt_<image>.prt,<image>.rawand<image>_keywords.lisfiles intoE:\\<ProjectName>\\ISIS. Repeat for all images processed inZ:\\<ProjectName>. - Note that there are no subfolders under
E:\\<ProjectName>\\ISIS.
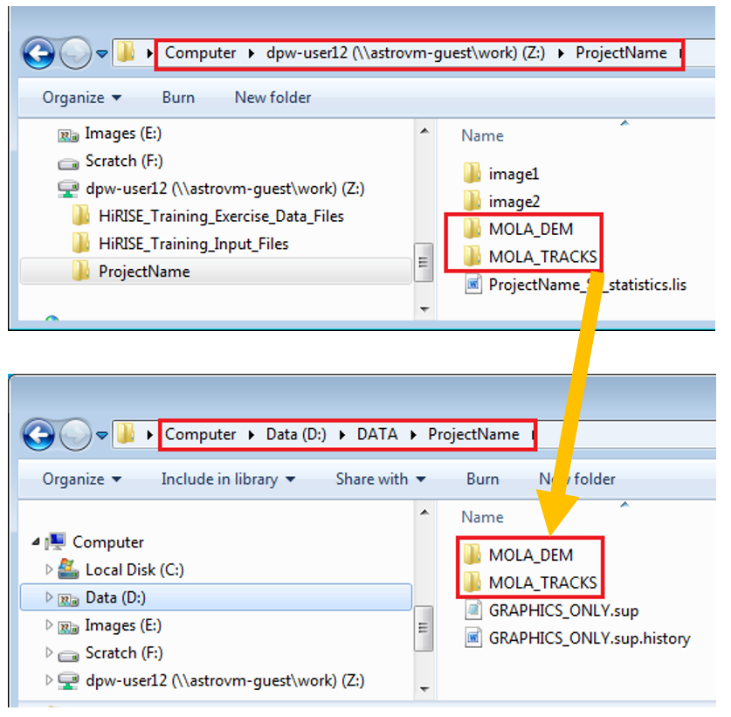
- Navigate into
D:\\DATA\\<ProjectName>. - Open a second Windows Explorer window, and navigate into
Z:\\<ProjectName>. - Copy the
MOLA_DEMandMOLA_TRACKSfolders fromZ:\\<ProjectName>intoD:\\DATA\\<ProjectName>.