-
Notifications
You must be signed in to change notification settings - Fork 12
generate_dtm
For HiRISE, both NGATE and AATE are used to generate a one meter post DTM. In stereo pairs with substantial relief, and when the stereo images are controlled to the MOLA (either from the Vertical Adjustment or the Absolute Orientation), we use the MOLA DTM as a seed file. This closer approximation to ground-truth greatly increases success of the matcher. In stereo pairs of flat terrain, seeding with MOLA is not necessary.
-
From the SOCET SET menu bar, select
File > Load Images.
-
In the Image Loader window, select
<image1>_lfor the Left image, and<image1>_rfor the Right Image.
-
Under
View Control Panelsettings: Ensure thatView = 1and thatLoad Pointis selected.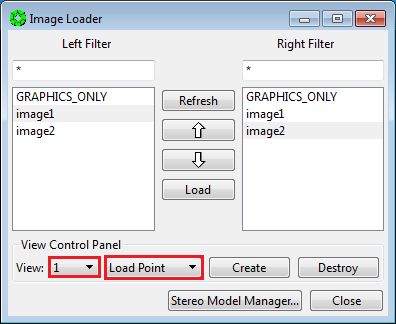
-
Press
Load.
-
Press
Close.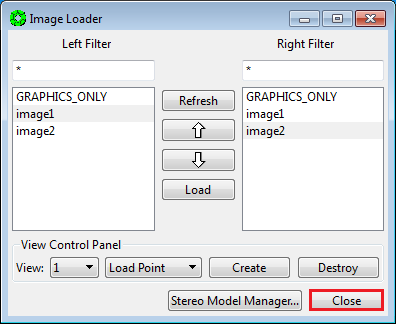
From the SOCET SET menu bar, select Extraction > Terrain > Next Generation Automatic Extraction.

-
In the NGATE window, select
File > Create DTM. (This will bring up the Create DTM window.)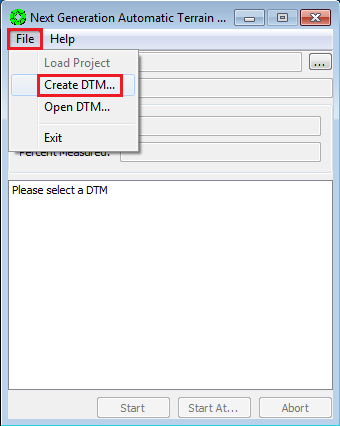
-
In the Create DTM window, press the box next to the DTM field.
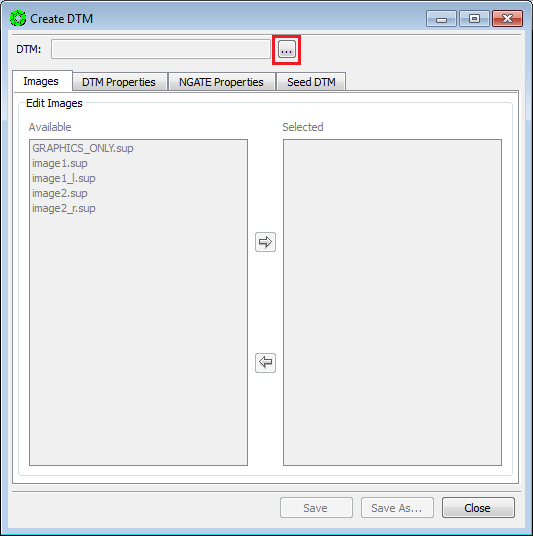
-
In the Select a DTM window, hand enter the name of the DTM to be created as
<ProjectName>_NGATE_1m. Then pressOK.
-
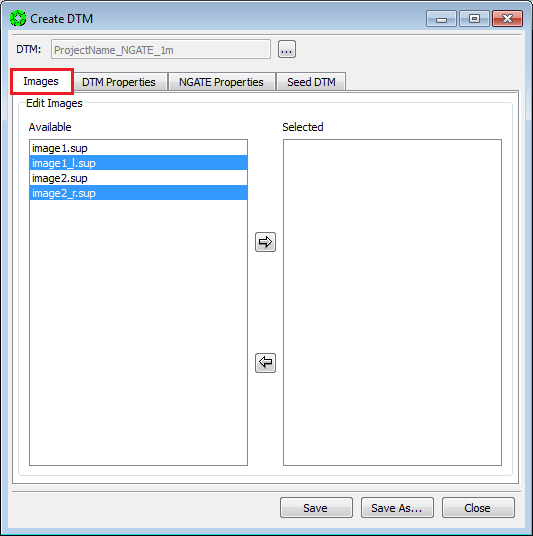
In the Create DTM window: Stay in the Images Tab.
-
Under Edit Images, select the epipolar rectified images in the
Availablelist and move them toSelectedlist via the arrow button. (The epipolar rectified images have_land_rappended to the image name.)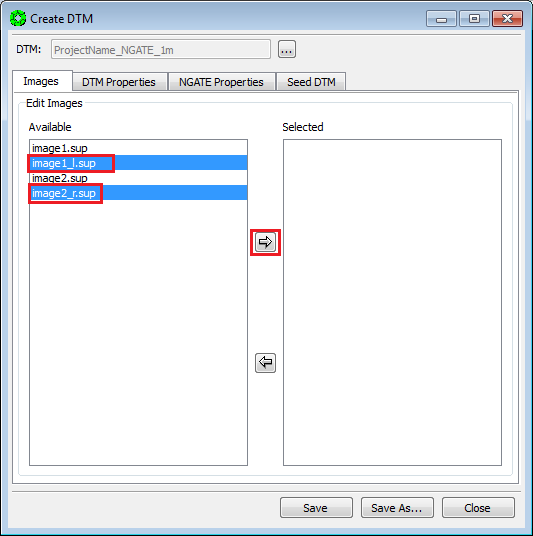
-
In the Create DTM window: Press the
DTM Propertiestab.
-
Set the X Spacing and Y Spacing to 1.0: Double click in the spacing fields, enter 1.0, and press the enter key.

-
Press
Draw Polygonto define the DTM Boundary.
-
A Draw polygon window will pop-up on the stereo monitor. Move the window over to the console monitor.

-
Draw the polygon as follows:
a. Use the TopoMouse to define the polygon:
The Left Mouse button measures/samples points. The Right mouse button closes the polygon.
Note: the first point of the polygon will display ONLY after a second point is measured.
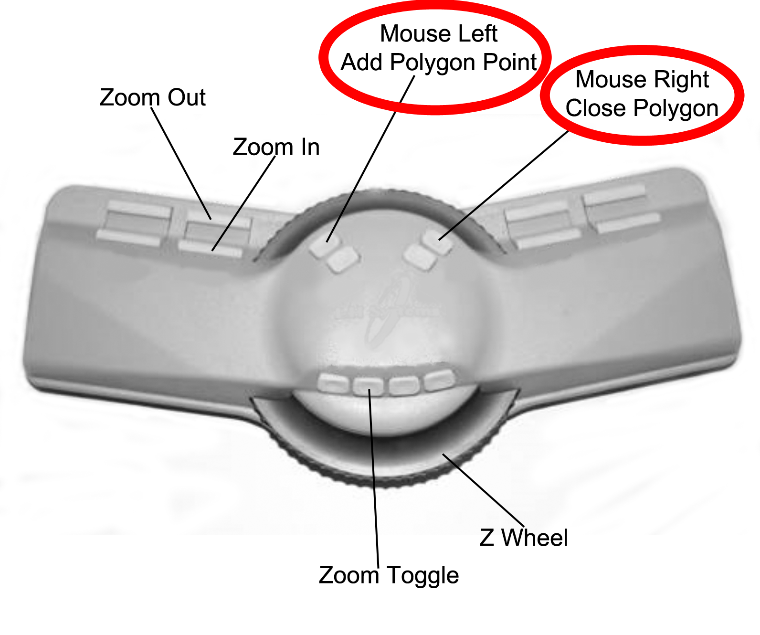
b. Make sure each DTM Boundary point is on the ground.
c. For stereo pairs of flat terrain, 4 corner points plus 2 points halfway down in the flight direction will suffice.
d. For stereo pairs of steep terrain, measure a DTM Boundary point at ‘major’ min/max elevations (i.e., at the rim of a large crater, at the crater bottom, etc.)
e. Establish the boundary within the stereo coverage by ~50 pixels. To estimate this distance:
i. Bring up the Cursor Editor (under Preferences), and change the Cursor size to 17.
ii. Move to where you want to place a boundary point.
iii. Set the image Zoom to 4:1.
iv. Aligned the cursor with the edge of the stereo coverage, then sample/measure the point.
-
Press the
NGATE Propertiestab.
-
Press
Strategies…to bring up the list of available NGATE strategies.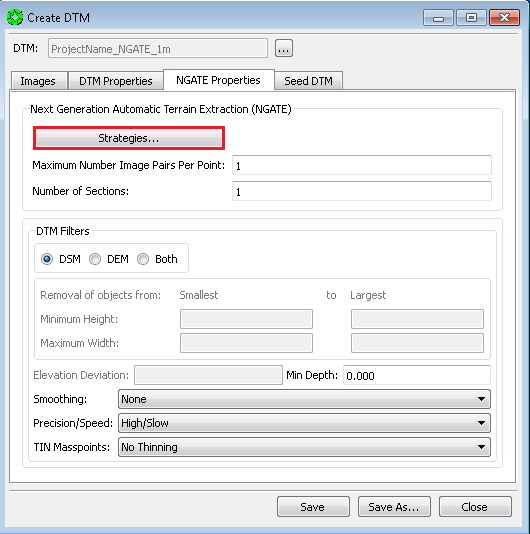
-
In the NGATE Strategies window, select
ngate_HIRISE.strategyin theAvailablelist and move it toSelectedlist via the arrow button. Then pressClose.
-
Press the
Seed DTMtab.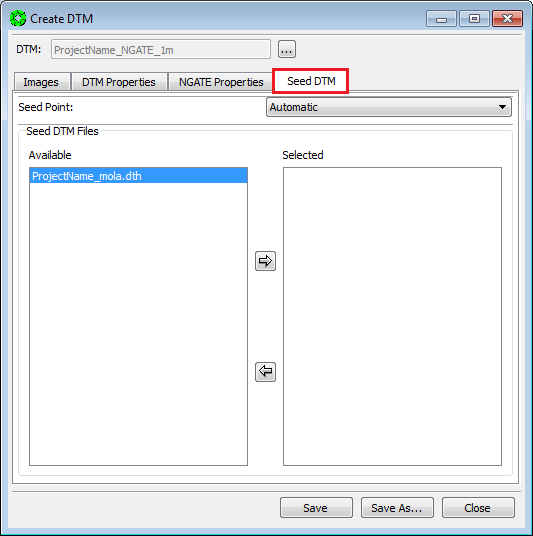
-
Select
<ProjectName>_mola.dthin theAvailablelist and move it to “Selected” list via the arrow button.
-
An error message will pop-up to change the
AUTOMATIC_RSETvalue. PressOK.
-
Left-Click on the down arrow next to the Automatic option to display a drop-down box of options and select
RSET64.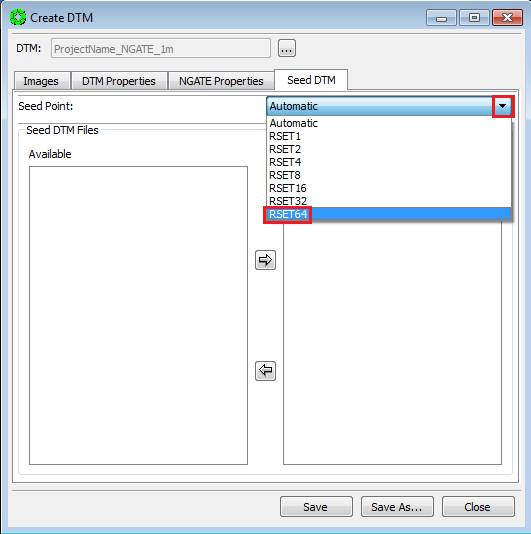
-
Finally, press
Saveto write an initialized DTM to disk. The Create DTM window will automatically close.
NOTE: NGATE will take hours to run when extracting a DTM of the entire HiRISE stereo model. For Guest Facility Users, or others, doing production work, see Appendix: A 5.2 NGATE and AATE Batch Processing for how to run NGATE in batch.
-
Press
Starton the NGATE window.
-
Upon completion of NGATE, select
File > Exit.
-
From the SOCET SET menu bar, select
Extraction > Terrain > Interactive Edit.
-
Open the newly created NGATE DTM:
a. Press the
Open DTMicon in the ITE window to bring up the selection window.
b. Select
<ProjectName_NGATE_1mfrom the DTM list. Then pressOK.
-
On the ITE window, Select File > Save DTM As…`.

-
In the selection window, hand enter the name of the output DTM as
<ProjectName>_AATE_onepassAfterNGATE_1m. Then pressOK.
-
On the ITE window, select
File > Exit.
Edit <ProjectName>_AATE_onepassAfterNGATE_1m.dth to convert it
to AATE format. (This is the DTM header file, located in the project’s
data folder/directory.)
-
Bring up Windows/File Explorer.
-
Navigate to
D:\\DATA\\<ProjectName>. Right-Click on<ProjectName>_AATE_onepassAfterNGATE_1m.dthand select a text editor. At USGS, use SciTE editor.
-
Make the following Edits:
a. Set
ATE_METHODtoADAPTIVE.b. Delete
ATE_STRATEGIESline.c. Delete
ATE_SEED_DTMsline.d. Set
MATCH_OPTIONtoDOUBLE_MATCH.
-
Select
File > Save.
-
Select
File > Exit.
-
Close the Windows/File Explorer window.
Replace adapt.strat with adapt.strat.onepassAfterNGATE.strat in the
<install_path>\\internal_dbs\\DTM_STRATEGY folder:
-
Bring up a Windows Explorer window.
-
Navigate to
C:\\SocetSet_5.6.0\\internal_dbs\\DTM_STRATEGY. -
Right-Click on
adapt.stratand selectDelete.
-
Right-Click on
adapt.strat.onepassAfterNGATE.stratand selectCopy.
-
Right-Click within the folder and select
Paste.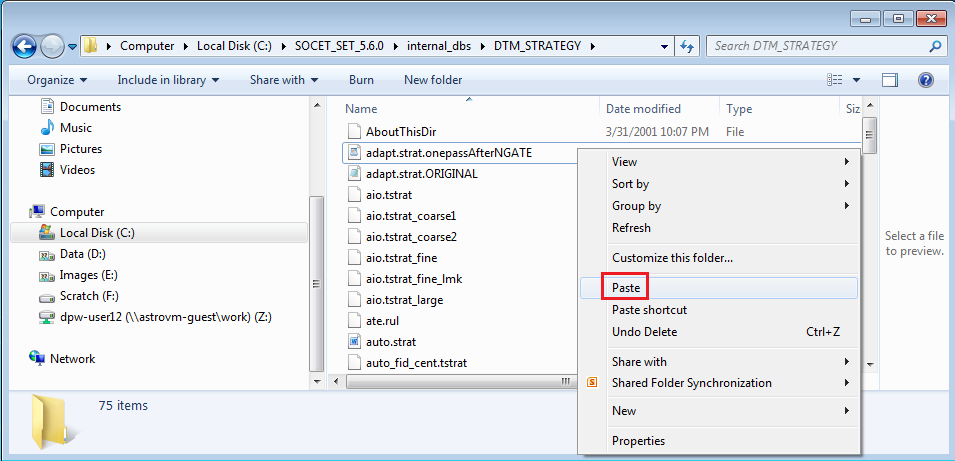
-
Right-Click on
adapt.strat– Copy.onepassAfterNGATE and selectRename.
-
Rename the file
adapt.strat.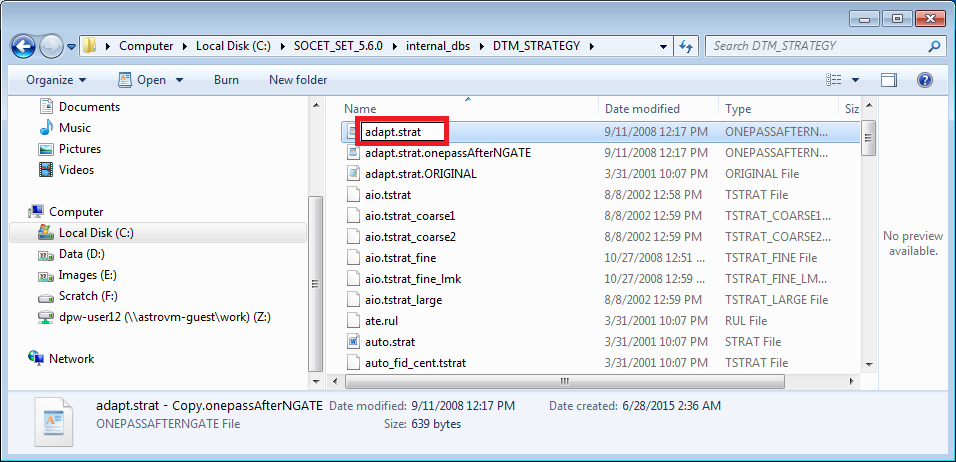
-
Confirm change in extension (press
Yes).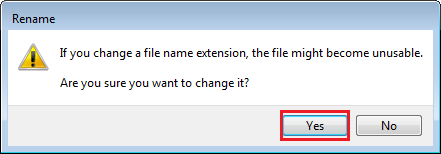
-
Close Windows/File Explorer window.
From the SOCET SET menu bar, select Extraction > Terrain > Automatic Extraction.

###Load NGATE DTM for AATE process
-
From the AATE window, select
File > Open DTM….
-
Select
<ProjectName>_AATE_onepassAfterNGATE_1min the selection window. Then pressOK.
NOTE: AATE can take approximately one to two hours to run when using the “onepassAfterNGATE” strategy. For Guest Facility Users, or others, doing production work, see Appendix: A 5.2 NGATE and AATE Batch Processing for how to run AATE in batch**.**
-
Press
Starton the AATE window.
-
Upon completion of AATE, select
File > Exit.