Running NeuroMorphoVis
NOTE: The following steps are tested on Windows 10, Ubuntu and RedHat only.
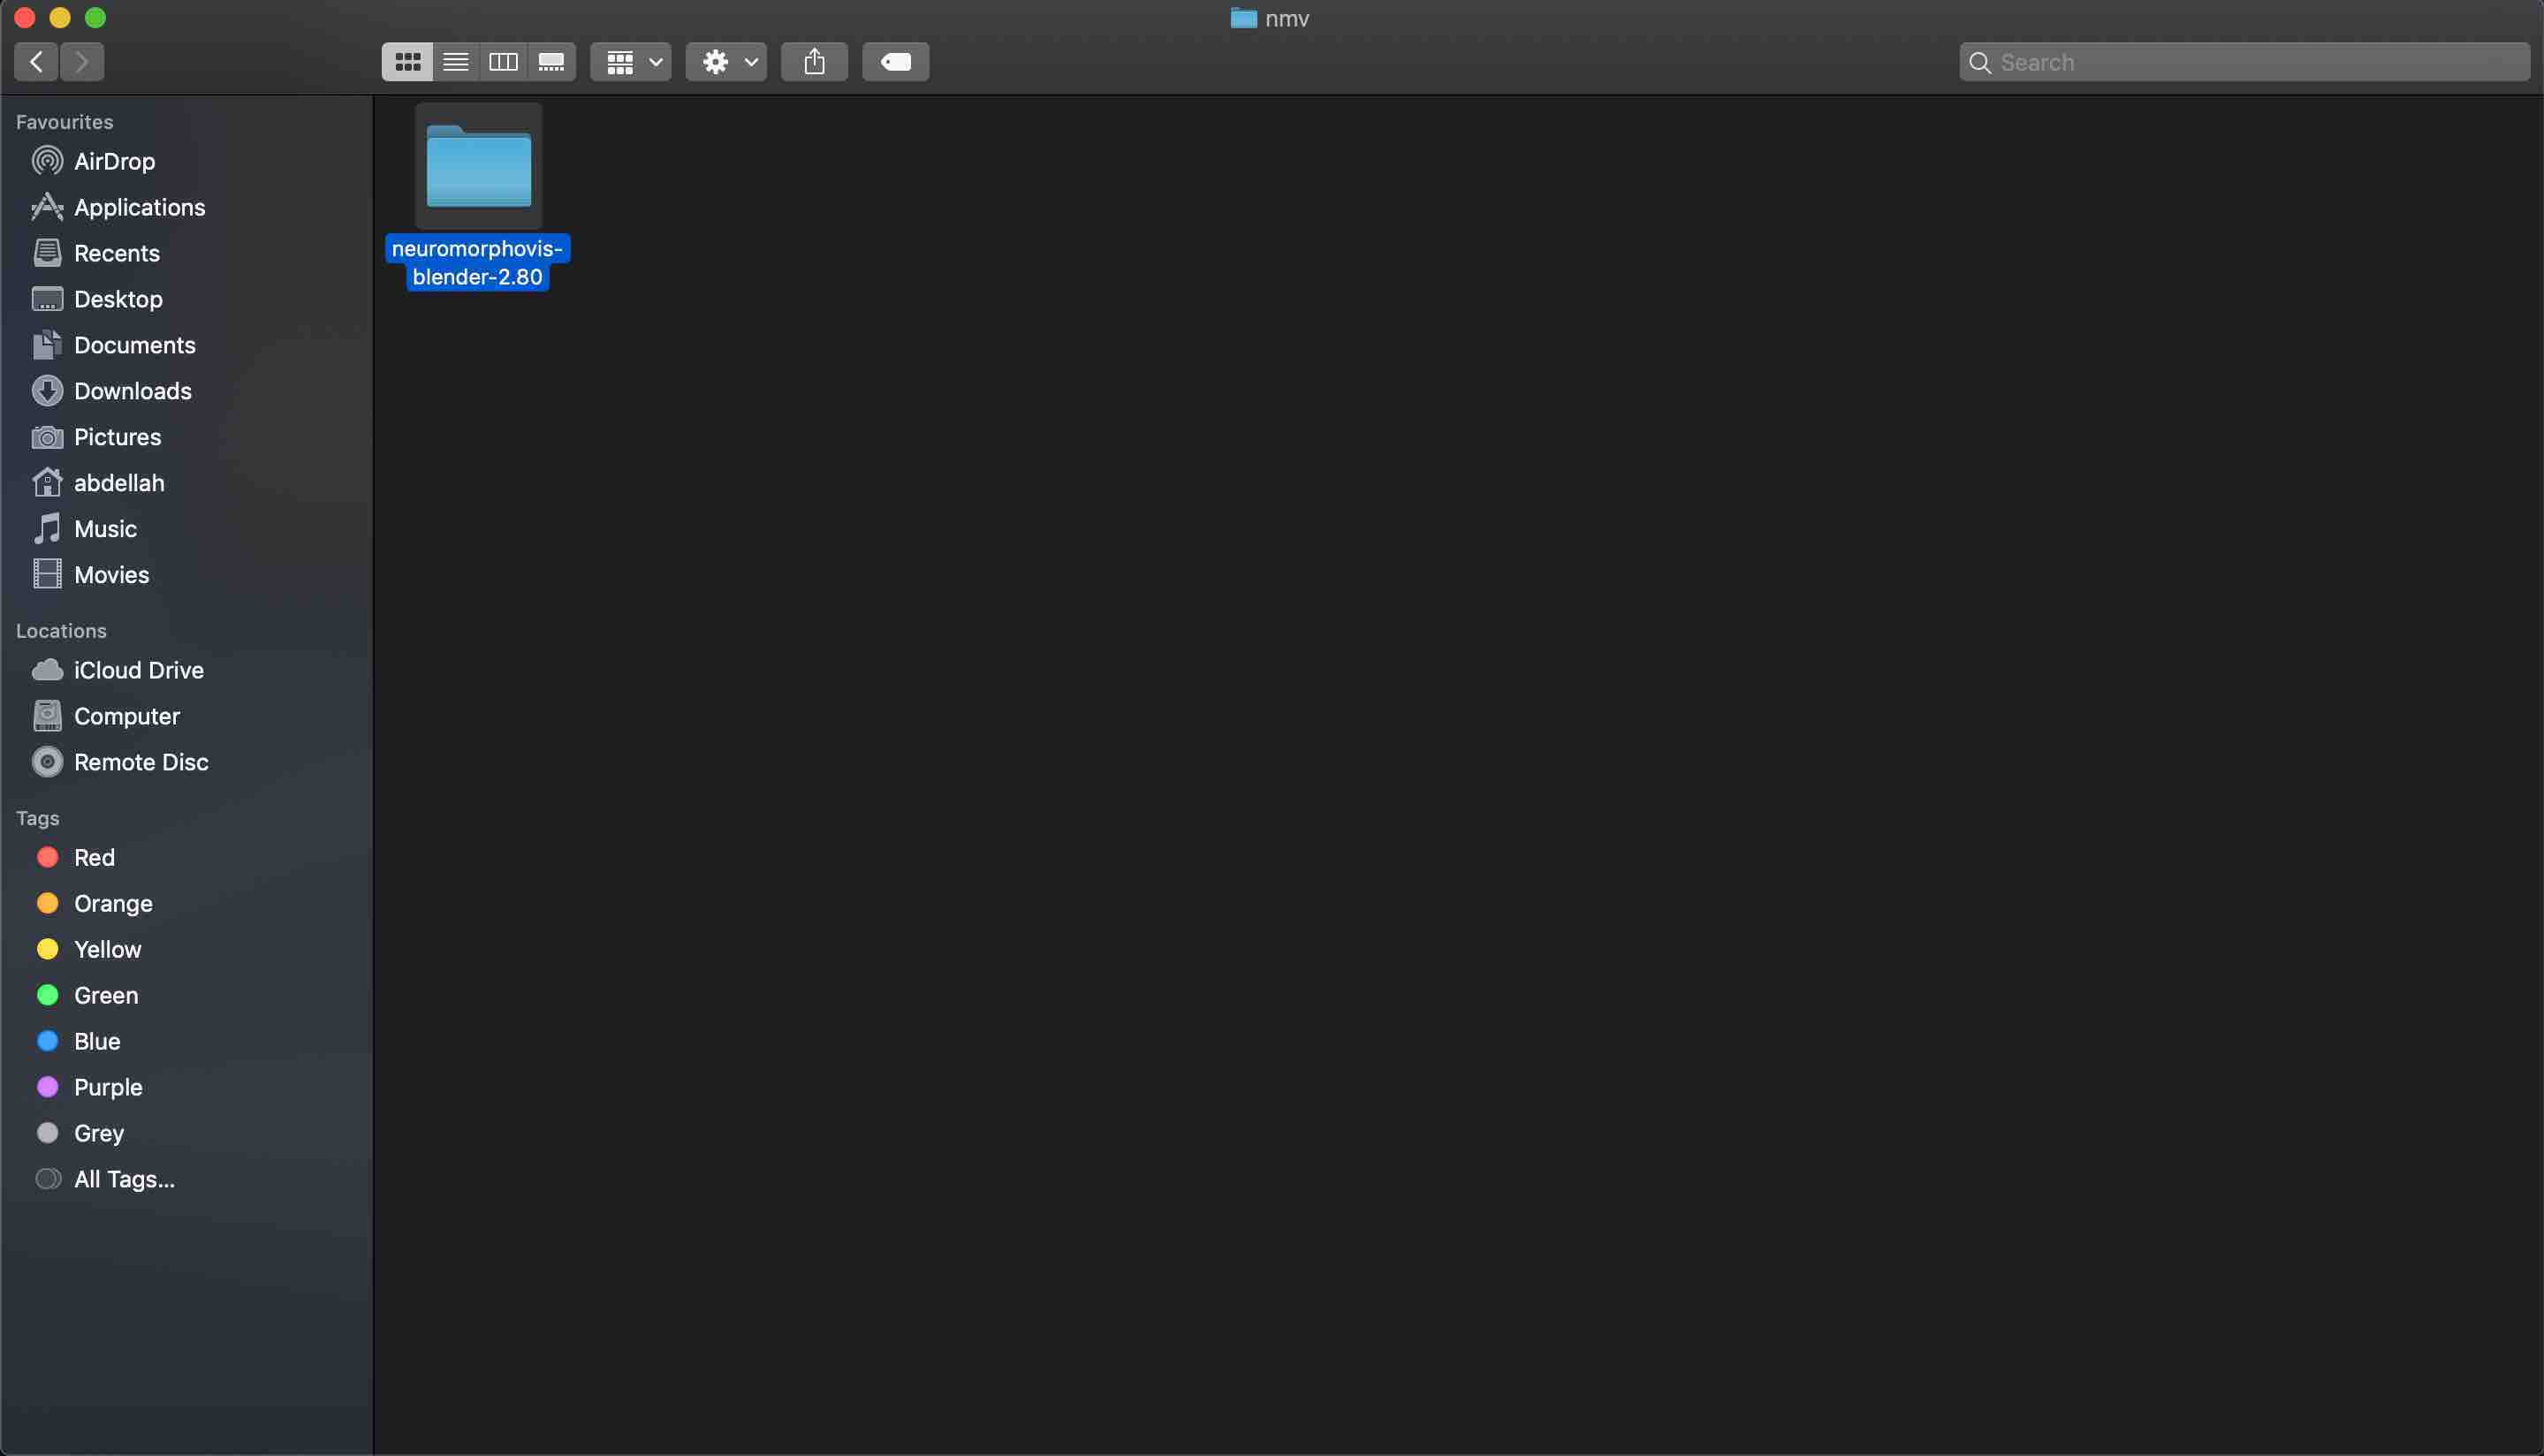
- Open the directory where you downloaded and extracted your package.

NOTE: The package will be extracted in a directory whose name contains the version of Blender, for example, if users select installing NeuroMorphoVis with Blender 2.80, the directory name will be
neuromorphovis-blender-2.80.
-
Afterwards, open the Blender directory
blender-neuromorphovis. -
Double click on the blender executable.

- The user interface of Blender will pop up on your screen. At this moment all you have to do is to load the add-on.

- Go to the Edit menu and click on it. The select Preferences, which is the last element in the menu.

- The Blender Preferences panel will pop up. From there, click on the Add-ons button on the left.

- Load NeuroMorphoVis by clicking on the 3D View: NeuroMorphoVis add-on. If the checkbox is ticked, this means that NeuroMorphoVis is loaded in Blender. Then close the Blender Preferences panel.

- Once you click the N key on your keyboard, NeuroMorphoVis tab will appear on the right side of Blender (only for Blender 2.8X or later, otherwise it will appear on the right).

- Click on the Morphology File dialogue button to select an input morphology and then click on the Load button, et viola.

- After loading the morphology, you can switch between the different toolboxes (or panels) to perform different operations on the morphology (analysis, visualization, rendering, meshing, etc...)
- Open the directory where you downloaded and extracted your package.
- Normally, you can run Blender by double clicking on the Blender.app file. But this approach might not be valid due to macOSX security restrictions. If this approach doesn't work, we recommend to proceed to the alternative step in 3.

- If the Blender application does not start, you can run Blender from your terminal. We have added a shell script that you can execute as follows
./run-blender-neuromorphovis.sh
- The user interface of Blender will pop up on your screen.

- Once you click the N key on your keyboard, NeuroMorphoVis addon will appear on the right side of Blender.

- Click on the Morphology File dialogue button to select an input morphology and then click on the Load button, et viola!

- After loading the morphology, you can switch between the different toolboxes (or panels) to perform different operations on the morphology (analysis, visualization, rendering, meshing, etc...)
NOTE: By default, the output directory will be set to your home directory, but you can change it from the Output Options.
-
Starting
-
Panels
-
Other Links
![]()
![]()