Graphical User Interface
To make it accessible to scientists with minimal programming knowledge or even with no programming experience at all, the core functionality of NeuroMorphoVis is exposed to users via friendly graphical user interface to allow them to navigate and adjust the parameters of the different toolboxes. This page provides a detailed guide to use NeuroMorphoVis from its GUI.

After loading it from the Add-ons manager of Blender, NeuroMorphoVis should appear as a new tab on the left side of Blender 2.7X and on the right side in Blender 2.8X. In Blender 2.8X, you can show/hide this tab by clicking on the N key.
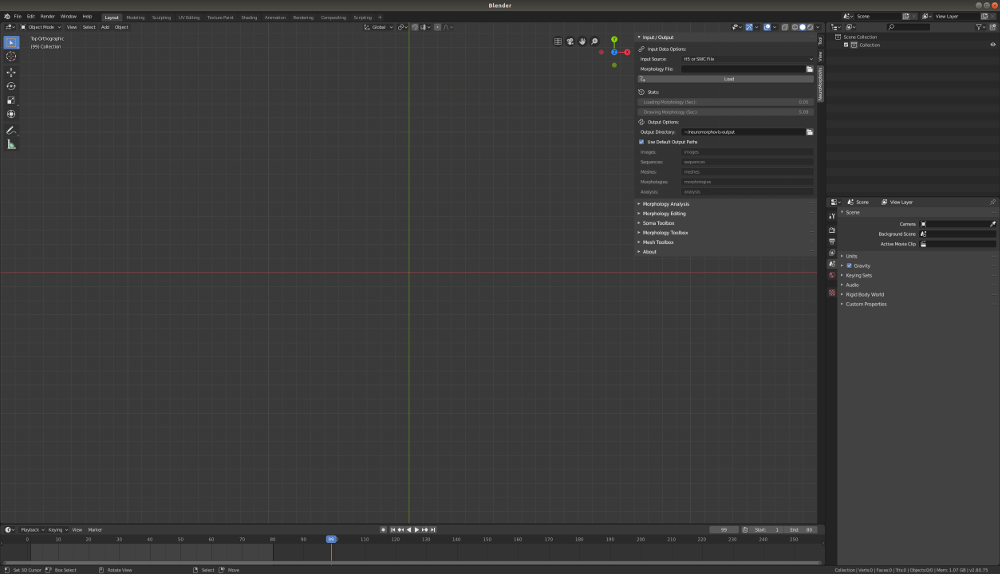
When the user clicks on this tab, the following panels will appear.

In the current version of NeuroMorphoVis, this panel contains seven sections:
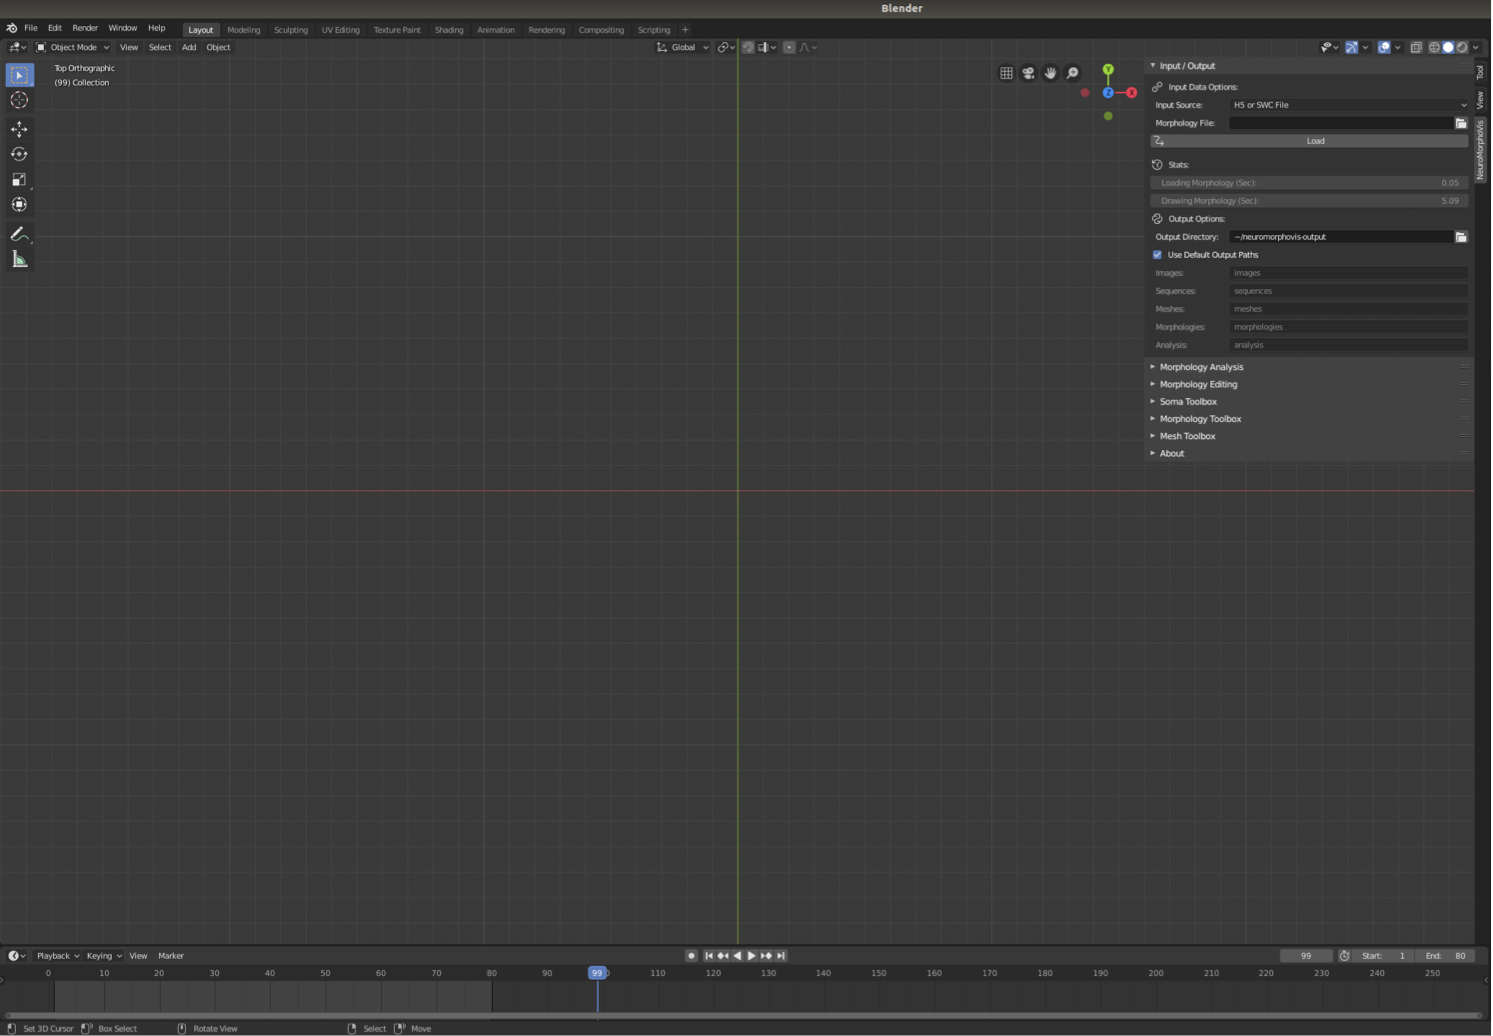
- Input / Output
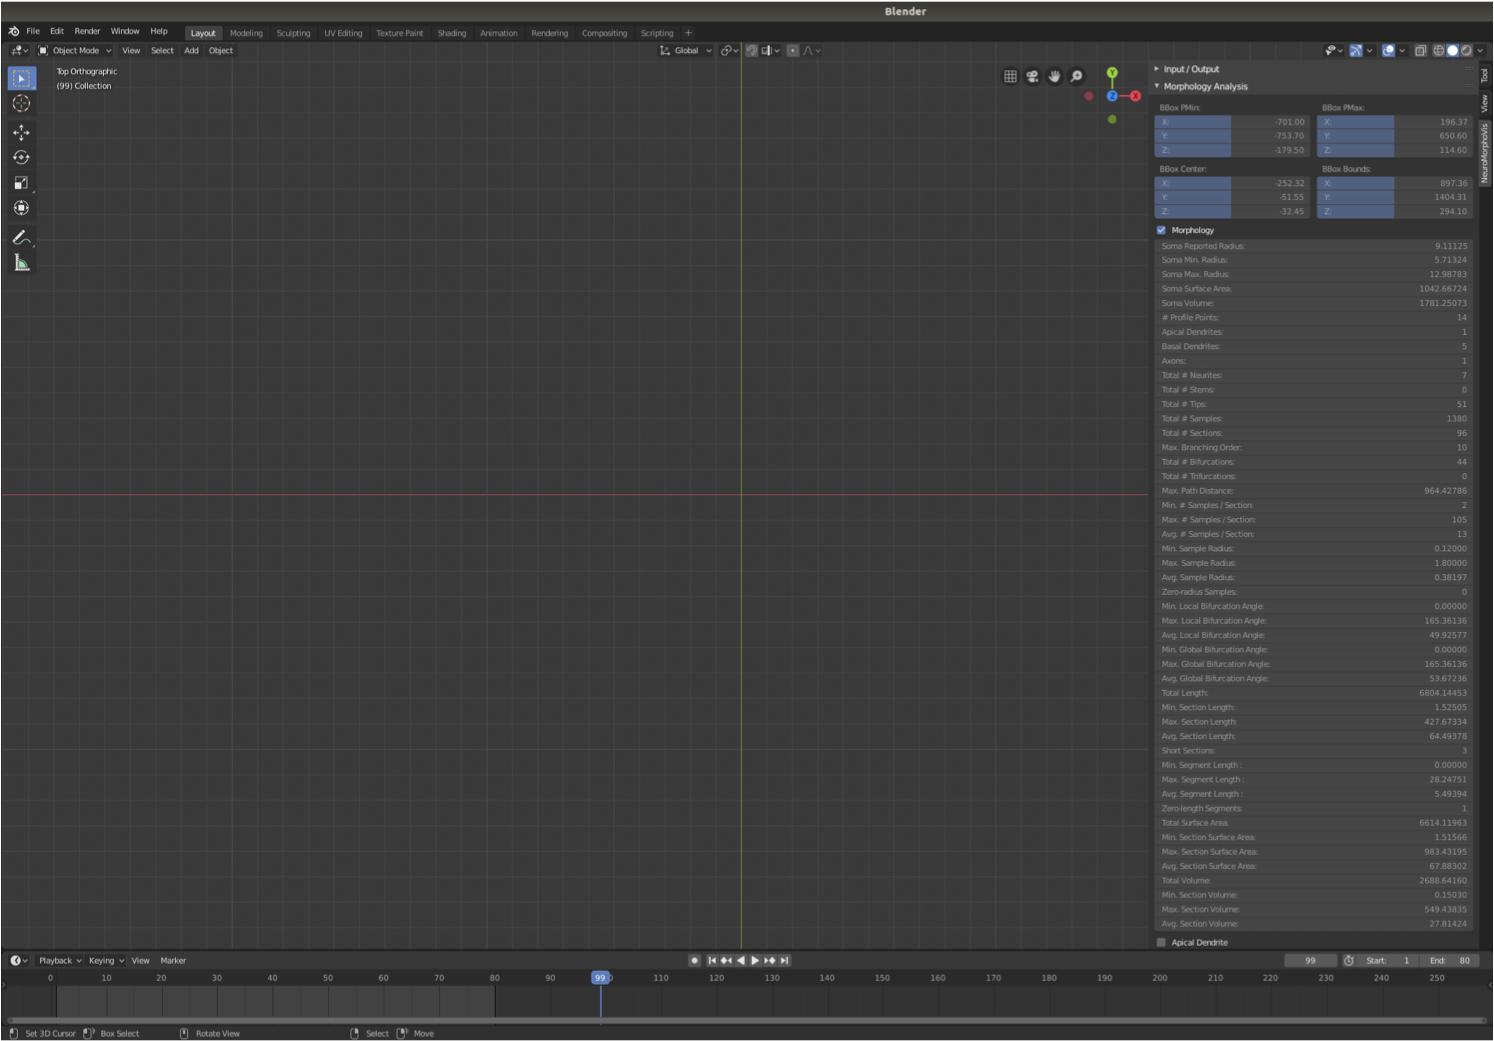
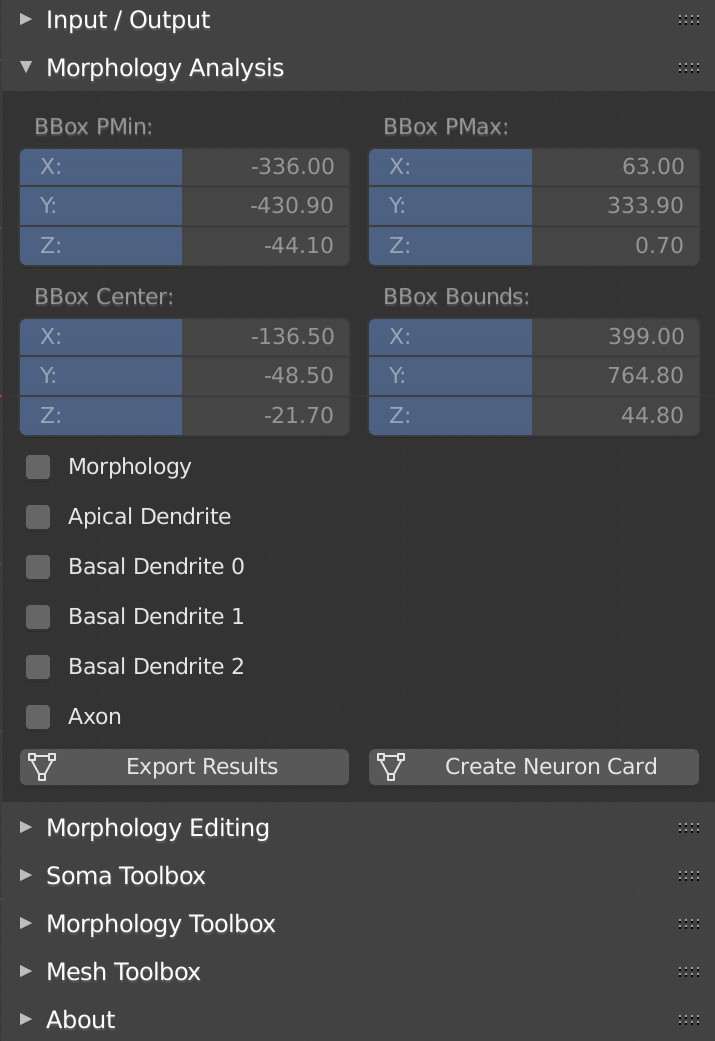
- Morphology Analysis
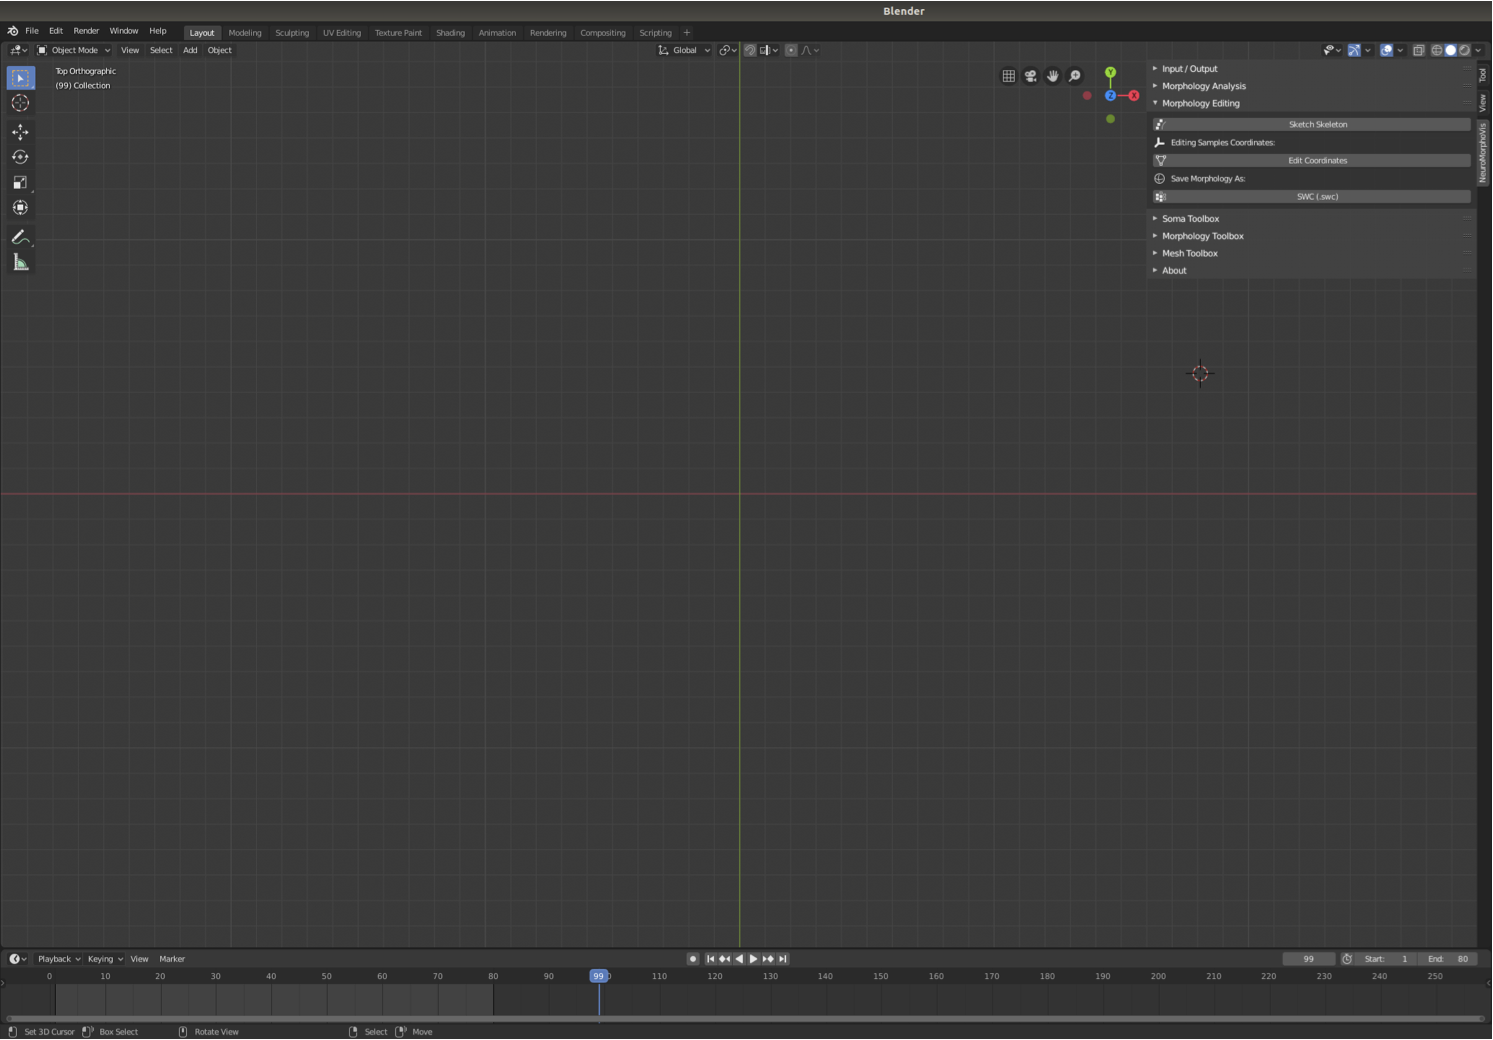
- Morphology Editing
- Soma Toolbox
- Morphology Toolbox
- Mesh Toolbox
- About
By default, the Input / Output panel is open while the rest of the panel are closed. This action is intended to avoid any distraction or negative impressions given to the user. Each panel has already several parameters that can be configured to control certain aspects. Therefore, it is advisable to open only the panel the user is interested in and close the rest of the panels to avoid any distraction.
Before switching to any other panel, users must specify in the Input / Output panel the input morphology and the output directories where the different artifacts will be generated. This guide explains how to use the Input / Output panel to select a specific morphology either from file by its full path or from a BBP circuit using its GID.
After selecting the input morphology as shown in the previous section, the users can navigate to any of the toolboxes by clicking on their respective panels to process the morphology according to their specific purposes. It is highly recommended to close the Input / Output panel before moving to the other panels.
The Morphology Analysis toolbox can be loaded by clicking on the Morphology Analysis tab. This guide explains how to use this toolbox to analyze the morphology skeleton.
The Morphology Editing toolbox can be loaded by clicking on the Morphology Editing tab. his guide explains how to use this toolbox to analyze the morphology skeleton.

The Soma Reconstruction toolbox can be loaded by clicking on the Soma Toolbox tab. This guide explains how to use this toolbox to create three-dimensional profiles of the somata on a physically-plausible basis using Hooke's law and mass-spring models.


The Soma Reconstruction toolbox can be loaded by clicking on the Morphology Toolbox tab. This guide explains how to use this toolbox to create and sketch three-dimensional models of the morphology.


The Mesh Reconstruction toolbox can be loaded by clicking on the Mesh Toolbox tab. This guide explains how to use this toolbox to create polygonal mesh models of the neuron from its morphology skeleton.


If you would like to update NeuroMorphoVis, you can open this tab and clock on the Update button, which will pull the latest version of the tool and restarts your Blender application. Note that Git must be installed on the system to successfully pull the latest release from the repository.


-
Starting
-
Panels
-
Other Links
![]()
![]()