-
Notifications
You must be signed in to change notification settings - Fork 33
Puzzle setup
This page describes how to set up a puzzle as an author.
-
From the top bar, select the "Puzzles" --> select "Create new puzzle"

-
Fill in the form to create a new puzzle. Note that only "Name" is required
- Name [required]: the name of the puzzle
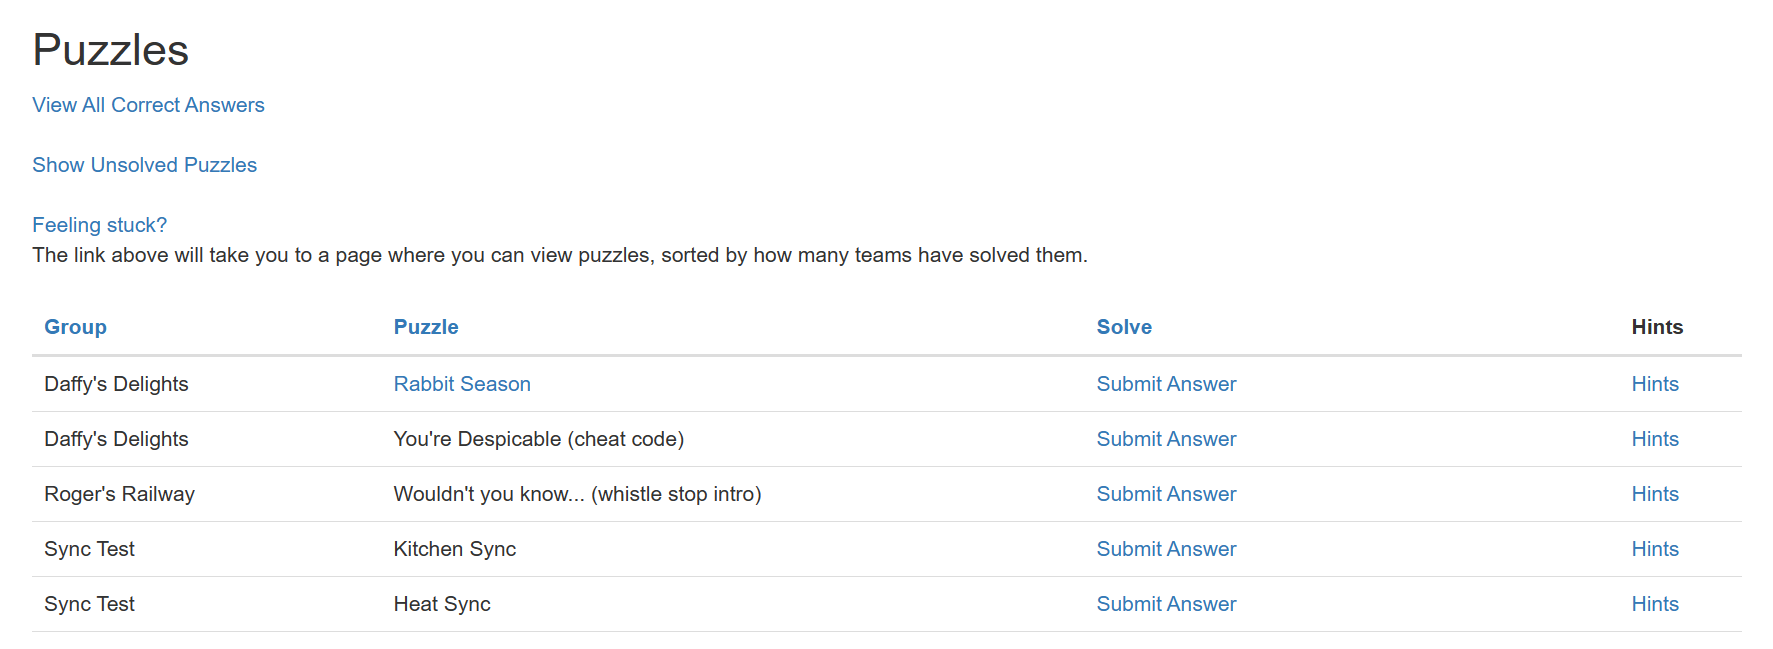
- Group: Fill if you want your puzzle to be part of a "group". Players will see puzzles grouped by group on the puzzle list. Hunt uses this for modules
- Group order: The order the puzzle should show up within a specific group.
-
Type: The type of the puzzle
- Normal - a normal puzzle that doesn't fall into the other categories. Most puzzles in the event will be this kind of puzzle.
- MetaPuzzle - a meta puzzle that does not win the event. Meta puzzles are puzzles that use answers from other puzzles solve and are generally worth more points than non-meta puzzles.
- FinalMetaPuzzle - a meta puzzle that wins the event
- CheatCode - A puzzle that allows players to skip portions of the meta. Teams that use this will disqualify them from the leaderboard
- StartPuzzle - a special kind of puzzle that we normally use to lock the event puzzles behind (pretty much a special form of Invisible puzzle)
- InvisiblePuzzle - a puzzle meant to never be shown to the user. We generally use them for resources, to set up timing, etc.
-
If your puzzle was successfully created, you should see a properties page for your newly created puzzle.

The rest of the properties are described in the Puzzle properties defined wiki, but you can generally ignore them.
Note: If you already have the HTML version of your puzzle, you can follow the instructions on Set-up-an-HTML-puzzle instead for this step
-
Go to "Files" from navigation bar at top of the properties page --> click "Browse" on "Puzzle file" --> select your puzzle --> Click "Upload"

-
If the upload has succeeded, you should see the name of your file as a hyperlink under the "Puzzle File" section. You can click on that link to test that everything is set up correctly. If your link does not work, check that your file name DOES NOT include spaces. If your file name does not include spaces and your link still doesn’t work, contact the event admins.

Note that if the user submits an answer that does not match one of the SubmittedTexts you put here, we will respond to them automatically with "Incorrect"
-
Select the "Responses" link at the top of the page --> Click "create new"

-
Fill out the form and hit "Create"

-
IsSolution: Check if you want the value of "Submitted text" to be the solution to the puzzle. If it is not checked, and the user submits the "SubmittedText", the answer will be considered a "partial" answer.
-
SubmittedText: The text you expect the user to submit
Note that the server will always capitalize any submission inputs and remove all spaces and punctuation.
For example, if you put "Some; .,,random answer" into the submitted text field, the server will read it as "SOMERANDOMANSWER" -
ResponseText: The response the user will see.
-
-
If the response is added successfully, you should see it show up on the "Responses" page. From there you can add additional responses. Make sure your puzzle has AT LEAST ONE correct answer (marked as a solution).

- If you are unable to create a puzzle, check that the puzzle name you are using is unique.
- If you are still having problems creating a puzzle, contact your event admins.

- Players only see puzzles with the state "Unlocked"
- First-time setup
- Contributing using git
- Local Development Environment Setup
- External Authentication Setup
- Build and run locally
- Best practices
- Common Errors
- Making a page Event aware
- Making your page aware of the current user
- PageFilter and on page authorization check example
- Updating the DataModel and or Database Schema
- Debugging the database locally
- FAQ
- Onboarding
- Puzzle setup
- Puzzle properties defined
- Webification Hub
- Unlock a puzzle for a team
- Setting up hints
- Puzzle lockout
- Annotations