-
Notifications
You must be signed in to change notification settings - Fork 153
How to Setup WebAuthn Authentication in OpenAM
WebAuthn is a W3C and FIDO standard that describes Web public key authentication. For authentication, a client can use Hardware USB, Bluetooth, or NFC tokens, or mobile or laptop biometric authentication, such as fingerprint or FaceID.
In short, WebAuthn uses mutual authentication, utilizing an asymmetric encryption algorithm and exchange of credential messages encrypted with public keys (passkeys). Therefore, WebAuthn is resistant to phishing.
More details about the standard can be found at https://www.w3.org/TR/webauthn-3/
WebAuthn is supported by most modern browsers, including Google Chrome, Mozilla Firefox (with partial support), Apple Safari, and Microsoft Edge, including their mobile versions. For up-to-date information about browsers and devices supporting WebAuthn, visit https://caniuse.com/?search=webauthn.
Passkeys created on iPhone, iPad, or Mac can be used on the same device or another iPhone, iPad, or Mac with the same Apple ID. The passkeys are synchronized automatically.
Passkeys created on Android devices can be used on an Android device with the same Google account. The passkeys are synchronized automatically
More details at the link https://passkeys.dev/device-support/
Since WebAuthn in a browser only works over HTTPS or on the localhost domain, for demonstration purposes we will deploy OpenAM in a Docker container on localhost.
Create a network in Docker for OpenAM
docker network create openamThen run the OpenAM Docker container with the following command
docker run -p 8080:8080 --network openam --name openam openidentityplatform/openamOnce the OpenAM server is running, perform the initial configuration by running the following command and wait for the configuration to complete.
docker exec -w '/usr/openam/ssoconfiguratortools' openam bash -c \
'echo "ACCEPT_LICENSES=true
SERVER_URL=http://localhost:8080
DEPLOYMENT_URI=/$OPENAM_PATH
BASE_DIR=$OPENAM_DATA_DIR
locale=en_US
PLATFORM_LOCALE=en_US
AM_ENC_KEY=
ADMIN_PWD=passw0rd
AMLDAPUSERPASSWD=p@passw0rd
COOKIE_DOMAIN=localhost
ACCEPT_LICENSES=true
DATA_STORE=embedded
DIRECTORY_SSL=SIMPLE
DIRECTORY_SERVER=localhost
DIRECTORY_PORT=50389
DIRECTORY_ADMIN_PORT=4444
DIRECTORY_JMX_PORT=1689
ROOT_SUFFIX=dc=openam,dc=example,dc=org
DS_DIRMGRDN=cn=Directory Manager
DS_DIRMGRPASSWD=passw0rd" > conf.file && java -jar openam-configurator-tool*.jar --file conf.file'
After successful configuration, you can proceed to further configuration. Let's configure the WebAuthn registration and authentication chains.
Open the OpenAM administration console at http://localhost:8080/openam/XUI/#login/
In the login field enter the amadmin value, in the password field enter the value from the ADMIN_PWD parameter of the setup command, in this case, passw0rd.
Select the root realm and then goto Authentication → Modules in the left menu. Create a new authentication module WebAuthn Registration
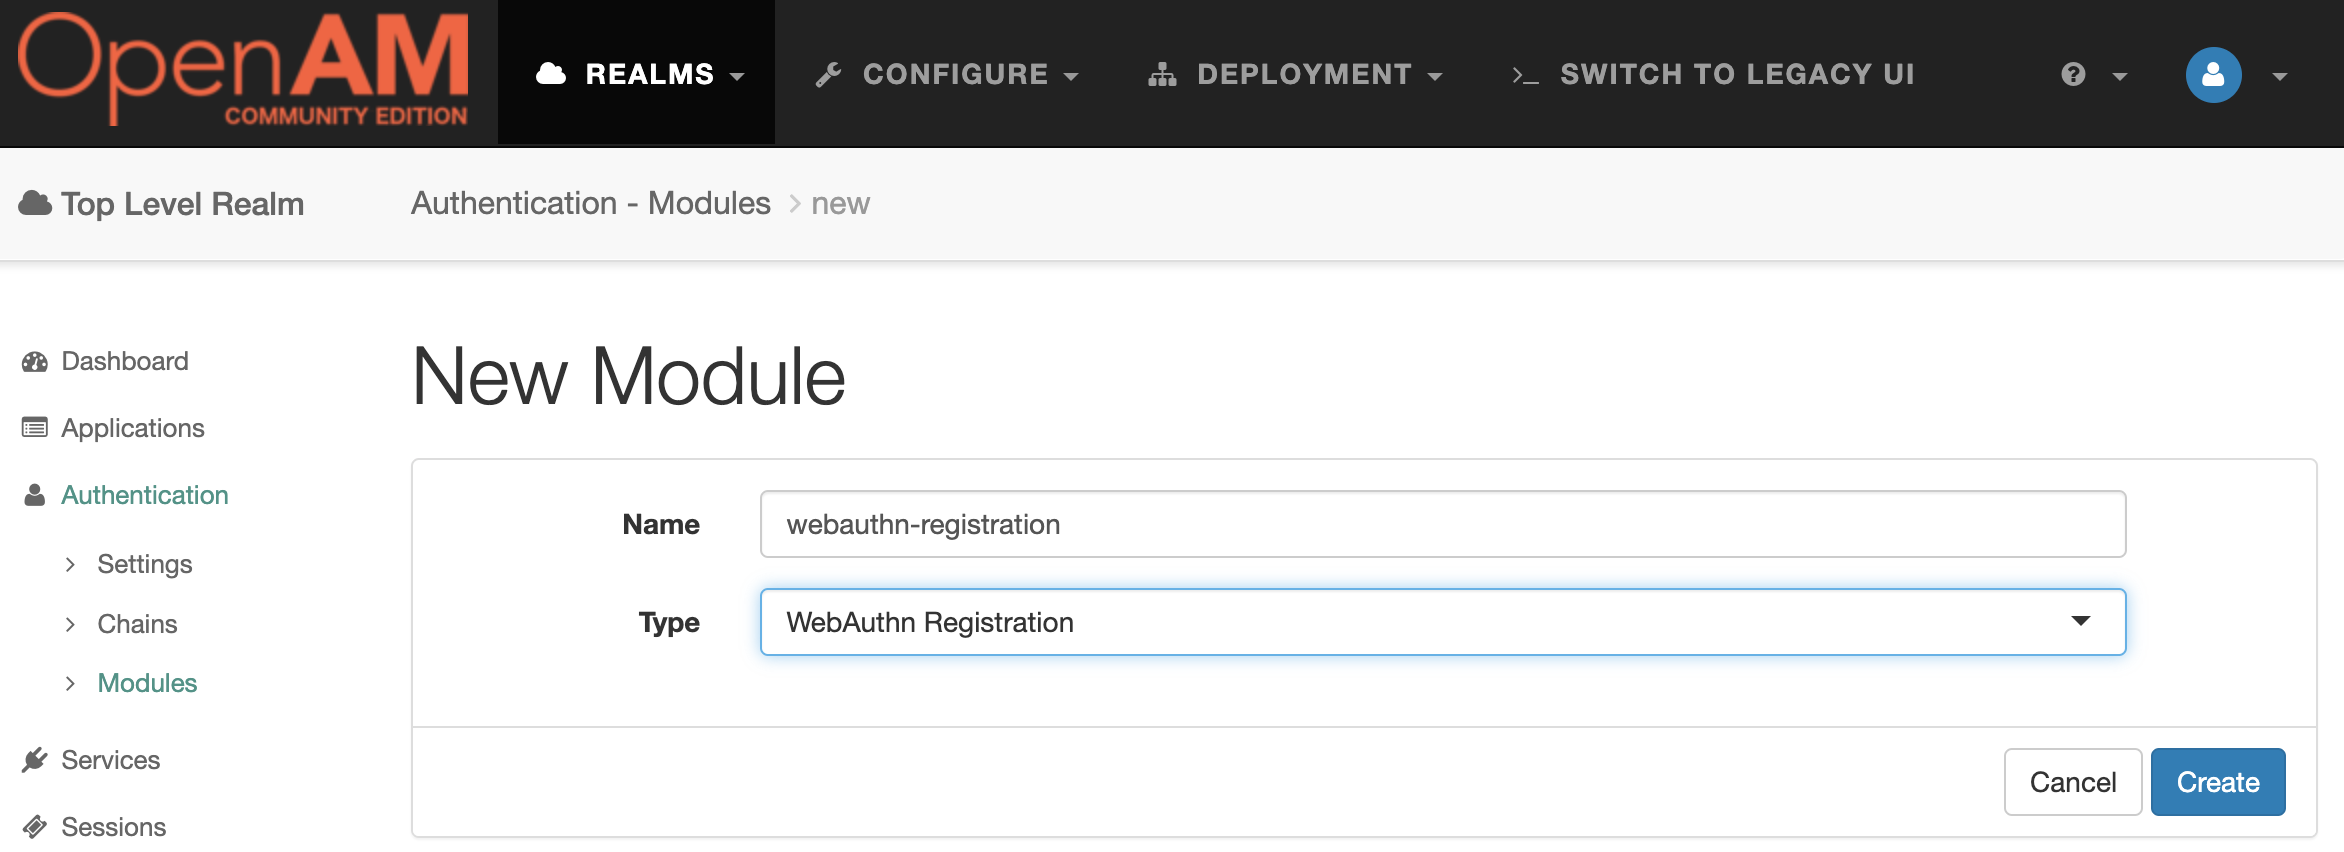
The default module settings can be left unchanged.
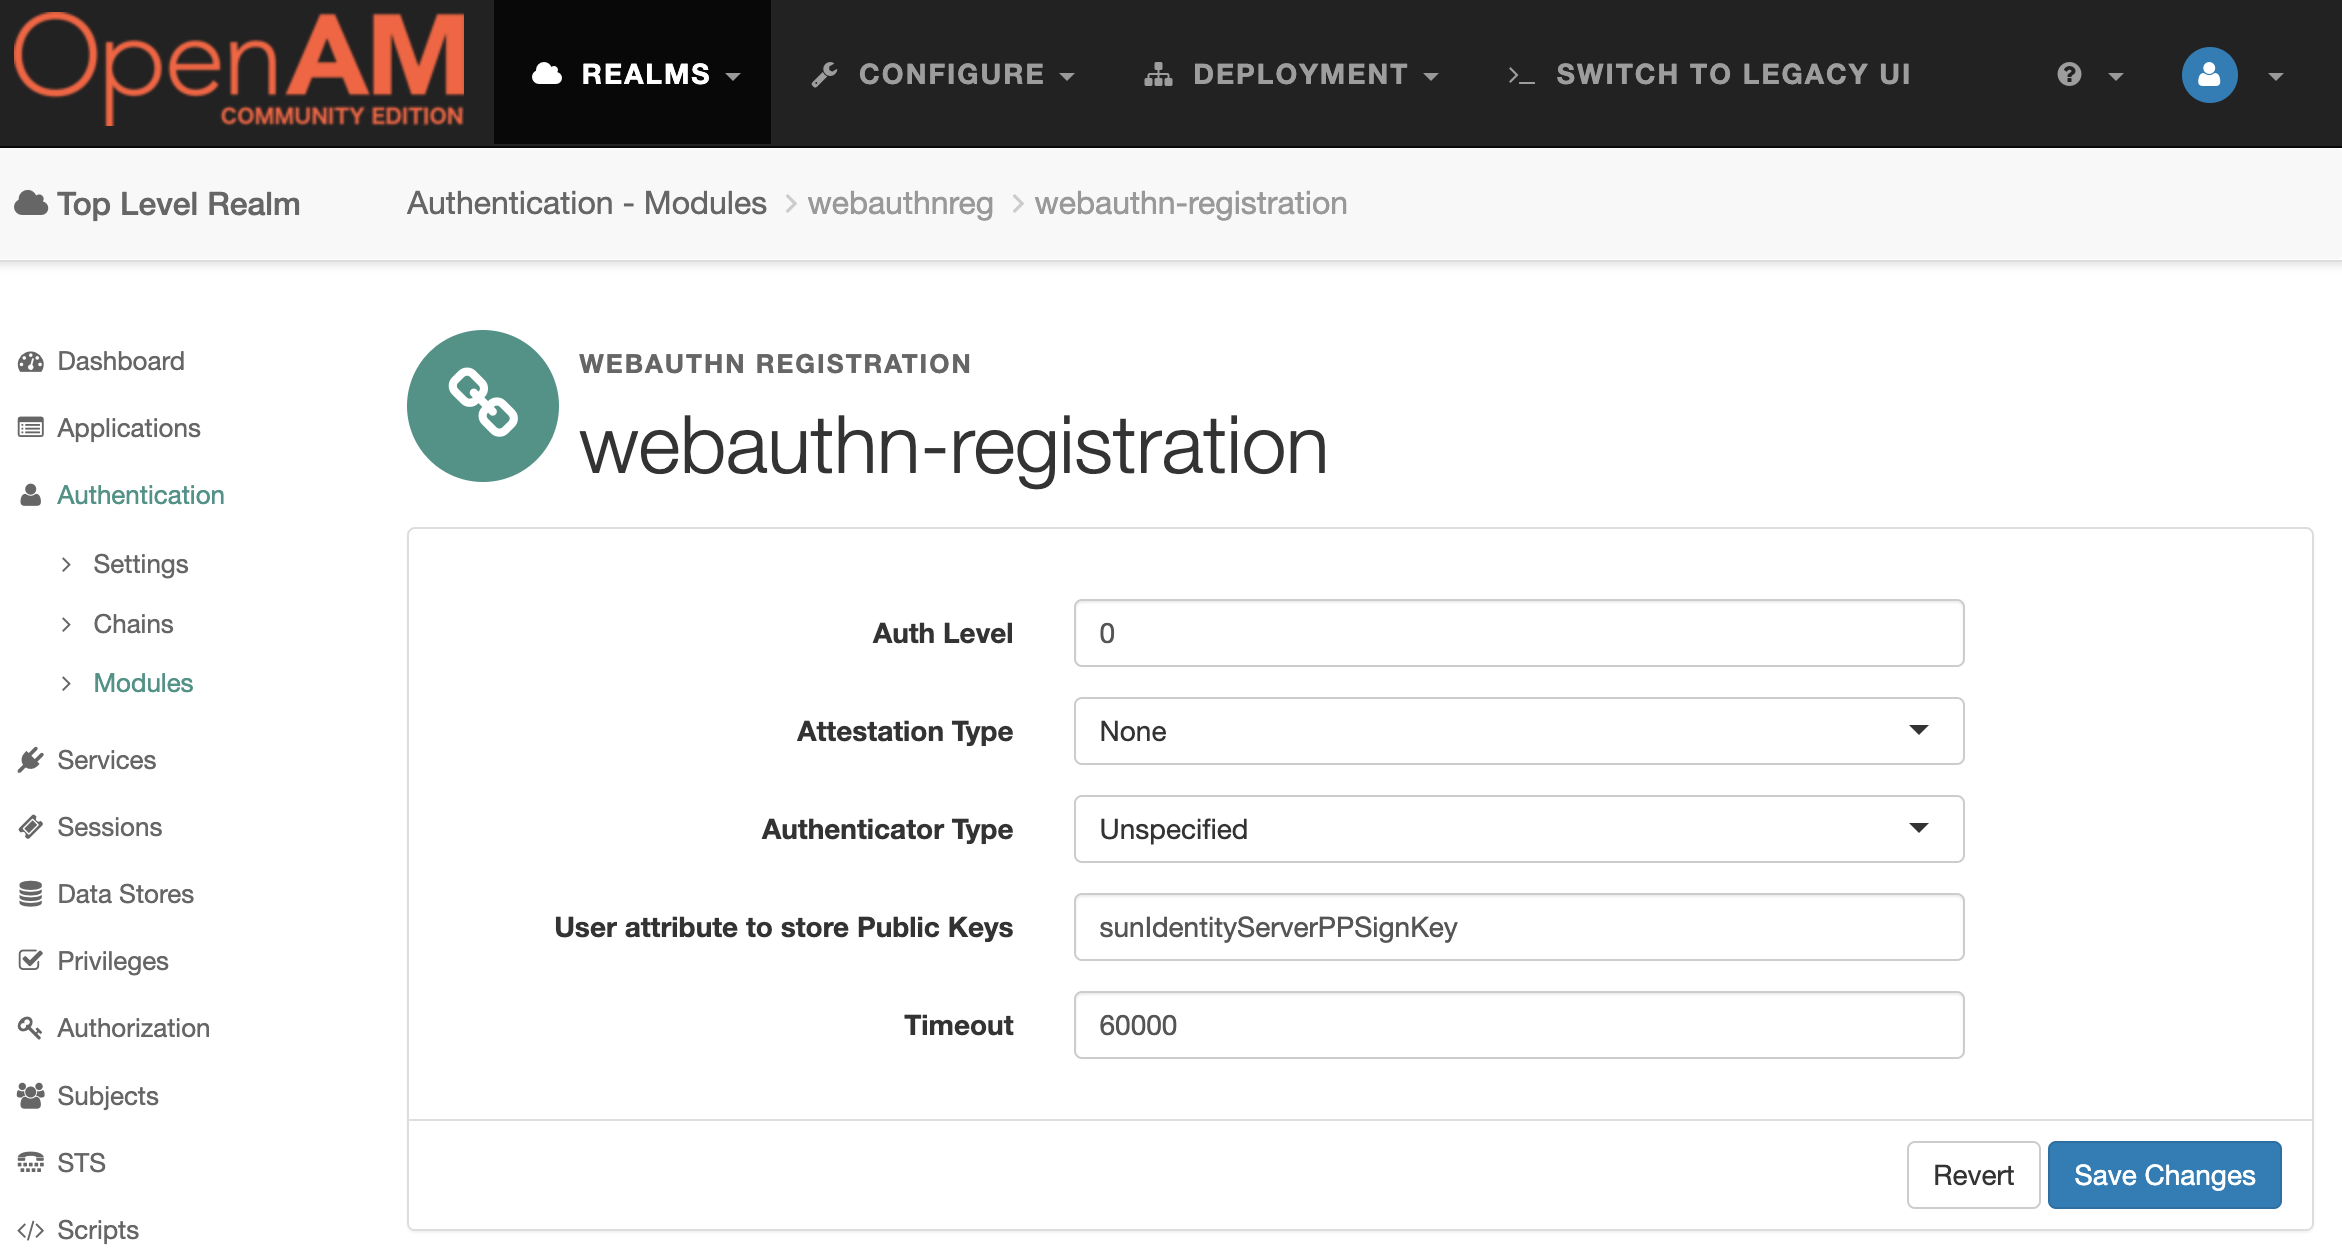
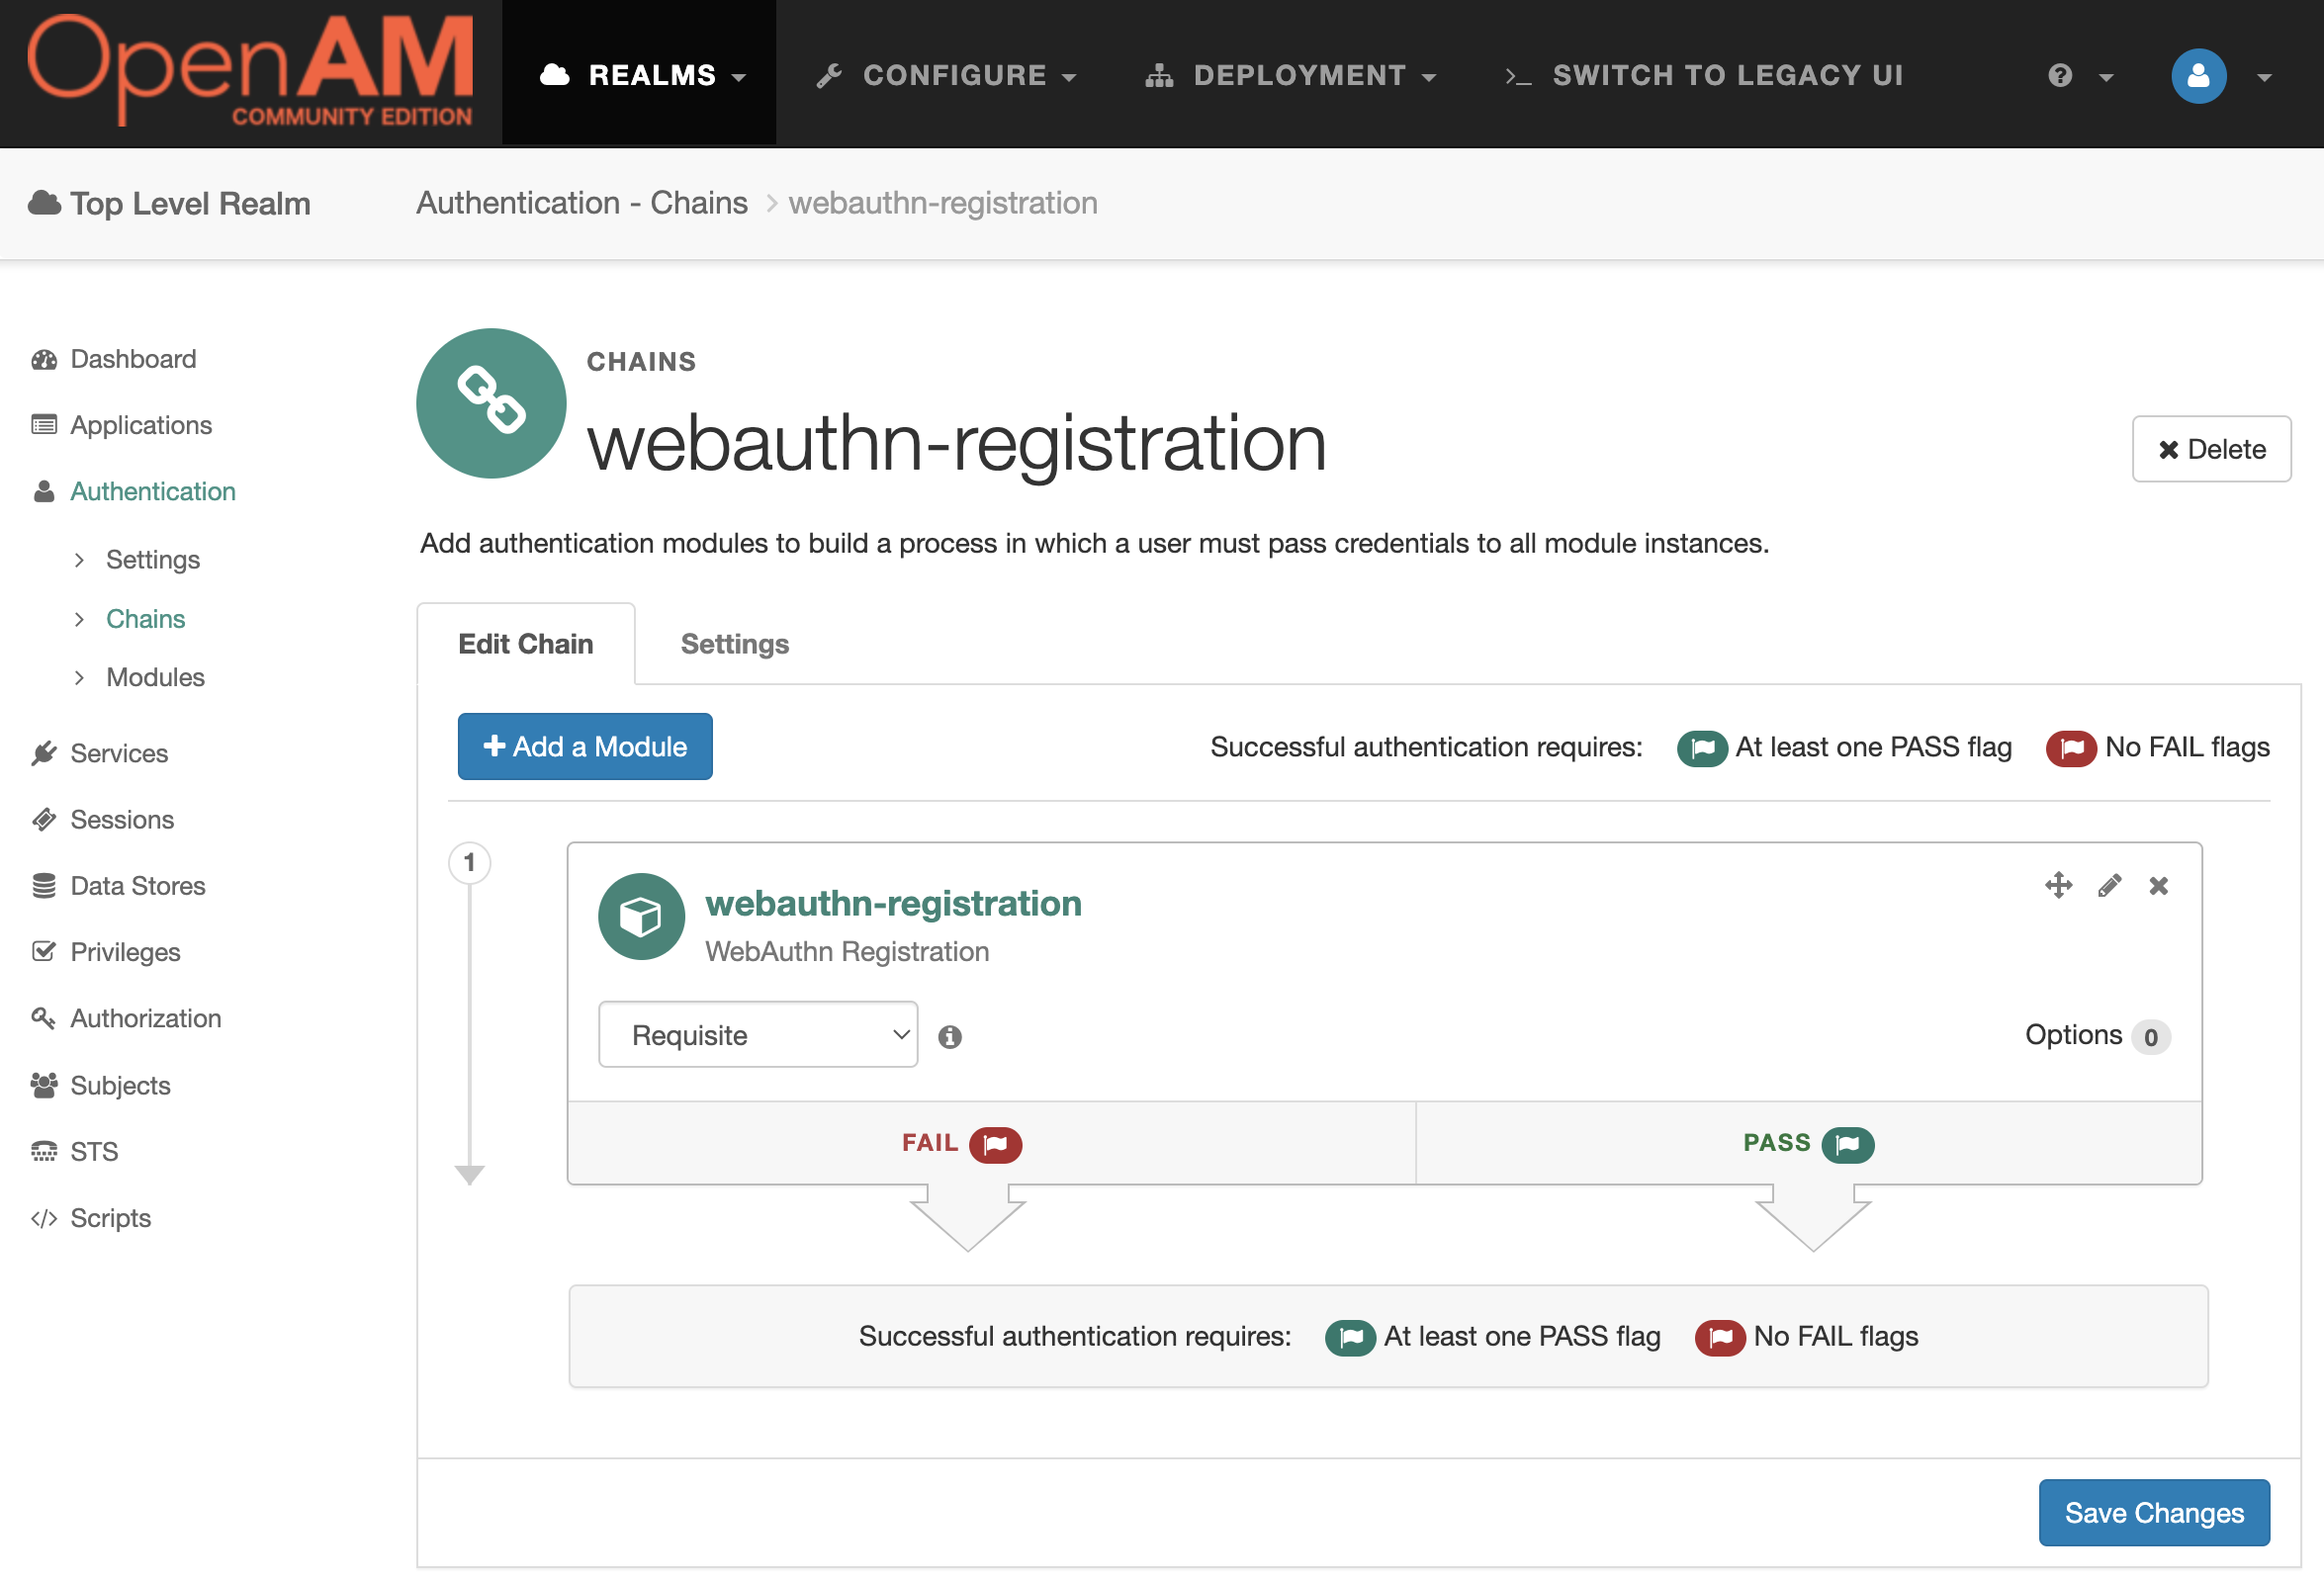
Go to the admin console, select the root realm and select Authentication → Chains from the menu. Create a webauthn-registration authentication chain with the created webauthn-registration module.
Open the OpenAM administration console. Select the root realm and then goto Authentication → Modules in the left menu. Create a new authentication module WebAuthn Authentication
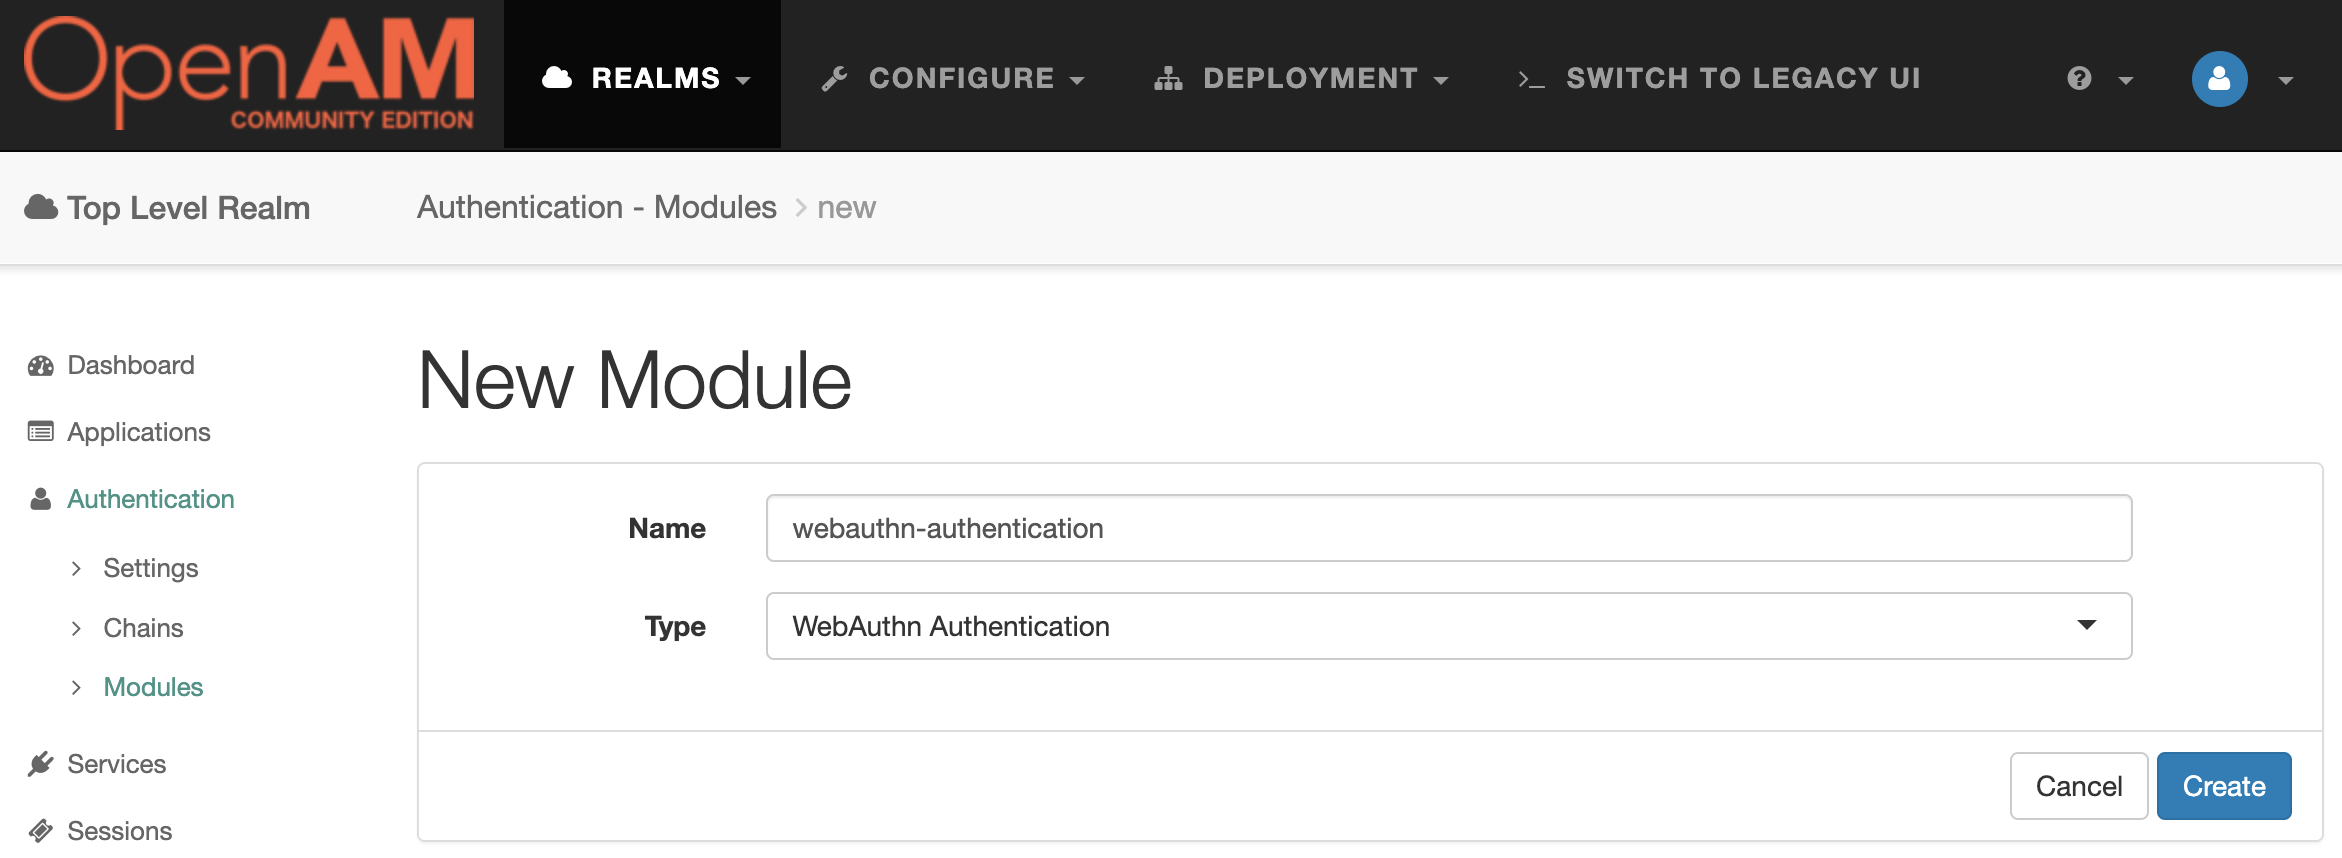
The default module settings can be left unchanged.
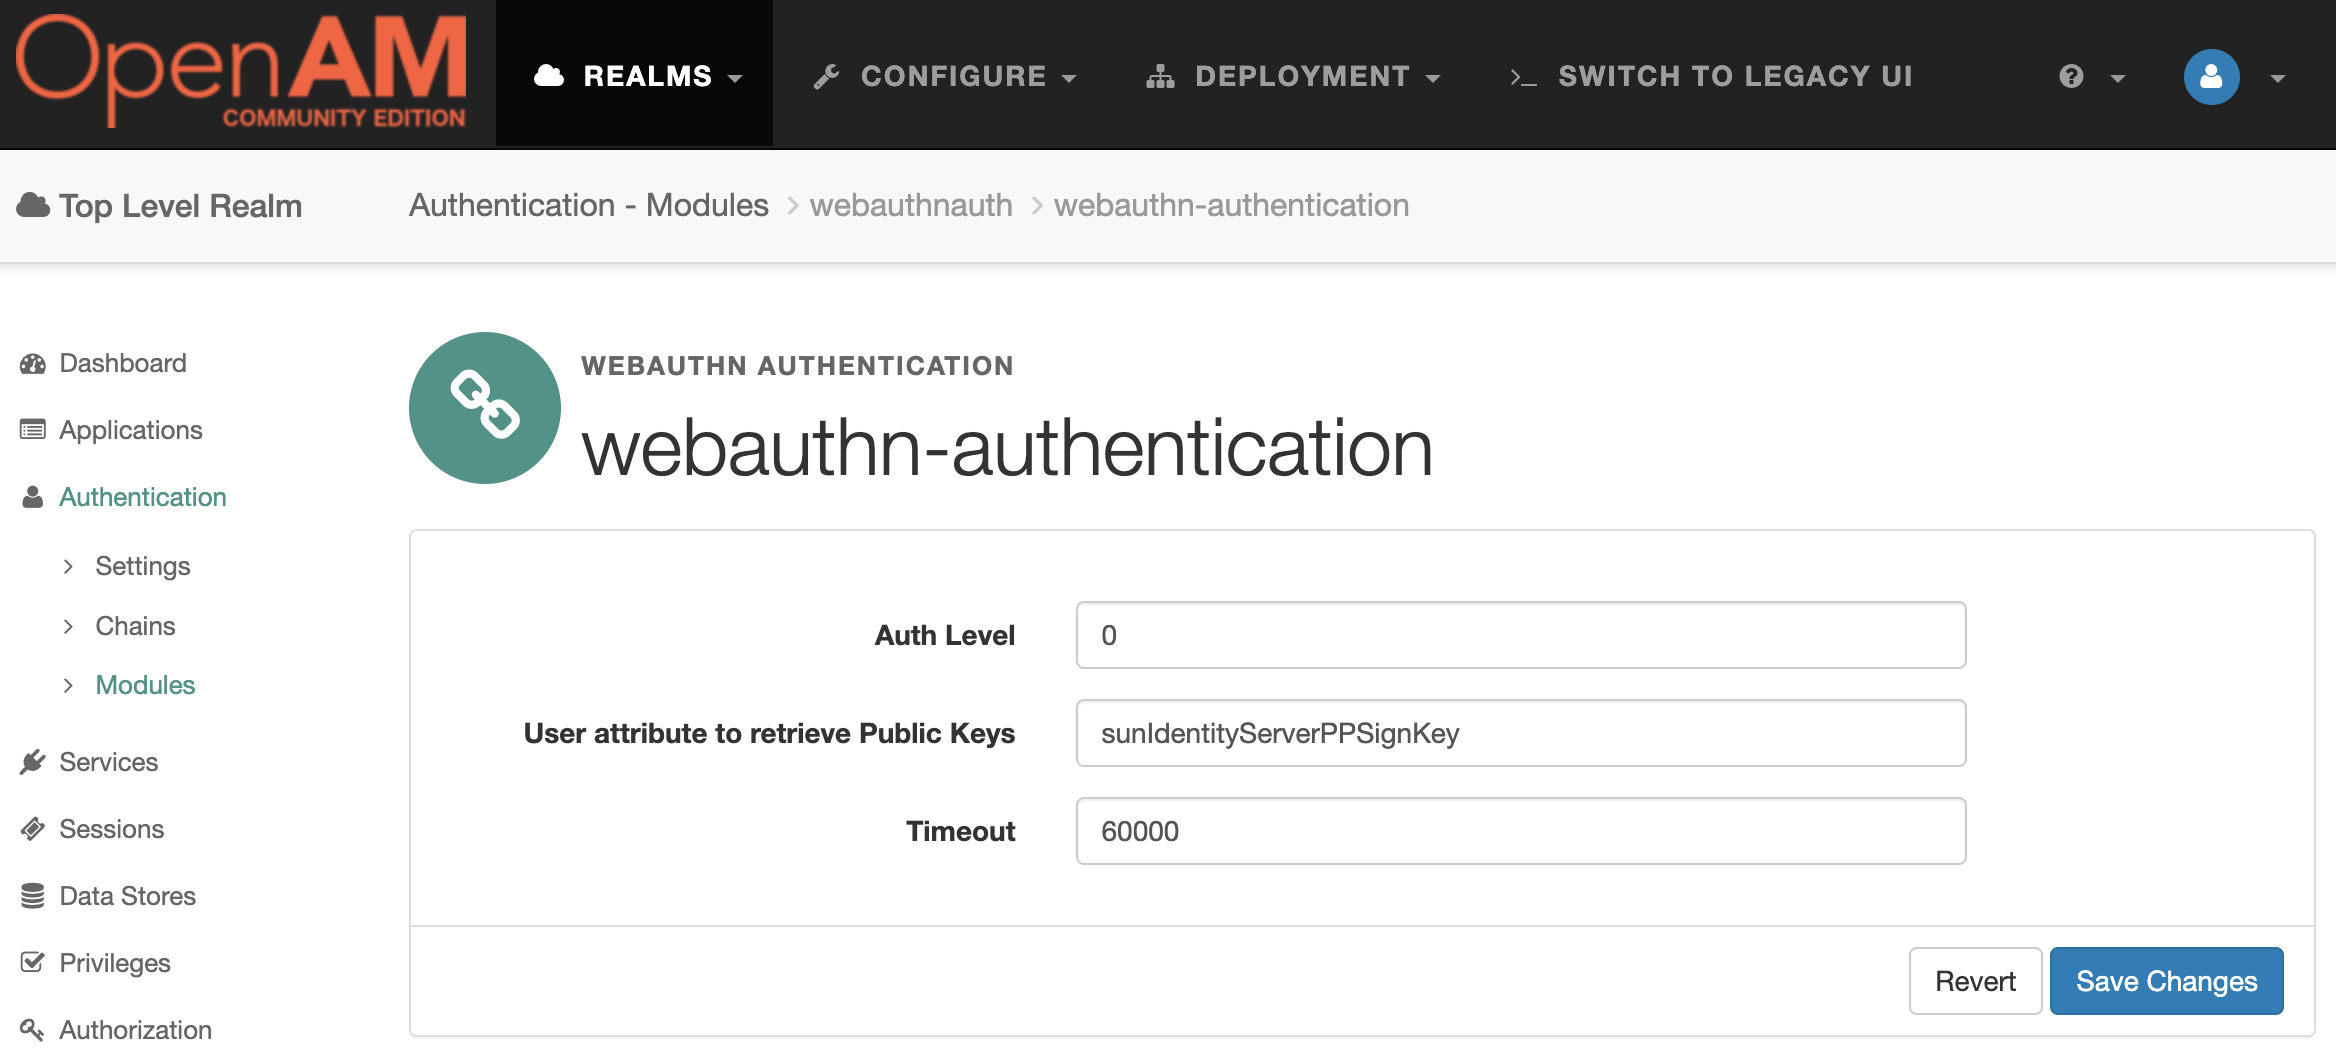
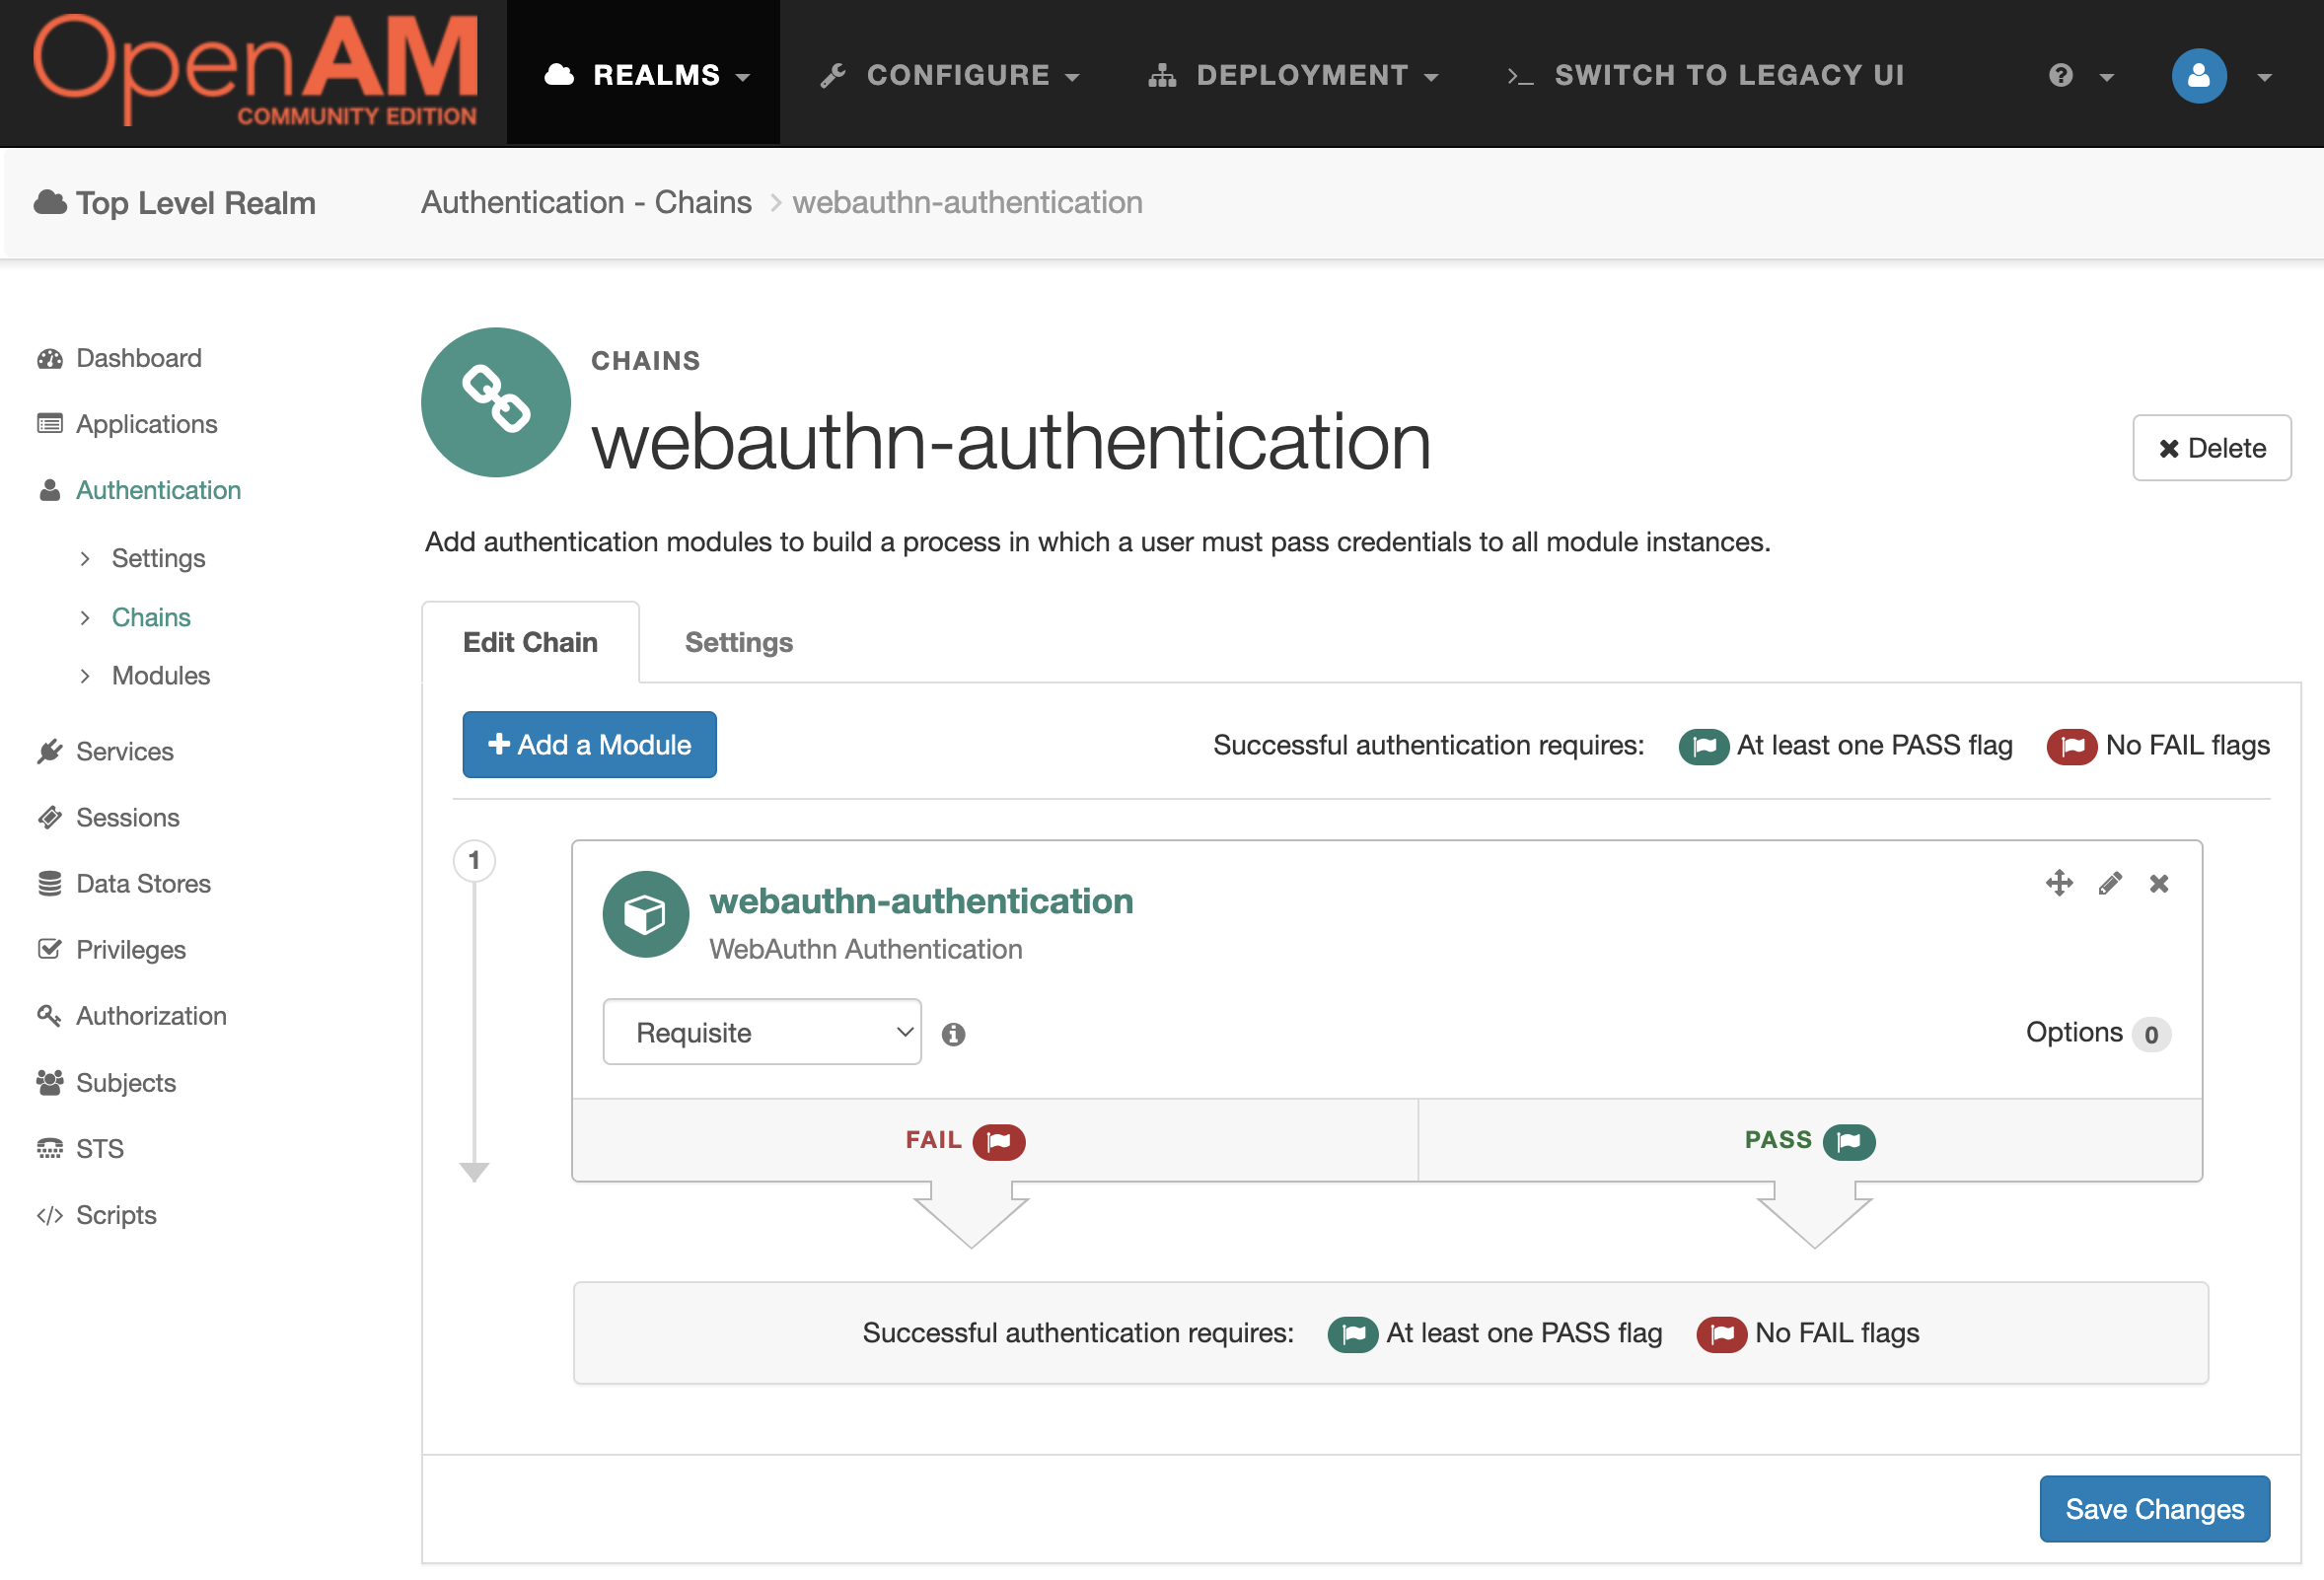
Go to the admin console, select the root realm and select Authentication → Chains from the menu. Create a webauthn-authentication authentication chain with the created webauthn-authentication module.
Log out of the OpenAM admin console or open a browser in Incognito mode and log in at http://localhost:8080/openam/XUI/#login with the user credentials demo. In the login field enter demo in the password field enter changeit.
For demonstration purposes, we will use the WebAuthn emulator built into the browser. How to enable it is described at https://developer.chrome.com/docs/devtools/webauthn.
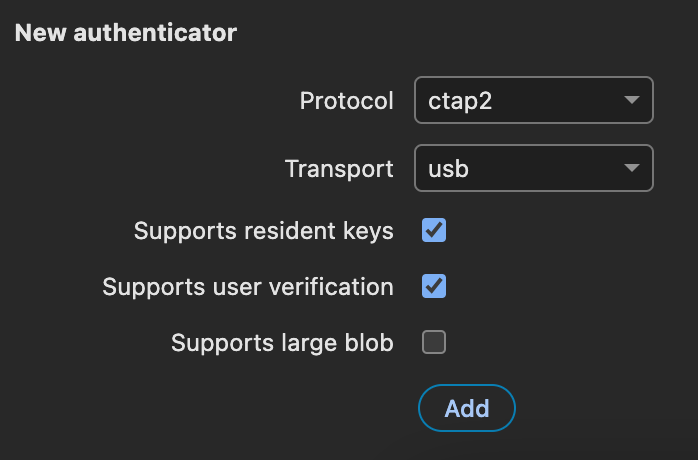
Add a virtual authenticator with Supports resident keys and Supports user verification settings enabled.
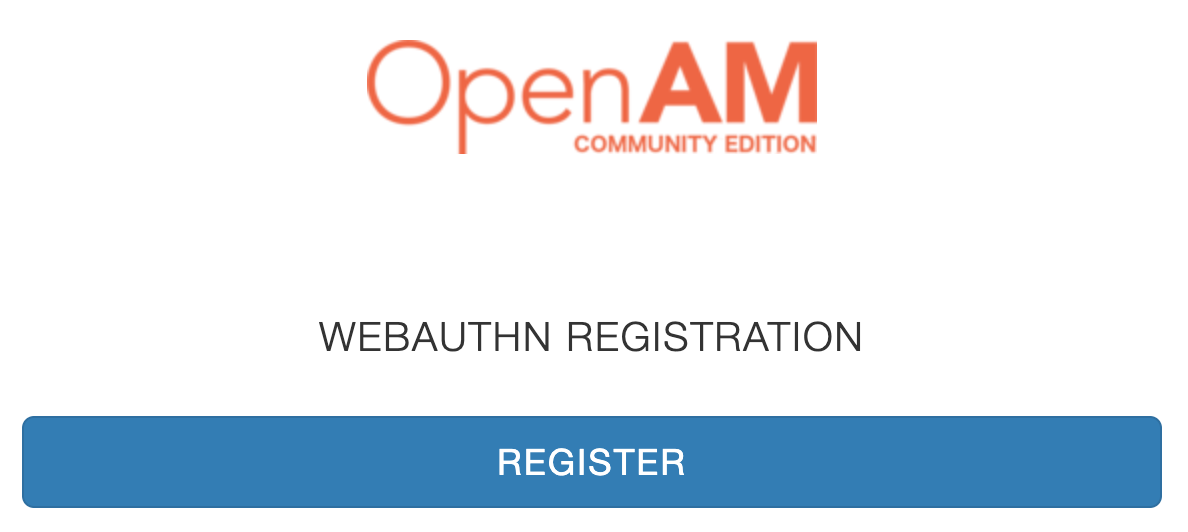
Open the registration authentication chain at http://localhost:8080/openam/XUI/#login&service=webauthn-registration and click the Register button.
You will be immediately redirected back to the console with the demo account, and in the developer tools for the authenticator you will see the registered credentials for the demo user.

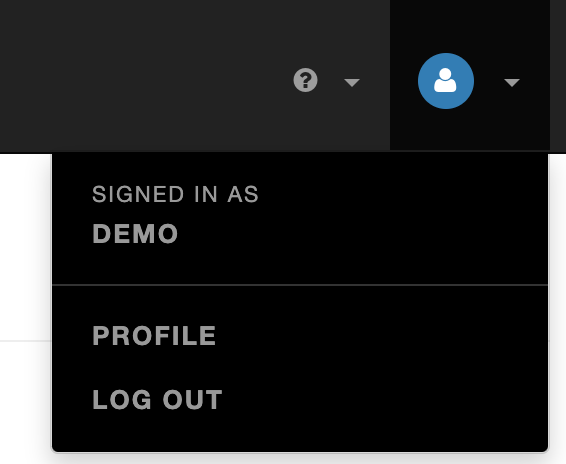
In the Console under the user demo click on the user icon and select Logout
Go to http://localhost:8080/openam/XUI/#login&service=webauthn-authentication and click the Log In button. An account selection window will pop up.
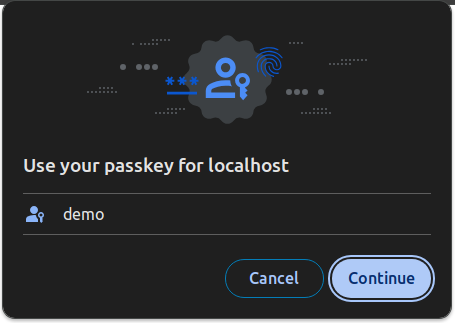
Select the demo account and click Continue. You will be authenticated with the demo account .


