enable SSH access
SSH is short for Secure SHell. In short, this gives us remote access to RetroPie's command line to execute commands directly on the RetroPie. Read more about this on Wikipedia: https://en.wikipedia.org/wiki/Secure_Shell
- Open the RetroPie menu
- Open RASPI-CONFIG
- You'll now see an old-looking menu. This menu can be controlled via controller or keyboard
- Select the item "5 Interface Options" (UP / DOWN), then navigate to the "Select" button (LEFT / RIGHT), push the "B" button on your controller or ENTER on your keyboard
- Now, select the item "P2 SSH" and hit the "Select" button
- You'll be asked if you really want to enable the SSH server, confirm this question
- The SSH server on your RetroPie will now be started. This setting will also always start the SSH server when you boot your RetroPie
- You'll be back in the first menu. Hit "Finish" to exit back to EmulationStation
There's quite a lot of different SSH clients. These are needed to access that SSH server you just enabled remotely. If you want to select a SSH client, there's this overview on Wikipedia: https://en.wikipedia.org/wiki/Comparison_of_SSH_clients
Personally, I like PuTTY: https://www.chiark.greenend.org.uk/~sgtatham/putty/latest.html
With PuTTY, you just need to download the EXE file and put it anywhere on your Computer.
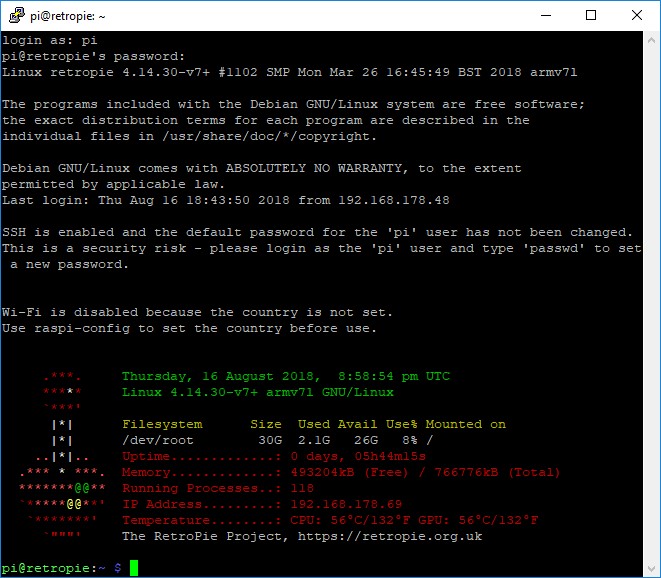
- Start your SSH client of choice
- Connect to the hostname 'retropie'
- Log in as 'pi'
- Enter the password 'raspberry' (for security reasons, your input will not be shown in the client, not even asteriskes)
That's it, you should now be connected to your RetroPie!