-
-
Notifications
You must be signed in to change notification settings - Fork 274
Build flap cutting jig
Each of the flaps in the unit need to have a notch cut out of both sides to create a "pin" that fits into the flap spool and allows it to flip freely.
(If this sounds tedious, I'll admit that it is, but it's definitely the cheapest way to create flaps at the moment. If you'd like to save yourself some time while also helping support continued development of this project, an alternative is to purchase pre-cut flaps that I've had professionally made, available on Tindie.)

The notch cut-outs need to be done consistently for all 40 flaps, so we'll first create a jig for the badge slot punch to hold a flap in a precise position while cutting it.
The jig can either be created by hand using a PVC card, or, if you have a 3d printer, can simply be printed (see below)
The jig created from a PVC card will eventually look like this:
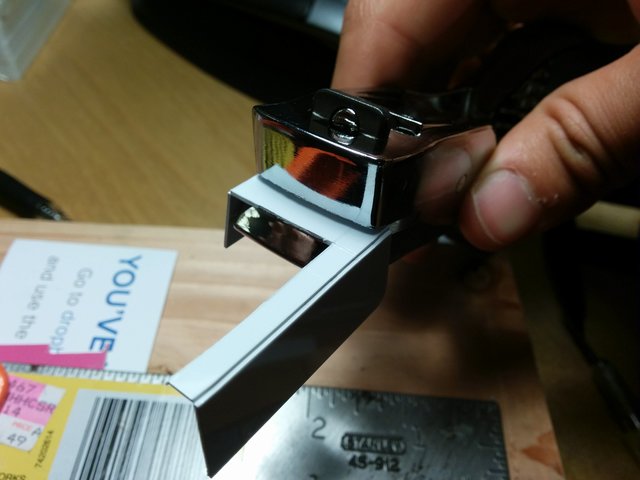
To build this, start by taking half a PVC card (or any spare ID or credit card you may have laying around), insert it all the way to the back of the punch, and punch a slot in the center. While the punch is still engaged (holding the card in place), take your X-Acto knife and lightly score the top of the card along the outer edges of the punch (just enough to mark it).
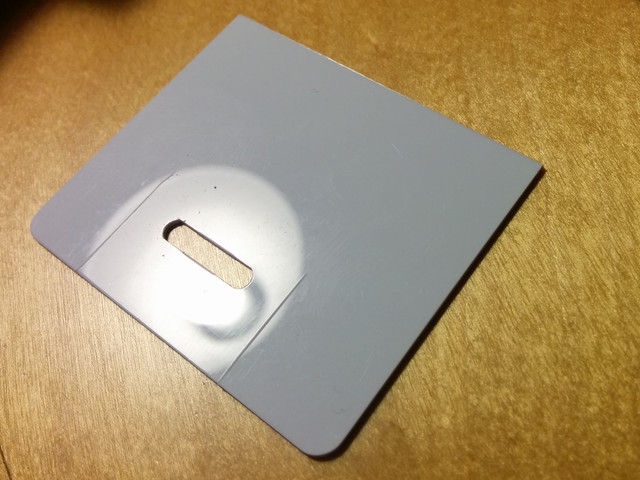
Take the card and a ruler and score it along the 2 lines you marked (cut about 1/3 of the way through the card thickness, but err on the side of cutting less). Then align the ruler with the flat edge of the punched slot nearest the card edge and use the knife to fully cut the card from the right side of the punched slot to the right edge of the card. Then turn the ruler 90 degrees and place it ~1-2mm outside the left side of the punched slot (this determines the thickness of the flap "pin") and cut from the bottom edge of the slot to the top of the card.
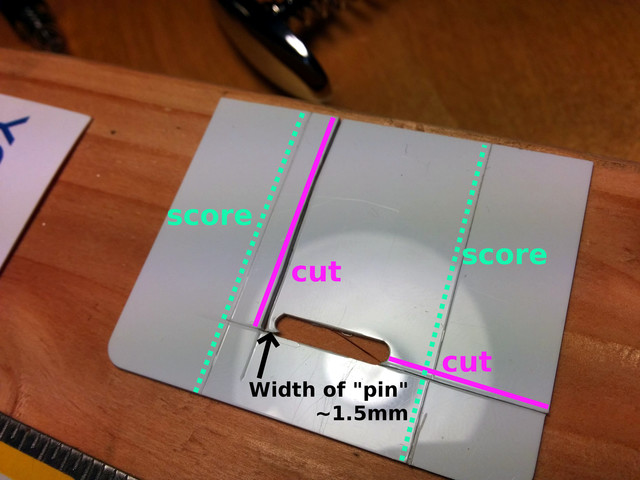
Connect those 2 cuts so that the upper right section of the card can be removed entirely:
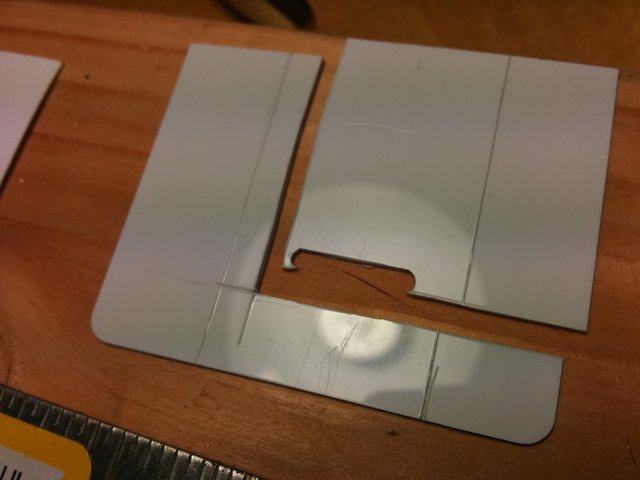
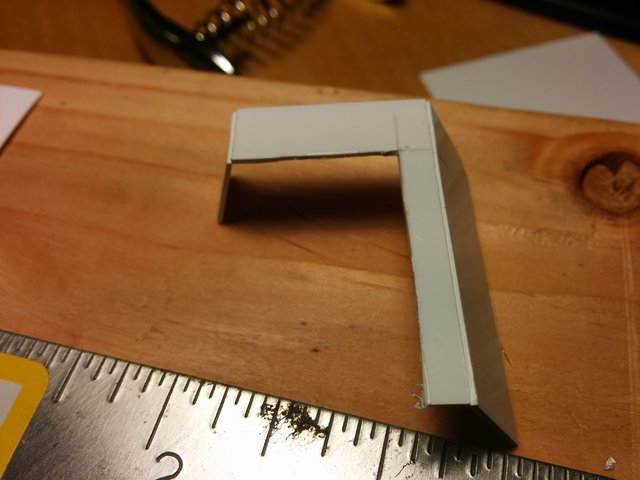
Fold the card 90 degrees away from you along the 2 scored edges:
Insert the jig into the punch (the same orientation you originally punched it), and tape it into place:

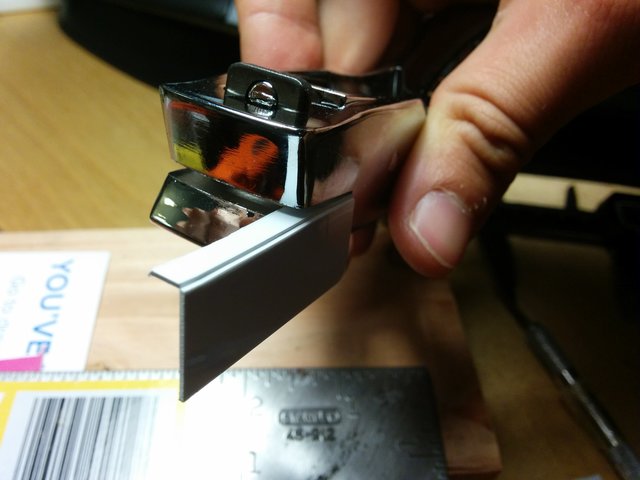
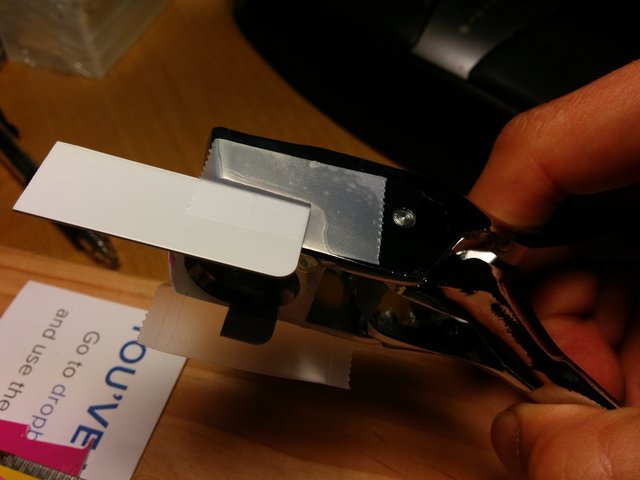
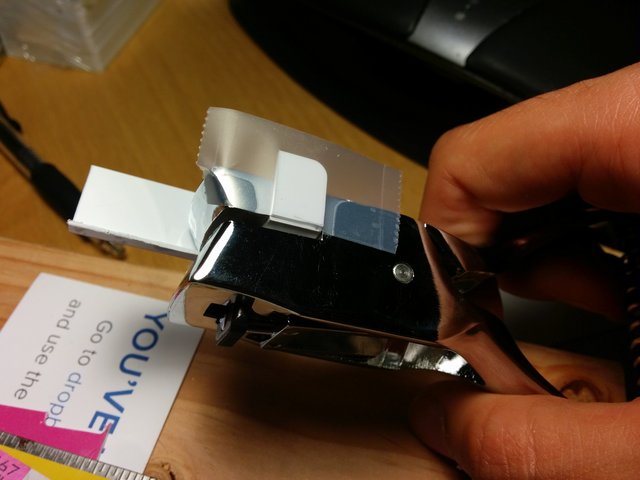
Your flap-cutting jig is complete!
Continue to Cut flaps
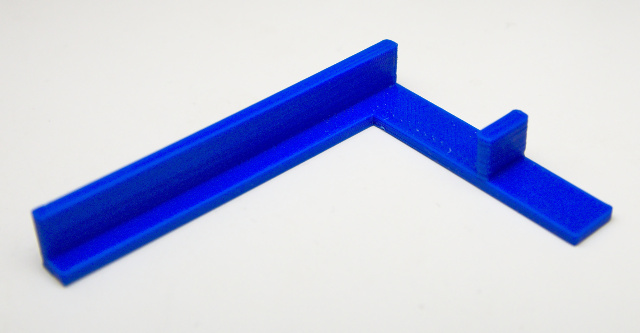
If you have a 3d printer, you can print a jig model rather than creating the jig by hand. It will look like this:
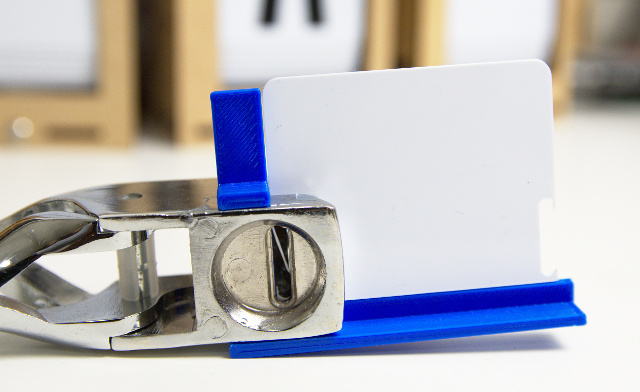
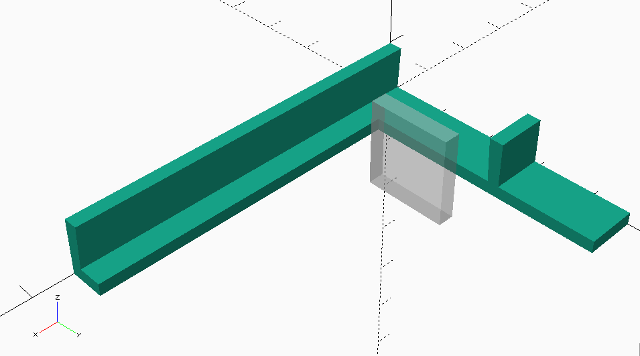
To print this jig, open 3d/punch_jig.scad, render it and export to an STL file. You can use your slicer of choice to prepare the model for 3d printing.
(Thanks to @SilentM4X for the idea to print the jig!)