-
Notifications
You must be signed in to change notification settings - Fork 11
3. Choosing Tables
This document continues from 2. Adding Payments tutorial. Please complete it before starting this tutorial.
On previous tutorial we added payment to our ticket. Now I'll show how to select a table for our ticket.
Click on the ticket row to display the ticket.

So assigning a Table to a ticket is basically tagging Ticket Card with a table name. Click on Card Menu button to see the available commands.

You need to click on top level Ticket Card's menu button. Now select Set Card Tag menu item.

It should display Tag Properties Dialog.

I entered Table as the Tag Name and B11 as the Tag Value. That means Ticket assigned to B11 table. Click Submit button to close dialog.

On the Ticket Card we can see B11 table selected. Click Check Mark icon to submit the ticket.

You'll see selected table appears on the ticket list.
We can simplify table selection so operator won't need to use Tag Dialog to select a table.
On this step we'll add a command button inside Ticket Cards so operator can use it to select a table.
On main menu select Card Types menu item.

... and edit Ticket Card Type by clicking on it.

We'll add a Command Button inside Ticket Cards by editing Commands setting of the Card Type.

Type Table=Select Table.
That means we'll have a button labelled as Table and when clicked it execuctes Select Table command.
Save Card Type by clicking on Check Mark button and click on the ticket to see what happens. On Main Menu select Cards menu item and click on A0001 card.

So TABLE button appears on the bottom of the ticket screen. Clicking on it does nothing at the moment. We'll create a rule to tell what happens when operator clicks on that button.
Before adding the rule we need to know existing table names. To be able to create Table cards we'll create a new Card Type. Close ticket by clicking X button and from Main Menu click on Card Types menu item.

We already have Tickets Card Type. Click on + button to add a new Card Type.

Card Type Name will be Tables and card Reference Name will be Table. Click on Check Mark button to save.

Now we have two Card Types and we can create Table cards.
From Main Menu select Cards menu item. On Cards screen Ticket Cards are displayed. Click on Drop Down arrow and select Tables to list Table Cards.

We should see title changed to Tables. We don't have table cards for now. Click on + button to add a new Table Card.

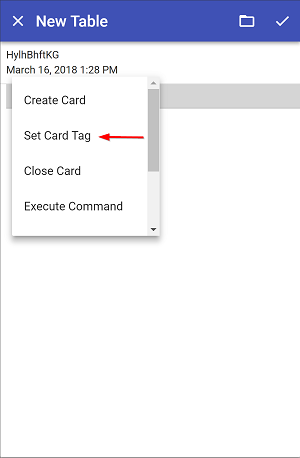
Select Set Card Tag from Card Menu.
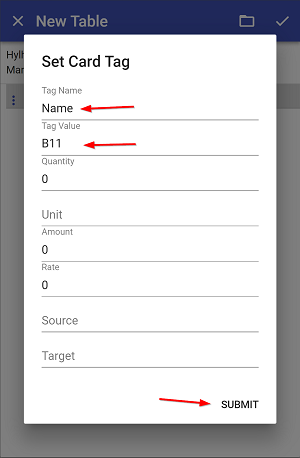
On the Tag Properties dialog type Name for the Tag Name and B11 for the Tag Value. Click on submit to close the dialog.
We named the Table Card as B11. Click on Check Mark icon to save the table.
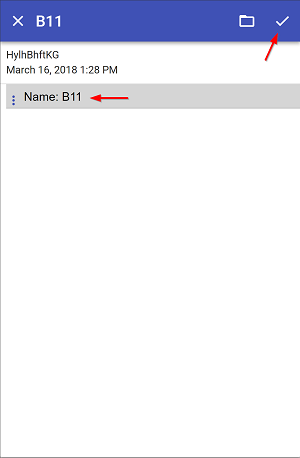
Now we created our first Table Card.
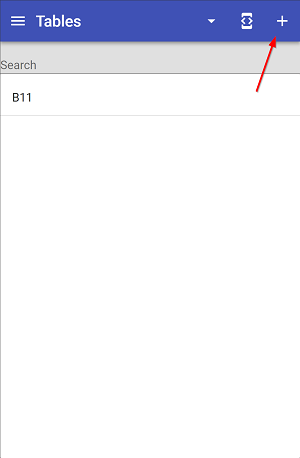
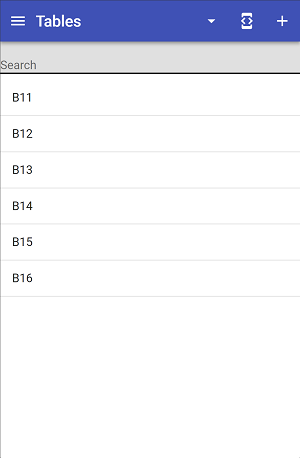
Add more cards by clicking + button and repeat the card naming steps.
We need few more tables for next steps.
On this step we'll add a Rule to define the functionality of the TABLE button.
On Main Menu click on Rules menu item.
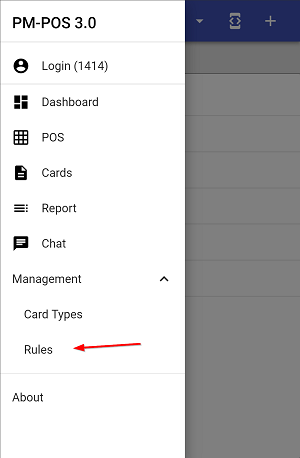
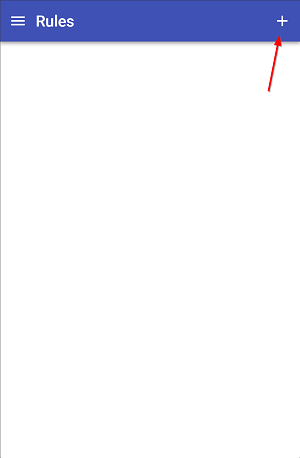
We don't have any rule yet. Click on + button to add a new one.
I named my rule as Default Rules. I can add multiple rules inside a rule definition so I'll gather my first set of rules inside Default Rules record.
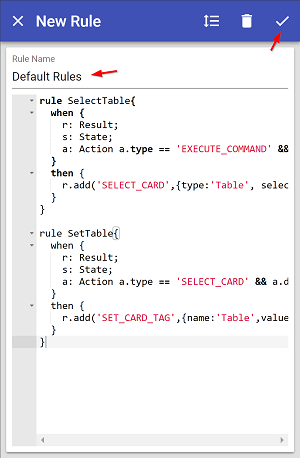
I'll need two functions to make the TABLE button to operate. One of them will work when button first clicked. It will display a dialog box. Second function will work when I make a table selection on the dialog box.
rule SelectTable{
  when {
    r: Result;
    s: State;
    a: Action a.type == 'EXECUTE_COMMAND' && a.data.name == 'Select Table' from s.action;
  }
  then {
    r.add('SELECT_CARD',{type:'Table', selected:s.card.getTagValue('Table')});
  }
}
This rule will work when TABLE button clicked. On When section it monitors EXECUTE_COMMAND action to execute with Select Table parameter. When it captures the action it executes SELECT_CARD action. Select Card action is an UI action and displays cards for the given type as buttons.
rule SetTable{
  when {
    r: Result;
    s: State;
    a: Action a.type == 'SELECT_CARD' && a.data.type == 'Table' from s.action;
  }
  then {
    r.add('SET_CARD_TAG',{name:'Table',value:s.state.get('Table')});
  }
}
This rule will work when operator selects a card from card selection dialog. When selected it executes SET_CARD_TAG action with selected table name. It literally does what we did manually to select a table for ticket card in the beginning of the tutorial.
Paste both rules as shown in the screen shot and click Check Mark button to save.
From Main Menu click on Cards menu item and switch to Tickets list by clicking the drop down arrow.
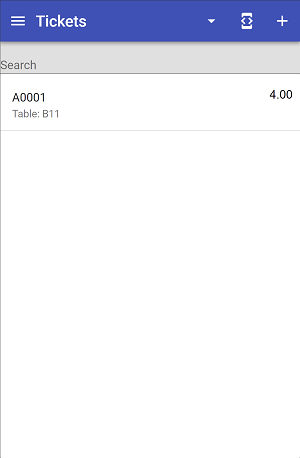
Display Ticket Card by clicking on it.
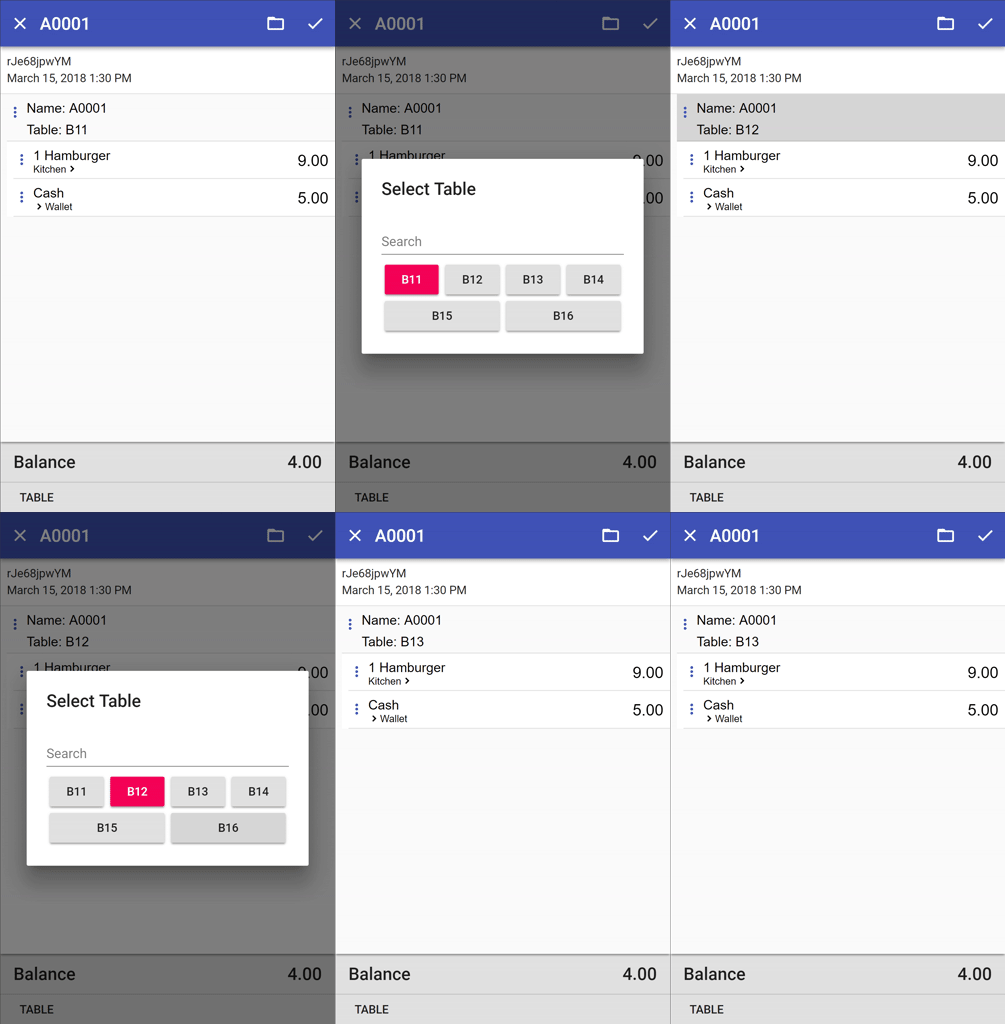
Click on TABLE button.

Now we should see a dialog box.
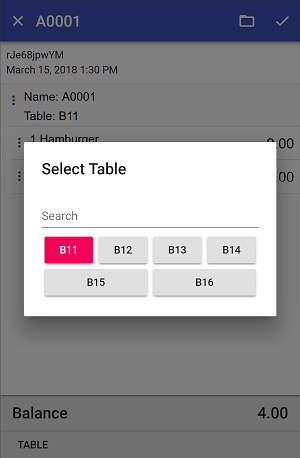
Clicking on table buttons should change selected table for the ticket card.
