IAM account for AWS
In this tutorial, you will learn how to set up an Amazon Web Services (AWS) Identity and Access Management (IAM) account and add workshop participants to temporary access groups.
Pre-requisites: AWS account
An account alias is a way of making the URL of your sign-in page contain your organization's name (or any other sensical identifier).
-
Login to AWS as a root user.
-
Go to the IAM management console. You can also navigate to the console by clicking "Services" in the top left corner, then selecting "Security, Identity & Compliance" at the bottom of the "All Services" list.
-
On the IAM console page, choose Dashboard on the left navigation bar.
-
Find the sign-in URL at the top of the dashboard page. To create a custom URL with
cfde-training-workshopclick "Edit" next to "Account Alias" and paste "cfde-training-workshop". If this alias is taken, use a different alias.

To create IAM users and groups, you must first create an admin group with admin permissions, and add yourself to it.
-
Click on your name at the top right of the window and select "My Account".
-
Scroll down to "IAM User and Role Access to Billing Information". Click "Edit".
-
Select the checkbox next to "Activate IAM Access" and choose "Update".
-
Return to the IAM dashboard.
-
Click on "Users" in the left navigation panel, and then choose "Add user".
-
Type in "Administrator" as the "User name".
-
Check the box next to "AWS Management Console access", and type in your custom password.
Please note: By default, AWS forces the new user to create a new password when first signing in. You can optionally clear the check box next to User must create a new password at the next sign-in to allow the new user to reset their password after they sign in.
- Click on "Next: Permissions".
-
On the Permissions page, click on the "Add user to group" button. Then click "Create group".
-
In the "Group name" box, for Group name type "Administrators".
-
Then check the box next to "AdministratorAccess".
-
Click the "Create group" button.
-
Back on the "Add user to group" page, select the check box for your new user group -- "Administrator".
Please note: Refresh the page if you don't see your newly created user group
-
Click the "Next: Tags" button on the bottom of the page.
-
Review your choices, then click "Create user".
-
On the Complete page, you can download a .csv file with login information for the user, or send an email with login instructions to the user.
-
On the AWS IAM dashboard, click on "Policies" on the left navigation bar. If this is your first policy, click "Get Started" on the "Welcome to Managed Policies" page.
-
Click "Create policy and toggle to the "JSON" tab. Then choose "Import managed policy."

-
In the pop-up window, type "power" in the search bar and then check the circle next to "PowerUserAccess".
-
Click on "Import" to display the policy in the JSON box.
-
Click "Next: Tags" and then "Next: Review"
-
On the Review policy page, for Name, type PowerUserExampleCorp. For Description, type Allows full access to all services except those for user management. Then choose "Create policy" to save your work.
Read more about creating your first IAM admin user and user group in the AWS docs.
Once your alias, admin group, and power user groups are created, you can add new workshop groups. We make a new group for each training workshop. Groups are convenient because you can assign all users with a specific permission type to one group.
-
To create a new group, click on "User groups" under the "Access Management" tab in the left navigation bar.
-
On the "User groups" page, click on the "Create group" button.
-
You will be asked to type in a group name. For our "Intro to AWS" workshops, we use the date of the workshop as the group name.
-
In the left navigation pane, click "User groups" and then click the "Create group" button on the right of the page.
-
In the "User group name" box, type in the group name (name or date of the workshop -- whatever you choose).
-
Scroll down to "Attach permissions policies" and search for "PowerUserExampleCorp" and select the checkbox next to it.
-
Then click "Create group" at the bottom of the page.

Now that you have a dedicated IAM group for your workshop, you can assign users to it.
-
Click on "Users" in the left navigation panel, then click on the "Add Users" button at the top of the page.
-
Type in the workshop participant's email address in the "User name" box. The user name must be unique -- if there is a conflict, you will be asked to select a different name.
-
Click on the "Add another user"
+to add more workshop registrants. You can add up to 10 users at a time! -
Select the box next to "AWS Management Console access" and then select "Custom password".
-
Type in a password for your workshop participants to use during sign-in.
-
Remember to uncheck the box next to "Users must create a new password at next sign-in Users automatically get the IAMUserChangePassword policy to allow them to change their own password".
-
Then click "Next: Permissions" and check the box next to the workshop group name.
-
Click "Next: Tags", then "Next: Review", and finally click "Create user".
-
Download (as a CSV) or copy the passwords for your new users and deliver them to the users securely.
-
You must also provide your users with a link to your IAM user console page and their user names. This link can be found in the downloaded CSV file.
To minimize the risk of leaking credentials or creating unexpected resources, consider adding a permission boundary to workshop IAM users. A permissions boundary is an advanced IAM feature that allows you to set bounds on what features a user can access. If a permissions boundary is set, the user can only perform actions that are allowed by both the group's IAM policies and its permissions boundaries. To set a boundary, you must create a new policy with the required bound. For example, if you wish to limit IAM users to Amazon EC2:
- Create a JSON policy named "Setting-Bounds" by clicking on the "Policies" tab under "Access management".
- Then click the blue "Create policy" button on the right.
- Select the JSON tab and replace its contents with the following:
{
    "Version": "2012-10-17",
    "Statement": [
        {
            "Effect": "Allow",
            "Action": [
                "ec2:*"
            ],
            "Resource": "*"
        }
    ]
}
- Click "Next:Tags", then "Next:Review"
- Name the policy "Setting-Bounds" and, if needed, add a description of what this policy allows.
- Under the "Summary" section you should see EC2 Full access.
- Click Create Policy. The "Policies" tab should now list the Setting-Bounds policy:

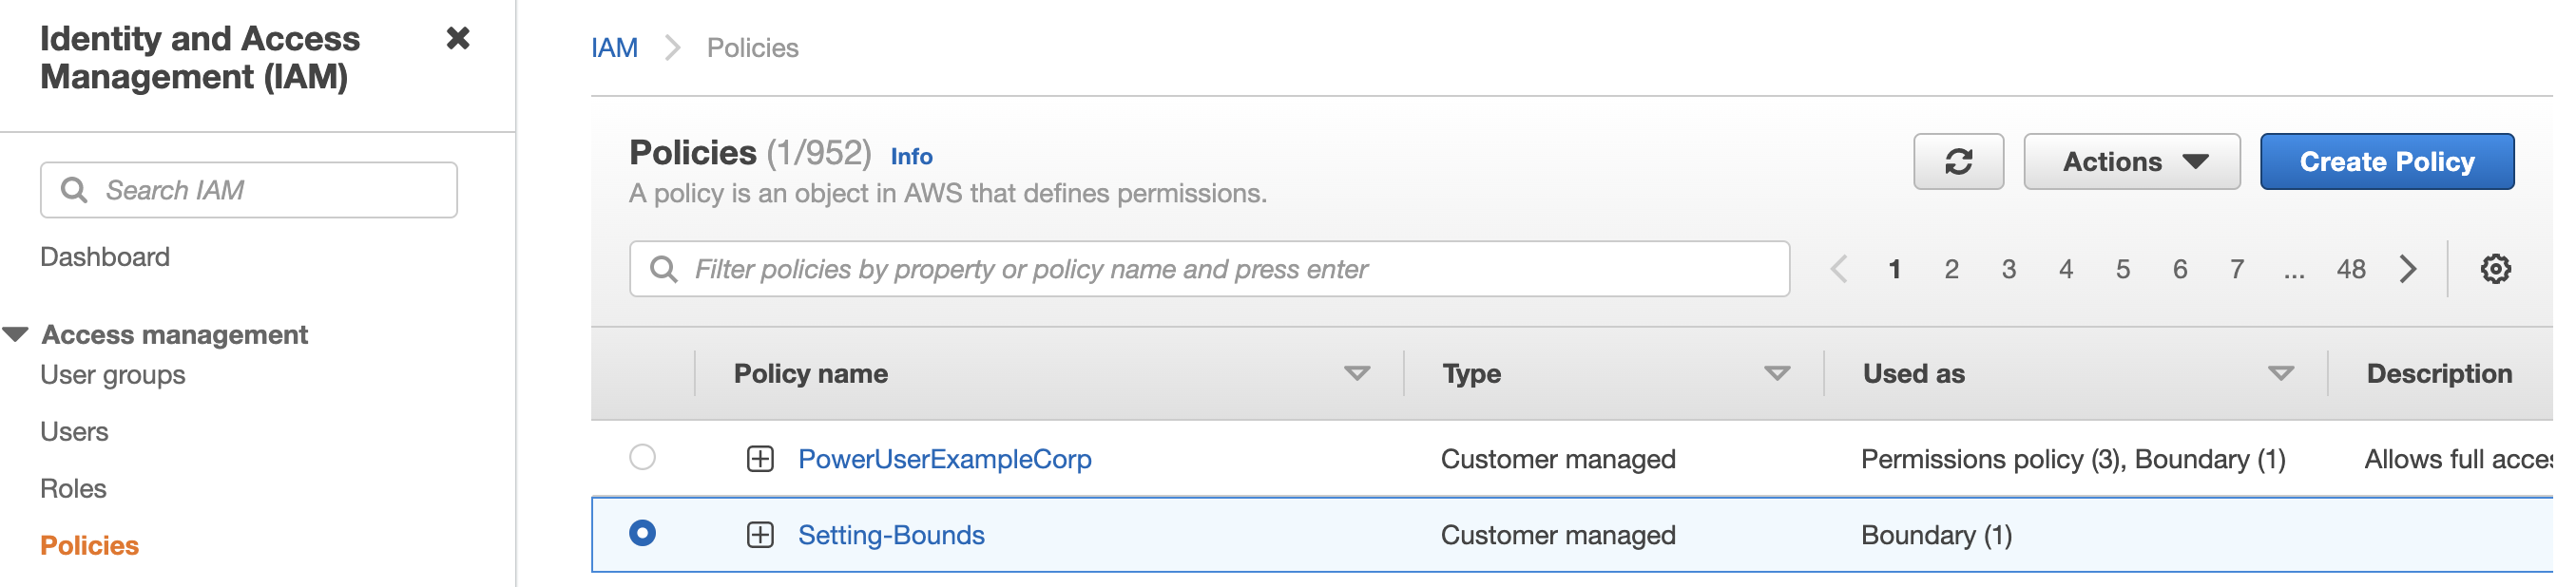
- Next, go to the "Policies" tab and click on the Setting-Bounds policy.
- Switch to the "Policy usage" tab:
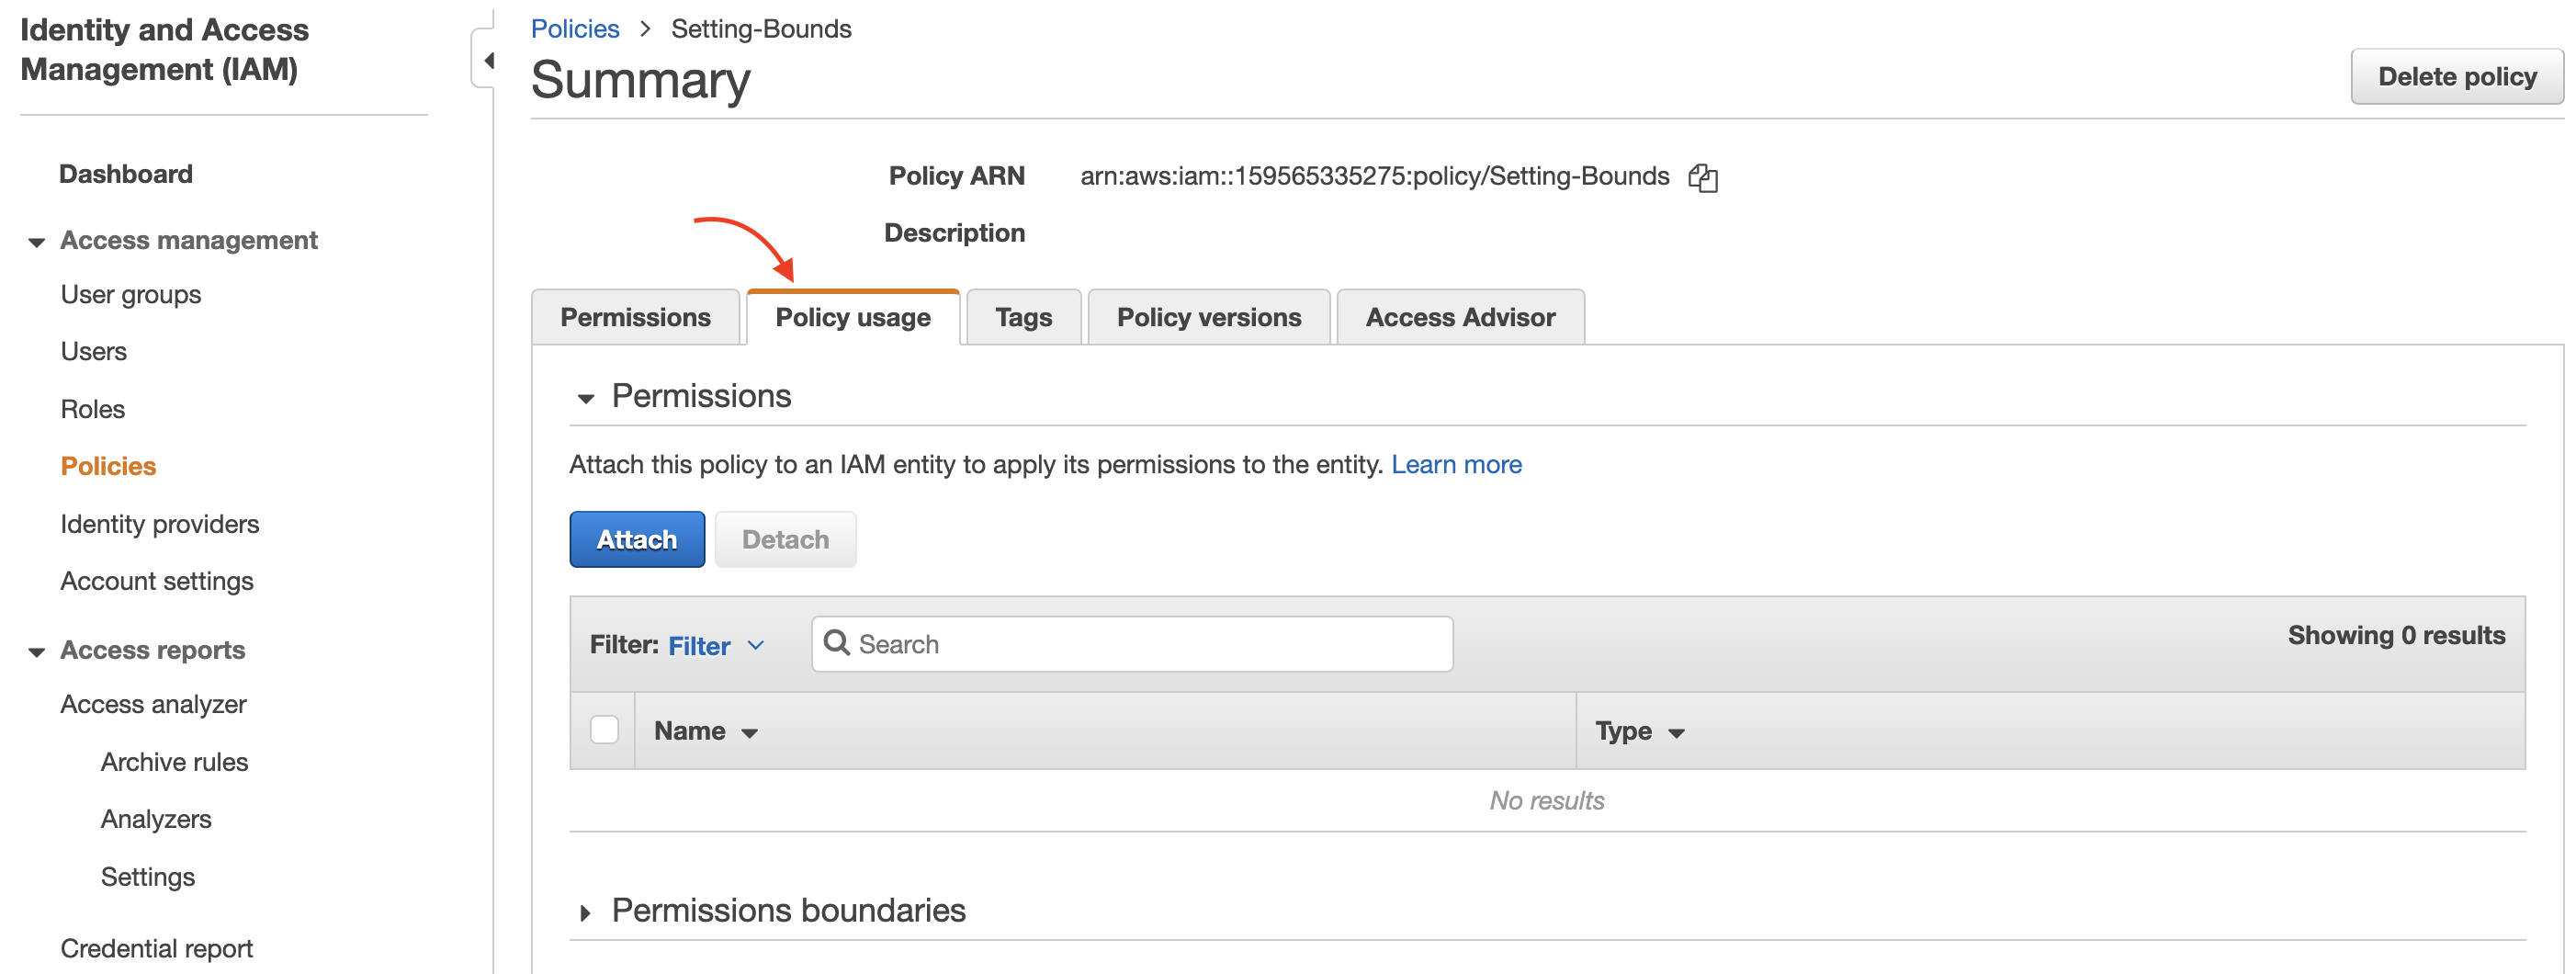 and scroll to the Permissions boundary drop-down section
- Click on "Set boundary".
- Select all the relevant users displayed in the list, then click "Set boundary"
- At this time, users cannot be filtered by group.
- When you are done with the workshop, navigate to the User groups page.
- Select the group you wish to delete and then click the "Delete" button on the top right

- On the pop-up window, type in the group name, and then click "Delete".
- This will revoke privileges from everyone belonging to that group. However, their user ids will still remain in your "Users" list.
- Click on the "Users" tab in the left navigation bar.
- Select up to 10 users you wish to remove.
- Click the "Delete users" button at the top of the page.
- You can't delete more than 10 users at a time! Please repeat if there are more users to delete.