General information
ridgeback_yumi is the name given to a robot built at KTH RPL, that attempts to fulfill the role and functions of PR2. It is a modular robot comprised of an ABB YuMi IRB14000 6-DoF dual arm manipulator, and a Clearpath Ridgeback mobile base.
For reference on how to setup each of these robots seperately, check the wikis that we have prepared for them:
At this moment, the ridgeback_yumi that we have at Lab 704 has the following accessories on top of it:
- TP-LINK TL-WR941ND 450 Mbps Wireless N Router WiFi router.
- Maxxtro Power Outlet Strip, with power switch, 1.5m cable, and 9xF (CEE 7/3) outlets. Electrical plug modified to American so that it can fit into the Ridgeback inverter.
- 2 x Optoforce 6-axis Force/Torque sensors, attached to YuMi with custom mounts.
- 2 x Optoforce Ethernet converter
- ABB FlexPendant for YuMi
- Kinect for Xbox One
The WiFi router is configured in the following way:
- Firmware version: 3.16.9 Build 150312 Rel.59597n
-
DHCP: enabled.
- Network Segment: 192.168.125.0
- Subnet mask: 255.255.255.0
- Start: 192.168.125.1
- End: 192.168.125.199
- Default gateway: 192.168.125.5
-
Reserved IP Addresses
- YuMi: 192.168.125.1
- Ridgeback: 192.168.125.2
- Optoforce left-hand sensor: 192.168.125.3
- Optoforce right-hand sensor: 192.168.125.4
- Router: 192.168.125.5 (address for accessing web utility for network setup)
- WAN: enabled. (this means you would have access to the internet if you connect a cable)
-
Port forwarding
- 11311 from 192.168.125.2
- 22 from 192.168.125.2
Also, it is strongly recommended to add the following host names to the file /etc/hosts of both the Clearpath Ridgeback, and the computer from which you'll remotely control ridgeback_yumi:
192.168.125.5		router-robots
192.168.125.50		ubuntuPC
192.168.125.1		yumi-robot
192.168.125.2		cpr-ridgeback
192.168.125.2		CPR-R100-0025
192.168.125.3		OPTODAQ-LEFT
192.168.125.4		OPTODAQ-RIGHT
- 1: Manual for General DAQs (Data AcQuisition) with USB, UART or CAN Interfaces
- 2: Installation and Operation Manual for Ethernet Converter
- 3: User Guide for the Universal Robots OptoForce Kit
- 4: Optoforce sensors Frequenty Asked Questions (FAQ)
Each force sensor is configured by default to host a web server, through which you can set its parameters, and visualize force/torque measurements in real time. By default, each sensor has '192.168.1.1' as its IP address, but this can be changed using the web server interface.
To use this interface, first connect the Optoforce sensor to the Ethernet converter, and then connect the converter to your PC with an Ethernet cable. Then, open the following address in a web browser:
http://192.168.125.3 # Or the respective address of your sensor, if you have changed it
You should visualize the Optoforce sensor main page:
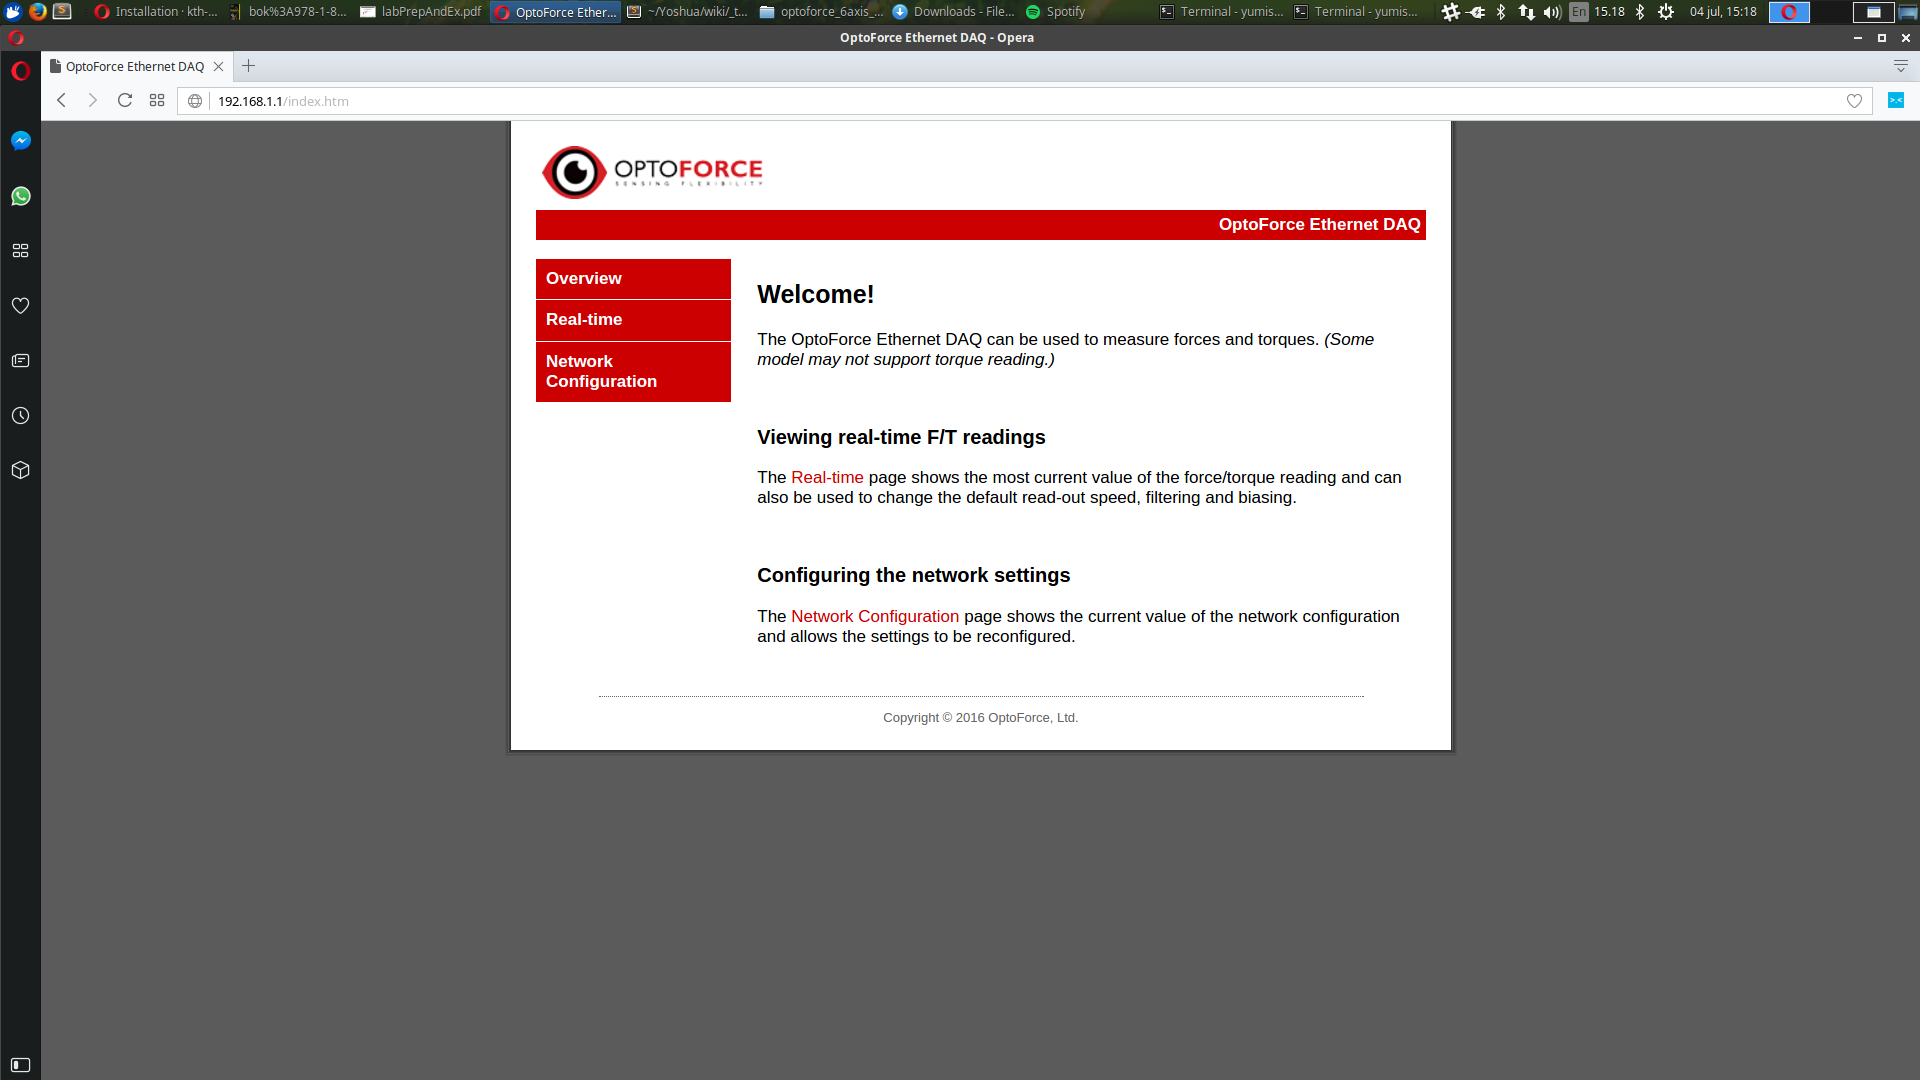
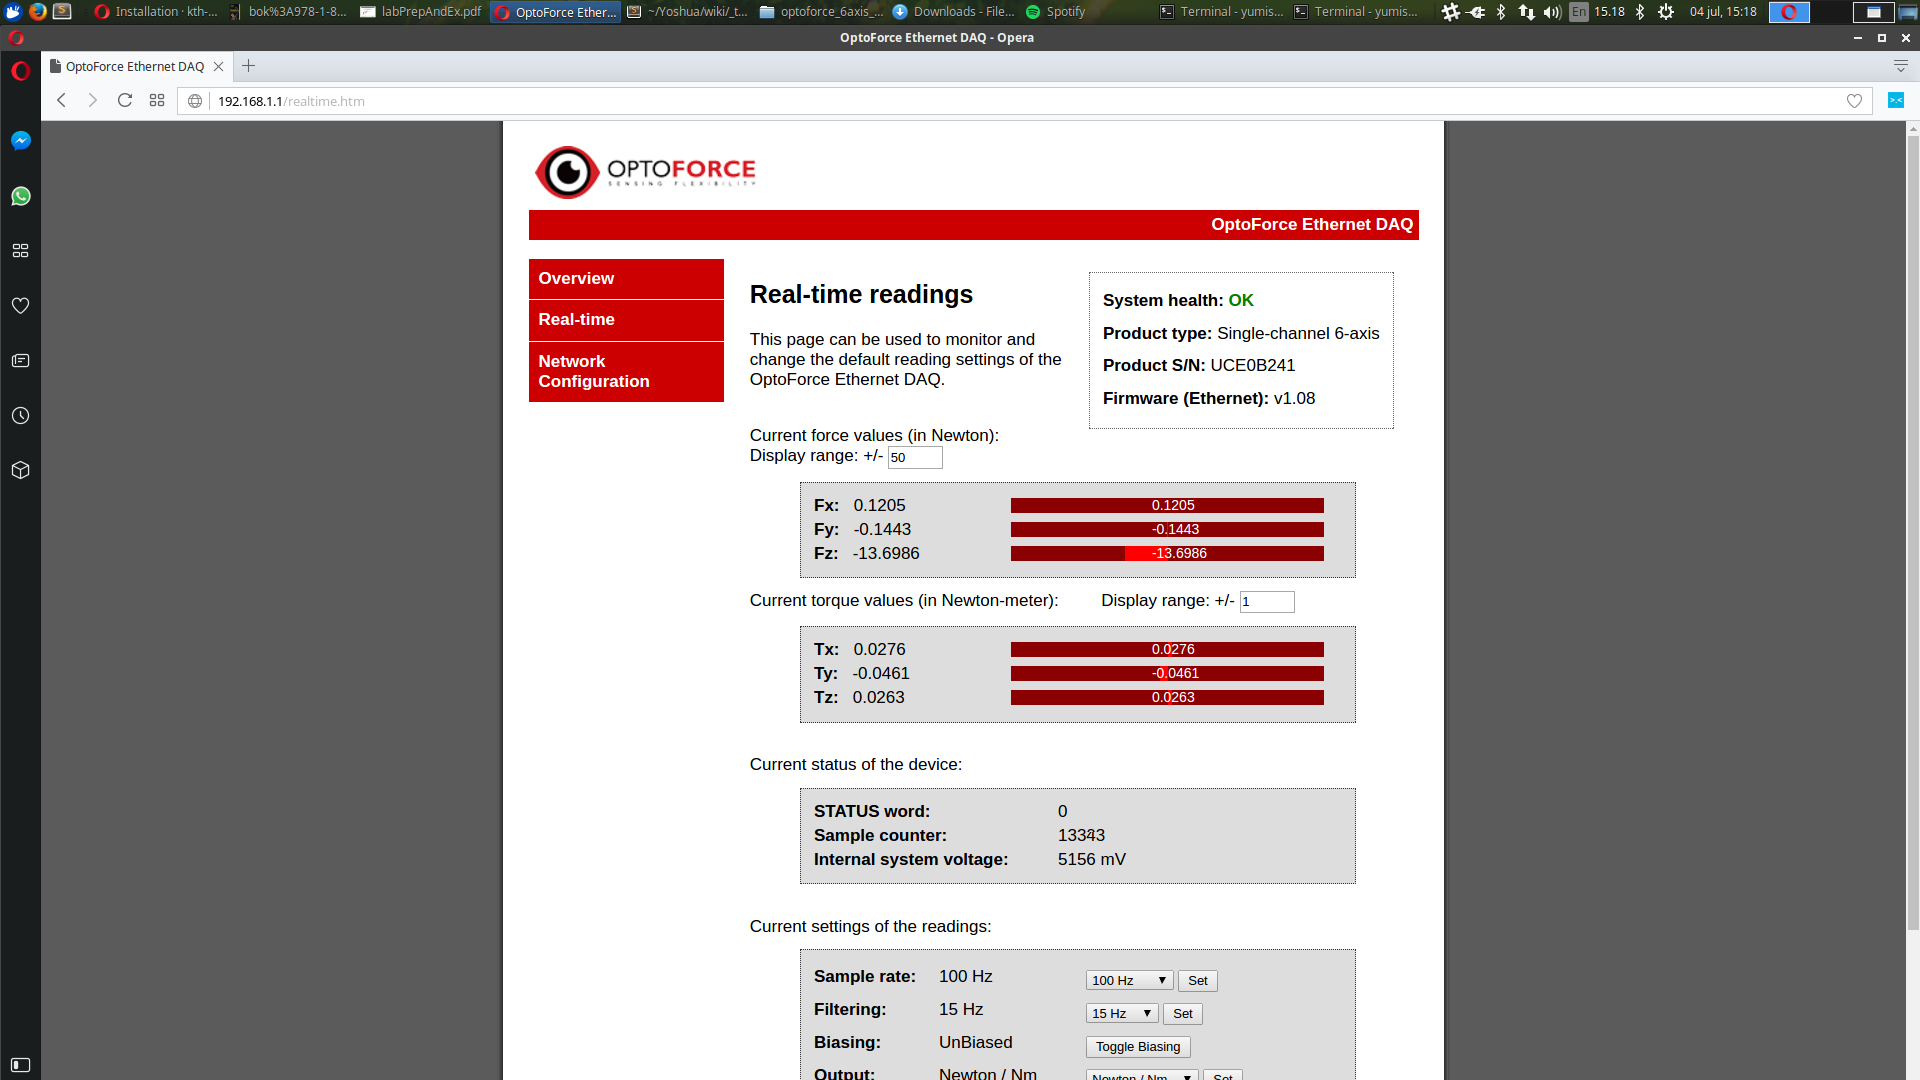
Click "Real-Time" from the option menu to visualize real time sensor readings, and set up the sensor parameters: sample rate, filtering frequency, bias cancelation and output units.
Click "Network Configuration" from the option menu if you wish to change the default network settings, such as Host name, IP, DHCP, and Subnet Mask.

To set up the ROS drivers, make sure to follow the instructions presented in Installation.
We have tested the Ethernet interface of the sensors thoroughly, which you can test using the original ROS nodes, or our custom nodes for the current robot configuration.
To visualize real time sensor readings, open the file etherdaq_ros/launch/demo.launch (see here), and modify the line args="--address 192.168.100.12 --rate 1000 --filter 4" by replacing 192.168.100.12 with the IP address of your sensor (for ridgeback_yumi: left sensor = 192.168.125.3 & right sensor = 192.168.125.4).
Then, launch the Ethernet interface node:
roslaunch optoforce_etherdaq_driver demo.launch
Our custom nodes are able to start a communication with each of the Optoforce sensors mounted on ridgeback_yumi, and publish sensor data.
If you want to run the node for the left arm sensor, run:
roslaunch ridgeback_yumi_optodaq left_arm.launch
If you want to run the node for the right arm sensor, run:
roslaunch ridgeback_yumi_optodaq right_arm.launch
If you want to run the nodes for both arms:
roslaunch ridgeback_yumi_optodaq both_arms.launch
Note: if you want to change the parameters of each sensor (sampling rate, filter frequency, frame_id), you can do this by editing the launch files mentioned above.