[Tutorial] Conversion of shapefile with polygon geometries to 3D Tiles
This tutorial shows how to convert a shapefile with polygon geometries to 3D Tiles.
See the Prerequisites section before starting this tutorial.
Create the buildings volumes in 3D Tiles format given as input data the Building_Footprints_join_Building_3D_EPSG_26985.shp.zip shapefile that represent the buildings footprint.
The workflow graph is presented below, highlighting steps and tools:
graph LR;
    shp("Shapefile Polygon/LineString (.shp.zip)")-->geom_polygon[Geometry Manipulation]-->postgis_polygon[PostGIS]-->pg2b3dm-->3d_batched((3DTiles));
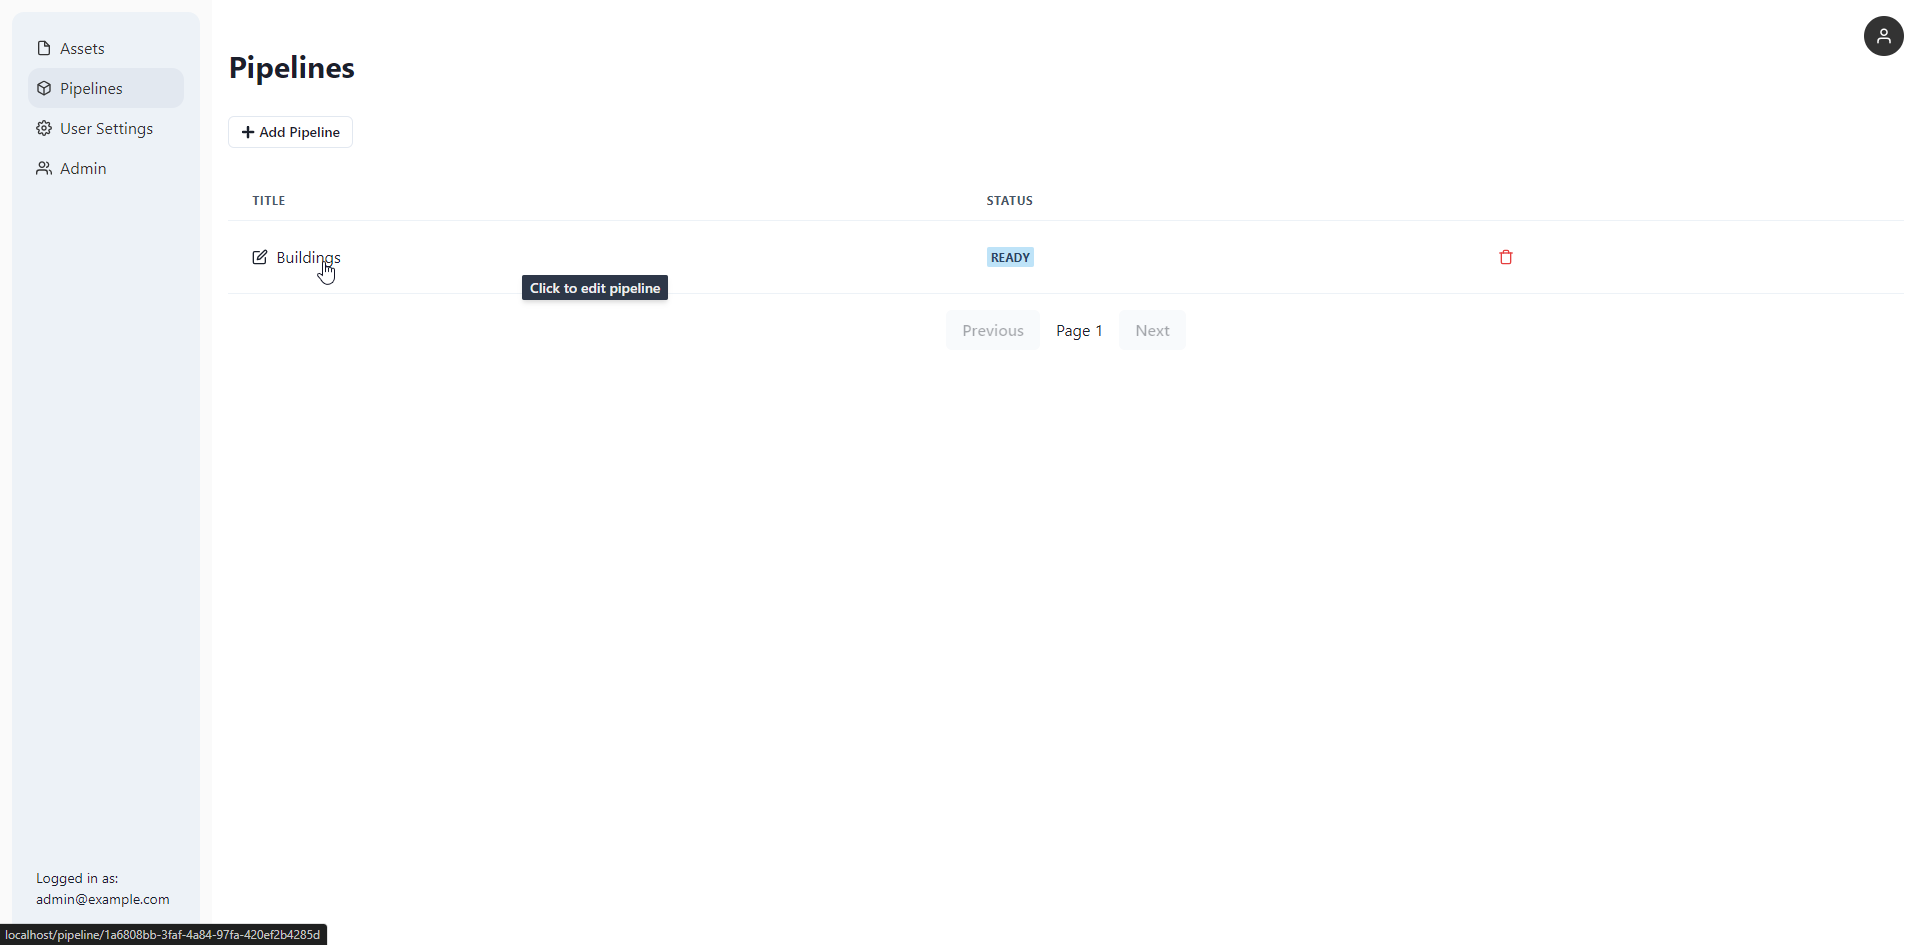
Select the Pipelines menu item in the left sidebar and then click on the + Add Pipeline to create a new pipeline.
In the Add Pipeline dialog enter Buildings as title and select the Building_Footprints_join_Building_3D_EPSG_26985.shp.zip from the asset dropdown then click on save.

A new pipeline is available in the table, click on the title to enter the edit page
Update the geometry by creating a volume based on properties, change the Upper limit height using the expression dropdown to create a volume generating the following expression: (func($minZ) + (var(max_z) - var(max_z))); Where $minZ is the average minimum z of the feature geometry (computed) and max_z/max_z are properties of the features.

Generate 3D Tiles by clicking on the Run button. (The generated tileset can be downloaded from the user interface with the download icon near the SUCCESS status tag.)
Tip: minimum and maximum geometric error could be adjusted to define the visibility range of the tileset on the map.
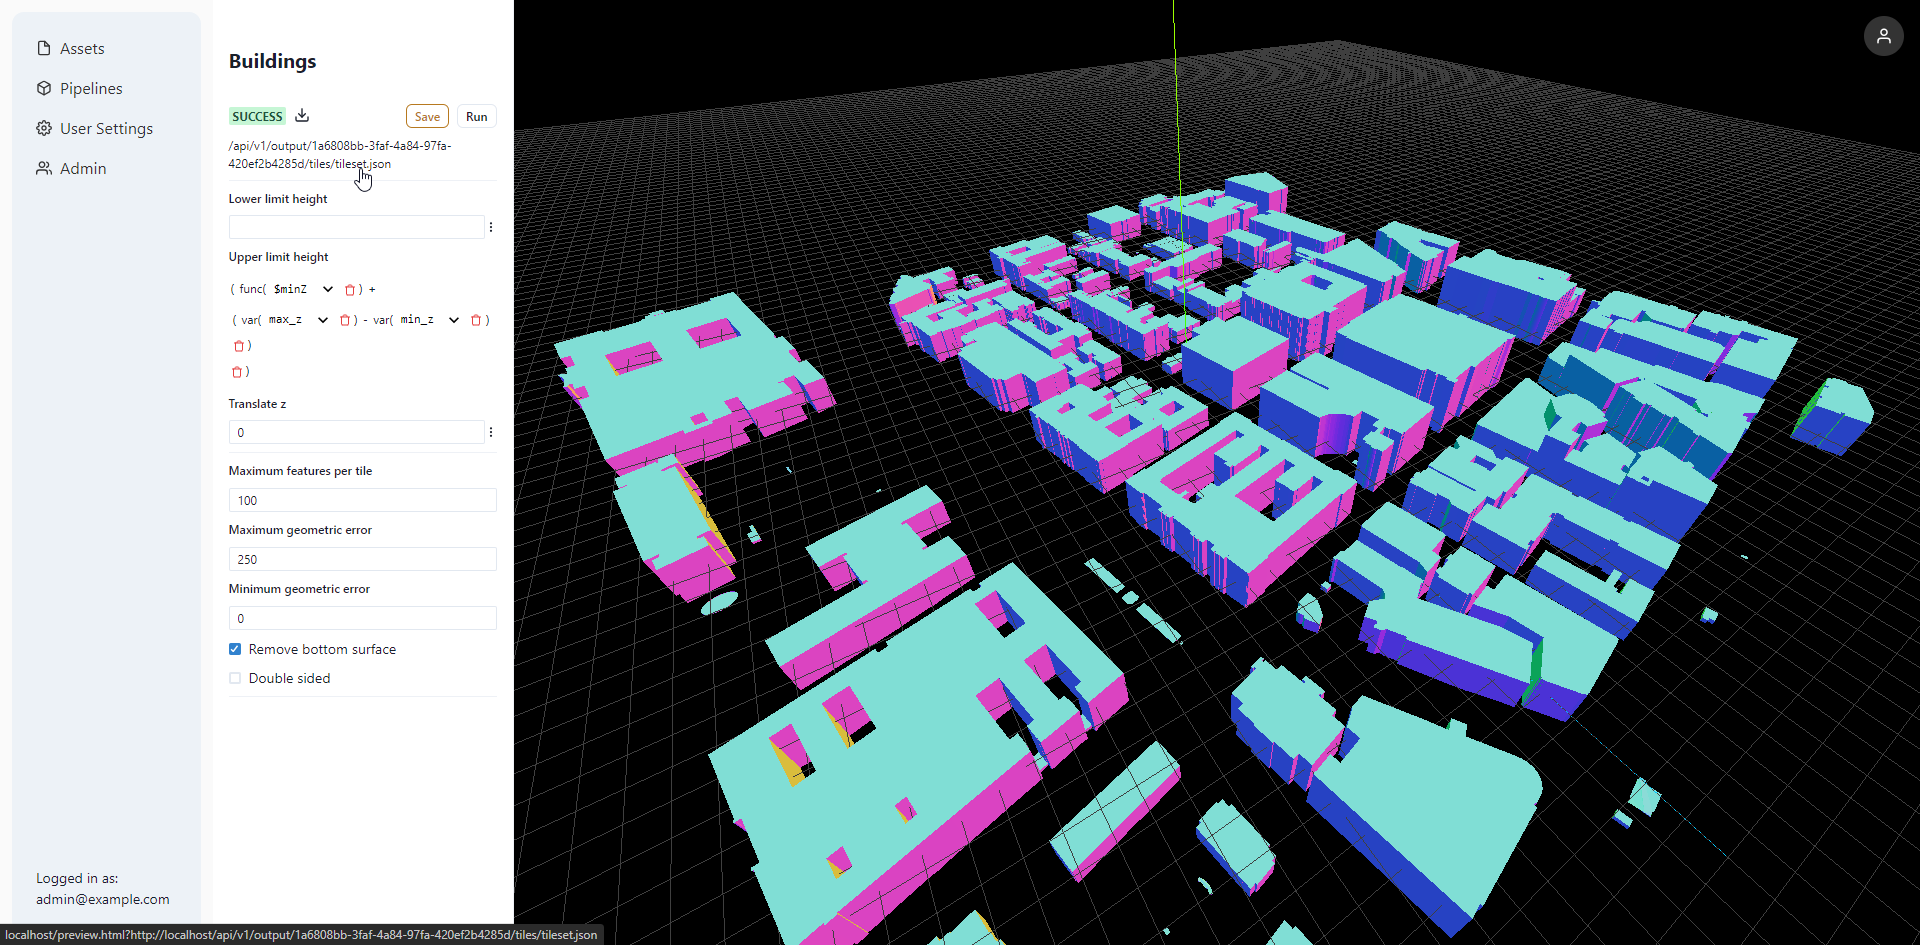
Preview of generated 3D Tiles in Cesium.js by clicking on the tileset link under the SUCCESS status tag.
