Capture using Charles
-
Configure On your PC/Mac
Launch Charles, goto Proxy->Proxy Settings->HTTP Proxy,
set a proxy listen port(e.g. 8888), and enable transparent HTTP proxying.

-
Configure On your Phone
Goto Settings->WLAN->"i" icon->Configure Proxy,
setup a Manual proxy type, enter the PC/Mac IP address and the proxy listen port you set early(e.g. 8888).


-
Start recording
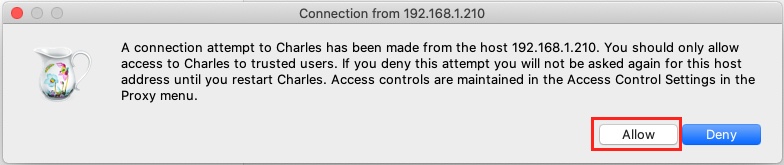
Click the start recording icon on the toolbar, and select allow incoming connection

-
Launch Petkit App, click your petkit feeder device and then click settings icon on the top right corner.
-
Stop recording
Click the start recording icon on the toolbar.
-
Goto Sequence page, you will find petkit http request and response records, find the one request url ends with "discovery/device_roster".
note: if you're unable to find this request, please make sure your Petkit App is not running in background and start from step 1 again. when tried several times, and still cannot find this request, please goto issues to find solutions or submit an issue.
-
In the http request Contents->Headers page, you will find your own X-Session value and other request headers.
It's recommend that you enter all your headers in the plugin setting(Except Host)

- In the JSON/JSON Text page, you'll able to retrieve all the device information of your device, include deviceId and deviceType.
- deviceID locate at: result->devices->data->id, which should be a 6-digit number.
- deviceType locate at: result->devices->data->type, for Petkit feeder mini, it's
FeederMini.