ollama/ollama is popular framework designed to build and run language models on a local machine; you can now use the C++ interface of ipex-llm as an accelerated backend for ollama running on Intel GPU (e.g., local PC with iGPU, discrete GPU such as Arc, Flex and Max).
See the demo of running LLaMA2-7B on Intel Arc GPU below.
 |
| You could also click here to watch the demo video. |
Note
ipex-llm[cpp]==2.5.0b20240527 is consistent with v0.1.34 of ollama.
Our current version is consistent with v0.1.39 of ollama.
IPEX-LLM's support for ollama now is available for Linux system and Windows system.
Visit Run llama.cpp with IPEX-LLM on Intel GPU Guide, and follow the instructions in section Prerequisites to setup and section Install IPEX-LLM cpp to install the IPEX-LLM with Ollama binaries.
After the installation, you should have created a conda environment, named llm-cpp for instance, for running ollama commands with IPEX-LLM.
Activate the llm-cpp conda environment and initialize Ollama by executing the commands below. A symbolic link to ollama will appear in your current directory.
-
For Linux users:
conda activate llm-cpp
init-ollama
-
For Windows users:
Please run the following command with administrator privilege in Miniforge Prompt.
conda activate llm-cpp
init-ollama.bat
Note
If you have installed higher version ipex-llm[cpp] and want to upgrade your ollama binary file, don't forget to remove old binary files first and initialize again with init-ollama or init-ollama.bat.
Now you can use this executable file by standard ollama's usage.
You may launch the Ollama service as below:
-
For Linux users:
export OLLAMA_NUM_GPU=999
export no_proxy=localhost,127.0.0.1
export ZES_ENABLE_SYSMAN=1
source /opt/intel/oneapi/setvars.sh
export SYCL_CACHE_PERSISTENT=1
export SYCL_PI_LEVEL_ZERO_USE_IMMEDIATE_COMMANDLISTS=1
# [optional] if you want to run on single GPU, use below command to limit GPU may improve performance
export ONEAPI_DEVICE_SELECTOR=level_zero:0

./ollama serve
-
For Windows users:
Please run the following command in Miniforge Prompt.
set OLLAMA_NUM_GPU=999
set no_proxy=localhost,127.0.0.1
set ZES_ENABLE_SYSMAN=1
set SYCL_CACHE_PERSISTENT=1
set SYCL_PI_LEVEL_ZERO_USE_IMMEDIATE_COMMANDLISTS=1

ollama serve
Note
Please set environment variable OLLAMA_NUM_GPU to 999 to make sure all layers of your model are running on Intel GPU, otherwise, some layers may run on CPU.
Note
To allow the service to accept connections from all IP addresses, use OLLAMA_HOST=0.0.0.0 ./ollama serve instead of just ./ollama serve.
Tip
When your machine has multi GPUs and you want to run on one of them, you need to set ONEAPI_DEVICE_SELECTOR=level_zero:[gpu_id], here [gpu_id] varies based on your requirement. For more details, you can refer to this section.
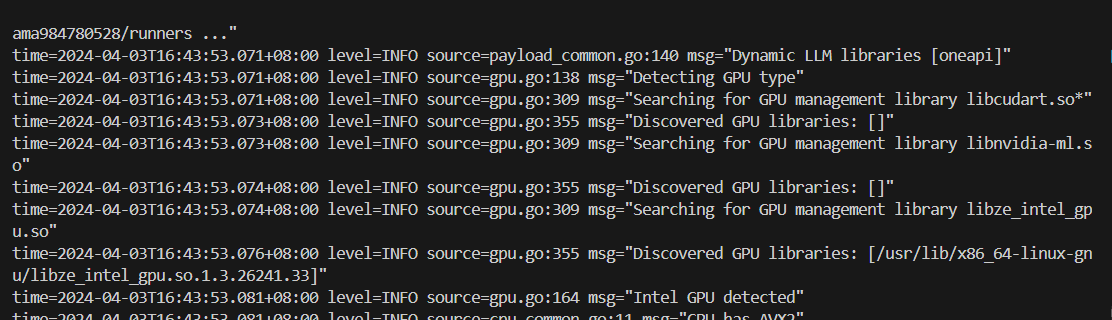
The console will display messages similar to the following:
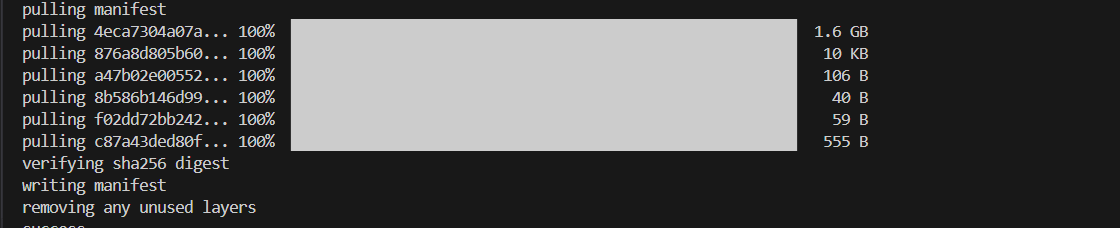
Keep the Ollama service on and open another terminal and run ./ollama pull <model_name> in Linux (ollama.exe pull <model_name> in Windows) to automatically pull a model. e.g. dolphin-phi:latest:
Using curl is the easiest way to verify the API service and model. Execute the following commands in a terminal. Replace the <model_name> with your pulled
model, e.g. dolphin-phi.
-
For Linux users:
curl http://localhost:11434/api/generate -d '
{
   "model": "<model_name>",
   "prompt": "Why is the sky blue?",
   "stream": false
}'
-
For Windows users:
Please run the following command in Miniforge Prompt.
curl http://localhost:11434/api/generate -d "
{
   \"model\": \"<model_name>\",
   \"prompt\": \"Why is the sky blue?\",
   \"stream\": false
}"
Ollama supports importing GGUF models in the Modelfile, for example, suppose you have downloaded a mistral-7b-instruct-v0.1.Q4_K_M.gguf from Mistral-7B-Instruct-v0.1-GGUF, then you can create a file named Modelfile:
FROM ./mistral-7b-instruct-v0.1.Q4_K_M.gguf
TEMPLATE [INST] {{ .Prompt }} [/INST]
PARAMETER num_predict 64
Then you can create the model in Ollama by ollama create example -f Modelfile and use ollama run to run the model directly on console.
-
For Linux users:
export no_proxy=localhost,127.0.0.1 ./ollama create example -f Modelfile ./ollama run example -
For Windows users:
Please run the following command in Miniforge Prompt.
set no_proxy=localhost,127.0.0.1
ollama create example -f Modelfile
ollama run example
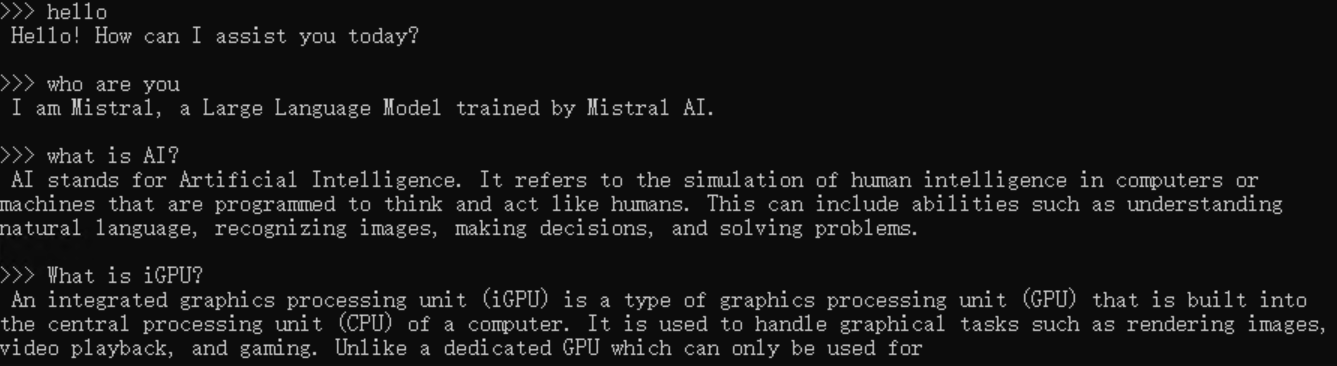
An example process of interacting with model with ollama run example looks like the following: