
An example using Travis CI for continuous deployment to Surge.sh.
Continuous Integration services like Travis CI make it possible to run Surge and publish your project each time you push to a GitHub repository. This also makes it possible to publish each time your tests pass, or when someone opens up a pull request.
- Get your token
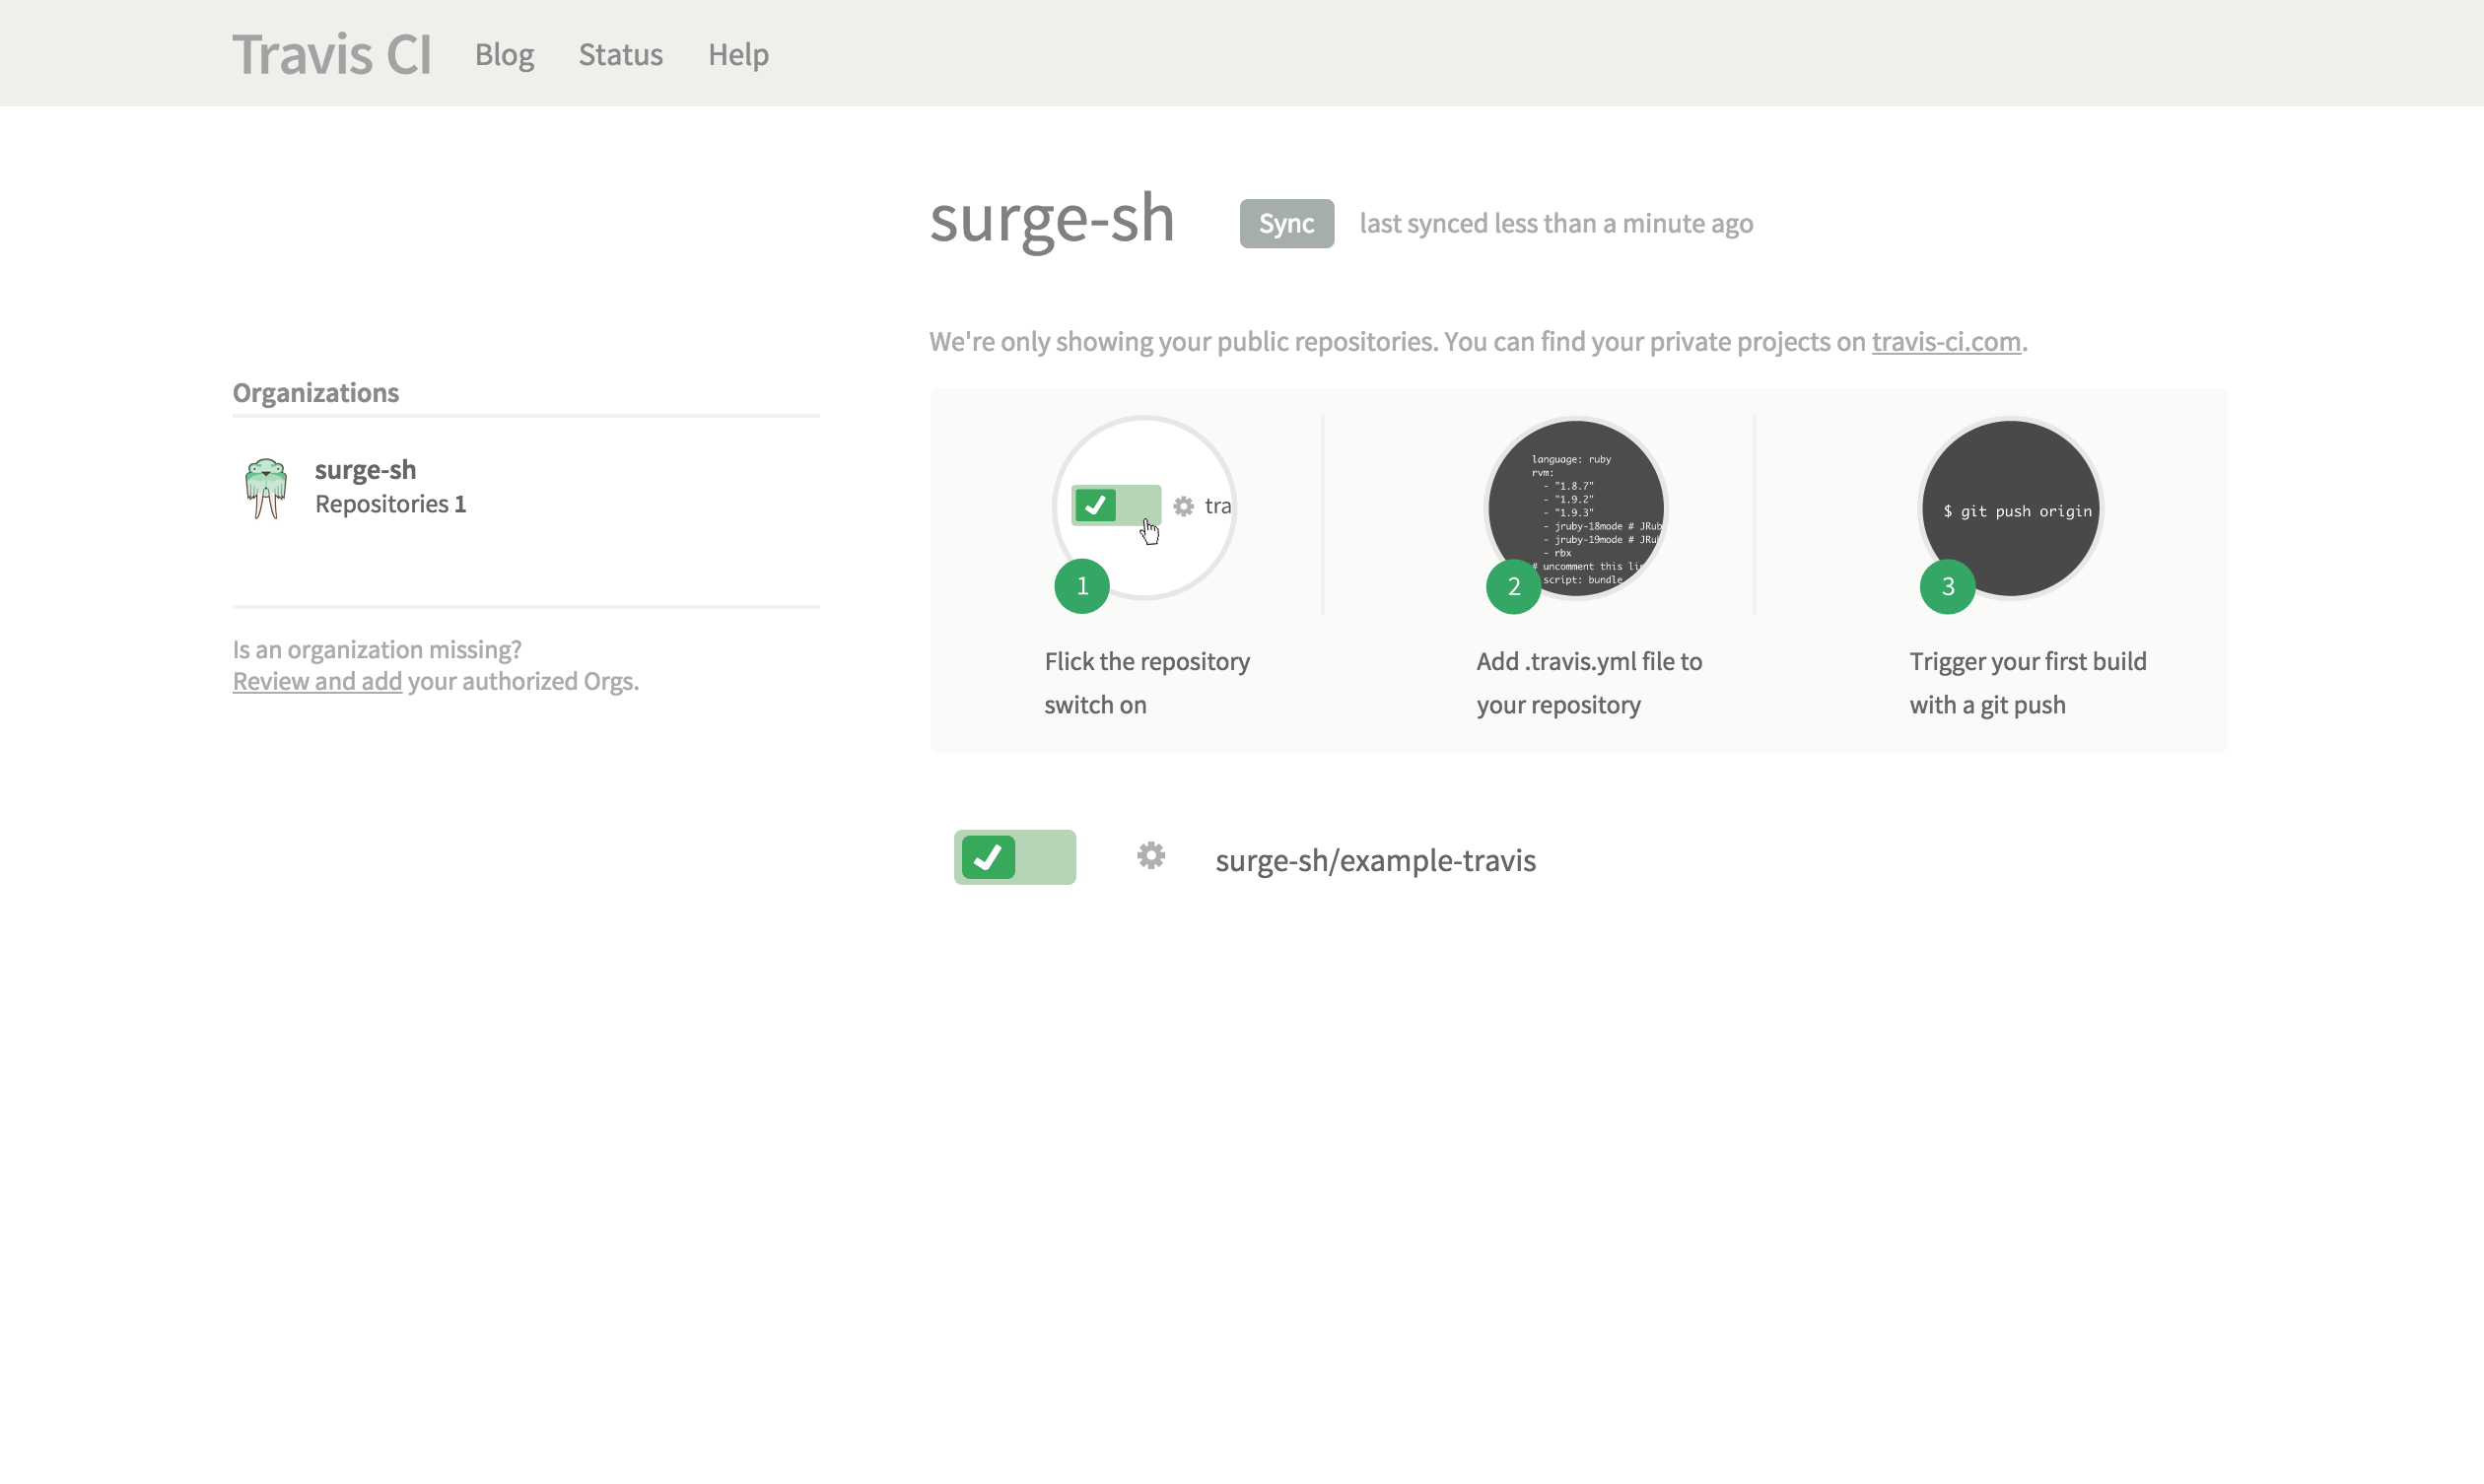
- Add your project’s repository to Travis CI
- Push a
.travis.ymlfile that will run thesurgecommand
Your secret Surge token allows services like Travis CI to login and publish projects on your behalf. Get your Surge token by running the following command in your terminal:
surge token
You’ll be asked to login again, and afterwards your token will be displayed like this:
token: a142e09a6b13a21be512b141241c7123
Now you are ready to login and setup your project on Travis CI. Add your project’s GitHub repo to your list of Travis CI projects. The screenshots are using the surge-sh/example-travis repo:
Press Environment Variables next, and you’ll be able to secretly add your email address and token so Travis CI can login to Surge for you:
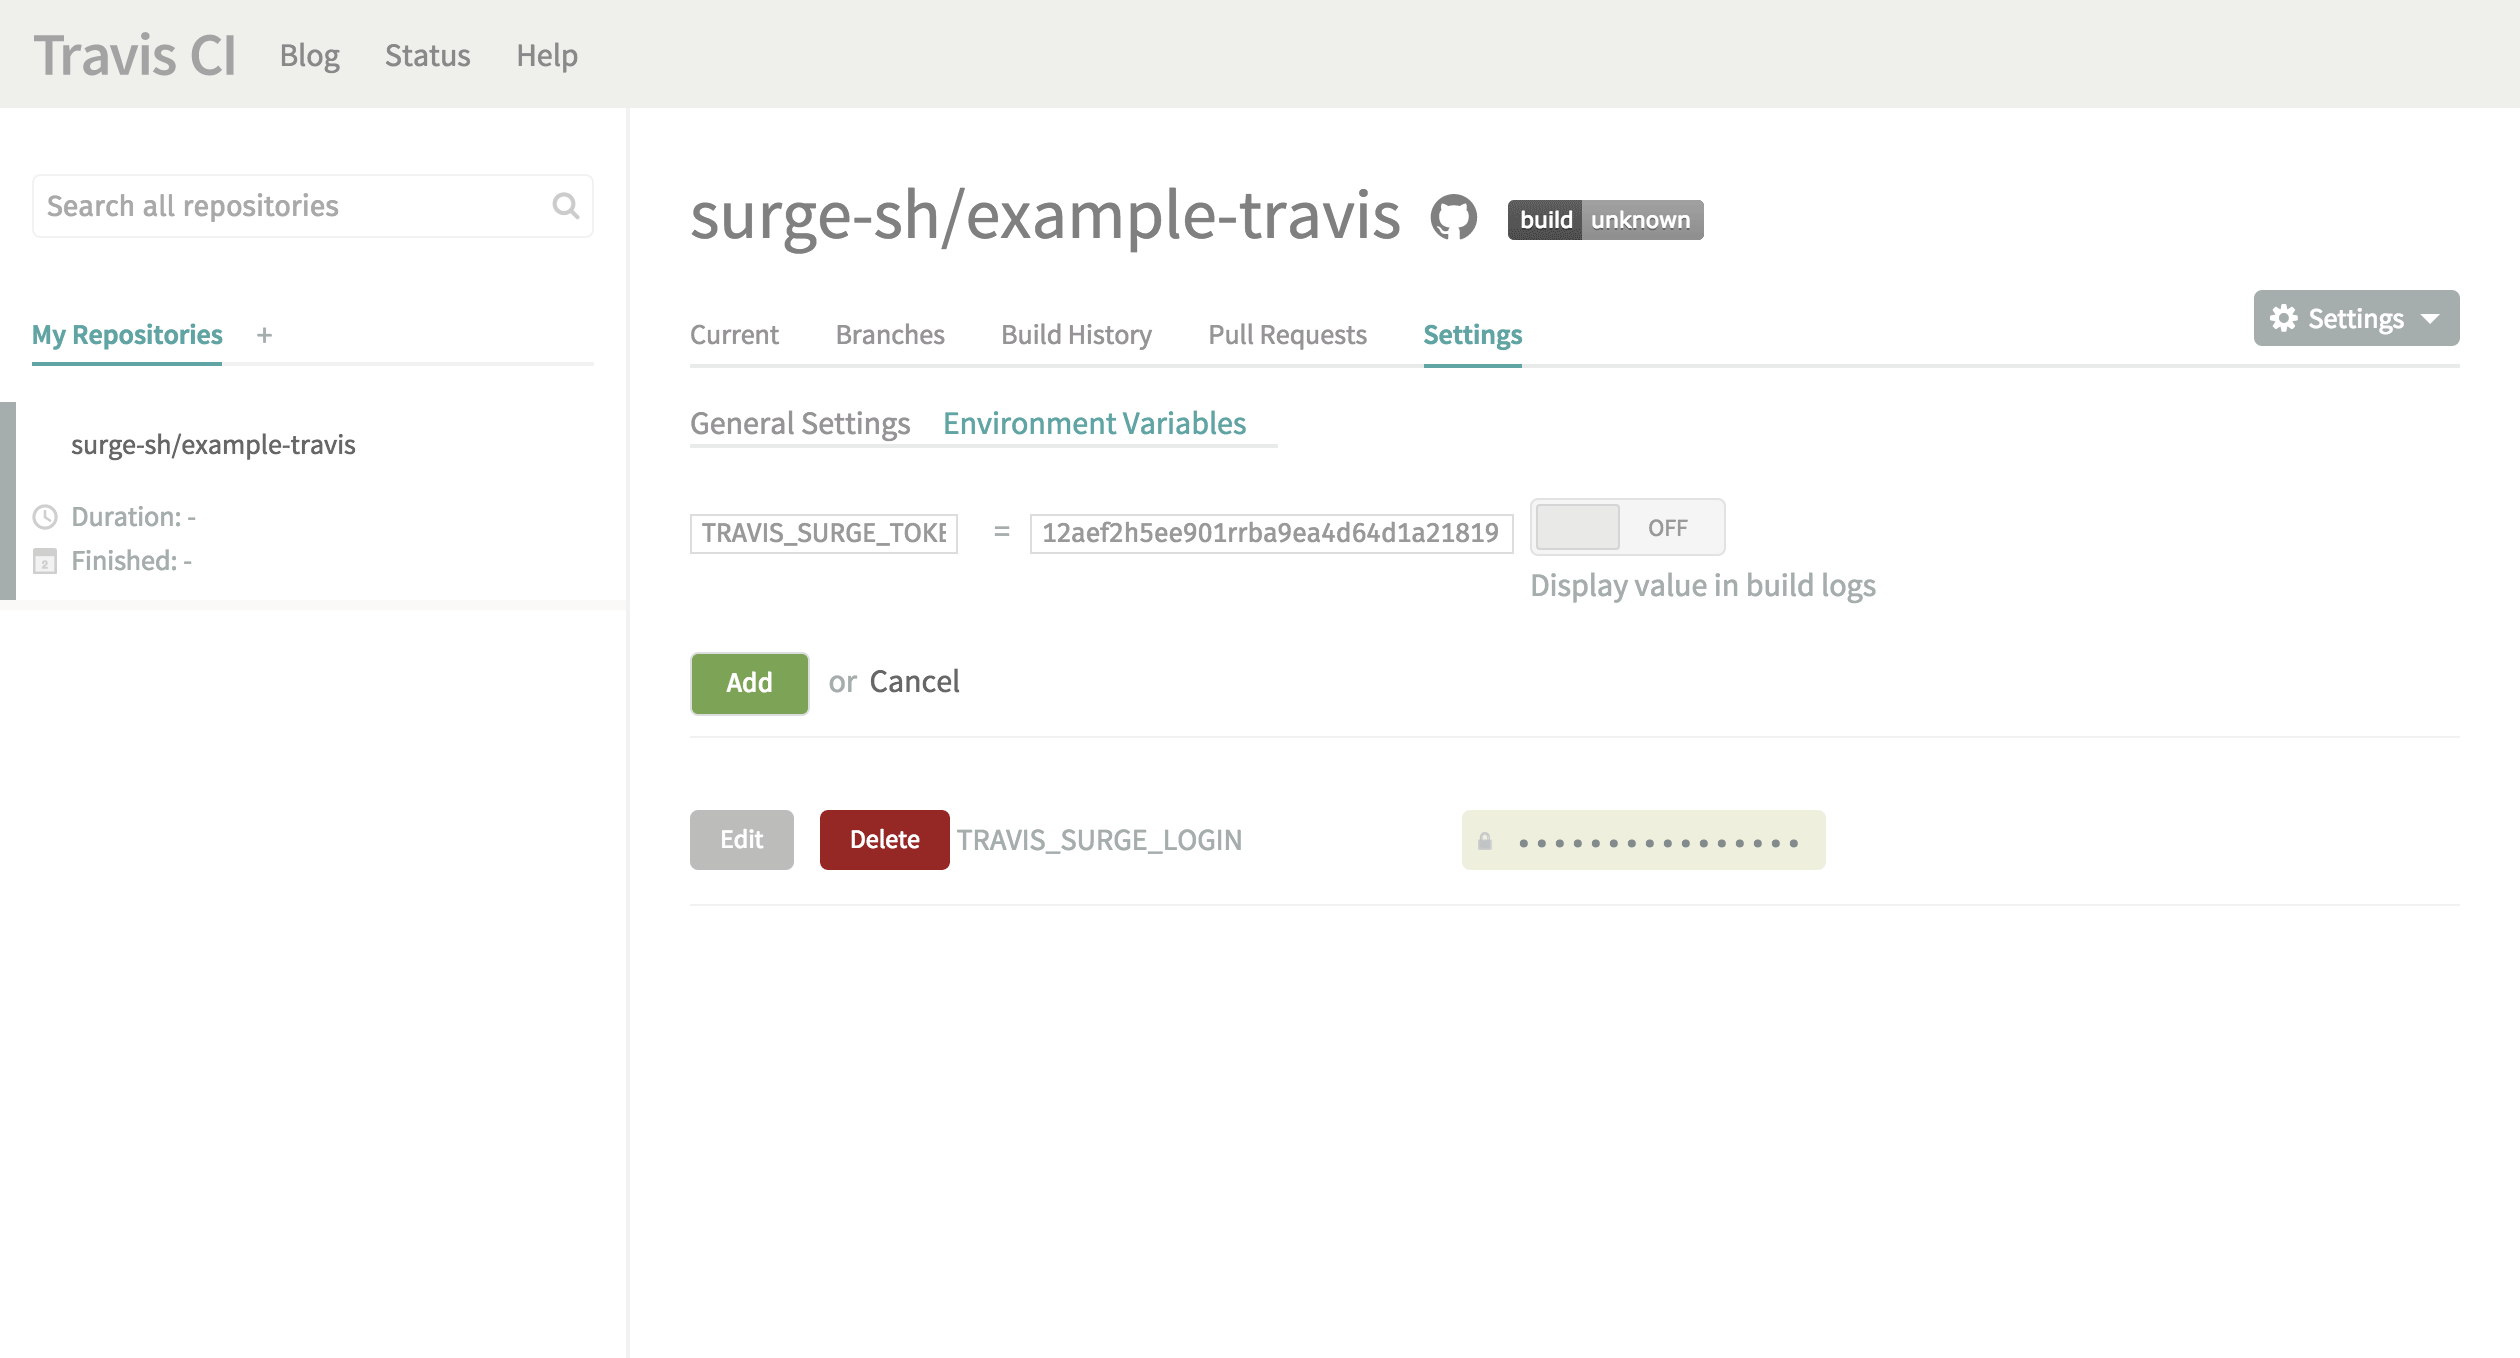
Create one environment variable called:
SURGE_LOGIN
…and set it to the email address you use with Surge. Next, add another environment variable called:
SURGE_TOKEN
…and set it to your Surge token.
Make a new file called .travis.yml with the content
language: node_js
node_js:
  - "node"

deploy:
  provider: surge
  project: ./static/
domain: example.surge.sh -
The language and node_js part can be changed to anything supported by Travis CI.
-
If your project folder is the repo root you can avoid the the deploy option
project -
If you have a
CNAMEfile with the name of the domain to publish in your project folder you can avoid the deploy optiondomain
If you would like to deploy content thats generated during the Travis CI script run you have two options:
- A) generate it during the "script" step. A failed code execution will give a failed travis run
- B) generate it at the "before_deploy" step. A failed code execution will still give a successful travis run
If you use A) you must ask Travis to keep the generated files instead of resetting the repo before deploy by adding the skip_cleanupsetting:
deploy:
  ...
skip_cleanup: trueBy default, Travis CI will only deploy from your master branch. You can specify what branch to deploy from with the deploy option on:
deploy:
  ...
  on: myFavoriteSurgeBranch
To deploy from all branches set the deploy->on option all_branches to true
deploy:
  ...
  on:
    all_branches: true
There are more examples of what you can do with a .travis.yml file directly from Travis CI.
Copyright © 2015 Chloi Inc.