This repository acts as a theme-template with the full code included. For reference, please see Copenhagen Theme by Zendesk. Most of this theme is the exact same as the Copenhagen Theme (Version 2.14.0).
The following files have been modified: home_page.hbs and manifest.json. As well as an optional change in document_head.hbs.
This template allows for adding images or icons via a Dynamic Content item. The Dynamic Content item is a JSON-formatted array of objects.
Supported Items
- any image file types (.jpg, .png, .gif, .svg, etc)
- any CSS class based icon library (FontAwesome, Material Design Icons, etc)

Table of contents generated with markdown-toc
What's the purpose of this?
I've seen a fair share of Zendesk templates (including paid ones) that have the 'logic' for category images hard-coded into the Template Manifest. They'll usually limit you to 4 - 12 categories. Moreover, home_page.hbs will be heavily customized. Ultimately, adding new categories will always result in extra effort for users and devs. (Adding a block name, url and image - or extending the code to support more category blocks).
In my approach, I tried to leave as much freedom to the users as possible. This snippet does not limit you to a set amount of categories, and it keeps the template as vanilla as possible. In terms of DOM elements, we're only adding one more element to home_page.hbs. Since we're not changing the blocks-items in their core, we only need to worry about adding more pictures.
Moreover, you're free to change the design in any way you like with two simple CSS selectors.
How it works
In short, it's a piece of JavaScript that takes the Dynamic Content item and prepends a new img or i type element to any element of the blocks-item class. The prepended element's src or classList will be based on what's been mapped in the Dynamic Content item. Check "How to set up the Dynamic Content Item".
Can I customize these icons/images?
Yes, you can customize them with a CSS class selector.
Images: .blocks-item-image
Icons: .blocks-item-icon
What happens with categories/sections without a picture?
Nothing, the element will be rendered as per default and no img or i element will be prepended.
Can I choose if a section/category should have a picture?
Yes, if you want to map a section/category that doesn't have an image, simply set the img and icon keys in your mapping array to null. Check "Step 2: Creating the mapping array" for an example.
Why did you decide to abuse Dynamic Content for this?
Technically, this mapping could also live in a .json file in the theme assets - or it could live somewhere in script.js. But that would that you'd have to "Edit Code" to make changes to the mapping. If you are using CI/CD to maintain your Zendesk Help Center, changing the mapping would mean you have to re-link the repo, or you have to make a new commit for each change.
I used the Dynamic Content object for this in hope that other Zendesk Admins or Frontend Devs will be able to empower their Zendesk Users (Team Leads, Power Users, etc) to maintain custom category images themselves.
Below you'll find an explanation on how to implement this code.
There's two methods to do this. Method 1: Install the full template Method 2: Only change what's necessary in your existing template
document_head.hbs file.
Simply click on "Code" in the top right corner and download this template as a .zip file.
Go to https://YOUR_ZENDESK_DOMAIN.zendesk.com/theming/workbench , click on Add Theme and select Import Theme. Then, navigate to the directory you downloaded the .zip file to and upload it.
After the upload is finished, click on the menu icon (three dots) of the new theme and select Set as live theme.
Go to the new theme and select Customize, in the menu bar on the left, select Custom Homepage icons and images and tick the checkbox.

Adding an ID to blocks-item
When looking at the code, this is the least noticable change. In lines 21 and 29 I added the id-{{id}} class to all li elements. This ID is used in the JavaScript snippet and mapped to the Dynamic Content array of objects.
        {{#each categories}}
          {{#if ../has_multiple_categories}}
          <li class="blocks-item id-{{id}}">
              <a href='{{url}}' class="blocks-item-link">
                <span class="blocks-item-title">{{name}}</span>
                <span class="blocks-item-description">{{excerpt description}}</span>
              </a>
            </li>
          {{else}}
            {{#each sections}}
              <li class="blocks-item id-{{id}}">
                <a href='{{url}}' class="blocks-item-link">
                  <span class="blocks-item-title">
                    {{name}}
                  </span>
                  <span class="blocks-item-description">{{excerpt description}}</span>
                </a>
              </li>
            {{/each}}
          {{/if}}
        {{/each}}
Adding the custom script
At the bottom of home_page.hbs include the following script snippet:
script.js?
You may ask yourself. It's because Zendesk's Curlybars only runs on .hbs files and we use Curlybars to get the Dynamic Content Item.
<script>
  /** SCRIPT TO INSERT IMAGES OR ICONS INTO CATEGORY BOXES **/
  const initCustomImages = () => {
    //booleans from manifest are returned as strings
    if ("{{settings.show_home_page_icons}}" === "true") {

    const dynamic_content_mapping = `{{dc 'helpcenter_icon_mapping'}}`
    const dc_mapping_as_json = JSON.parse(dynamic_content_mapping)

    const block_items = document.getElementsByClassName("blocks-item");
    const block_items_as_array = Array.from(block_items)

    block_items_as_array.forEach(block_item => {
      const block_id = block_item.classList[1].replace("id-", "");
      const mapped_object = dc_mapping_as_json.filter(item => item.id === block_id)

      /* checks if there's a result from the filter */
      if (mapped_object.length > 0) {

        /* checks if an image is used */
        if (mapped_object[0].img != null) {
          createImageElement(block_item, mapped_object[0]);
        }

        /* checks if an icon is used is used */
        if (mapped_object[0].icon != null) {
          createIconElement(block_item, mapped_object[0]);
        }
      }

    })
    }
  }

  const createImageElement = (element, object) => {
    let image_element = document.createElement("img");
    image_element.classList.add("blocks-item-image");
    image_element.src = object.img;
    element.children[0].prepend(image_element);
  }

  const createIconElement = (element, object) => {
    const icon_classes = object.icon.split(" ");
    let icon_element = document.createElement("i");

    icon_element.classList.add(...icon_classes, "blocks-item-icon");
    element.children[0].prepend(icon_element);
  }

 document.addEventListener("DOMContentLoaded", initCustomImages);
</script>
Adding the basic CSS Snippet
To make the newly inserted items/icons not took to terrible, I added a style tag in home_page.hbs.
Do feel free to do it the proper way and to include it in style.css, instead of home_page.hbs.
<style>
  .blocks-item-image {
    max-height: 100px;
    width: 100px;
    margin-left: auto;
    margin-right: auto;
    margin-bottom: 10px;
  }

  .blocks-item-icon {
    font-size: 100px;
    margin-bottom: 10px;
  }
</style>
This is optional and can be added if you want to give your users the choice of showing or hiding the custom images or icons.
Add a new setting to manifest.json:
      "label": "home_page_icons_label",
      "variables": [
        {
          "identifier": "show_home_page_icons",
          "type": "checkbox",
          "description": "home_page_icons_chkbx_description",
          "label": "home_page_icons_chkbx_label",
          "value": true
        }
      ]
    }
Make sure to include translations in the /translations directory.
  "home_page_icons_label": "Custom Homepage icons and images",
  "home_page_icons_chkbx_description": "Make sure to have a dynamic content item called 'Helpcenter Icon Mapping' / '{{dc.helpcenter_icon_mapping}}'. If you only use 1 Help Center Language, make sure that the Dynamic Content Item is the same Language as your Help Center.",
  "home_page_icons_chkbx_label": "Show custom images or icons in the homepage"
}
Only necessary if you want to use custom icon CSS libraries
.
In this example, I included FontAwesome. Make sure you include any CSS icon library in the document_head.hbs file.
You can find the cdn to the latest version of FontAwesome on cdnjs.
Go to https://YOUR_ZENDESK_INSTANCE.zendesk.com/admin/workspaces/agent-workspace/dynamic_content and create a new Dynamic Content item by clicking add item in the top right corner.
The title of this item has to be Helpcenter Icon Mapping and the placeholder value has to be {{dc.helpcenter_icon_mapping}}.
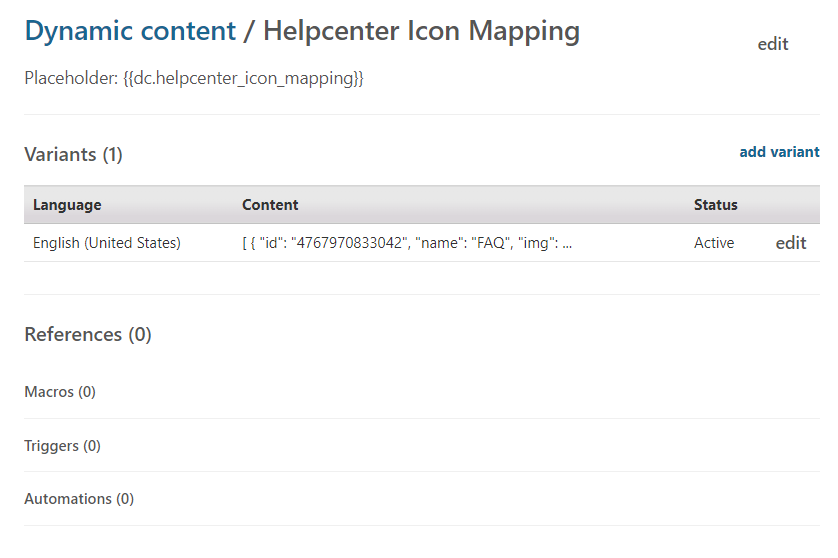
For admins that are not too familiar with the JSON file format, this might be the trickiest part. The custom code uses this dynamic content as a map, so that it understands which category/section block should have which image.
The mapping array in my example looks like this:
[
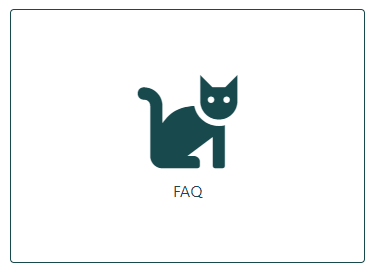
{
"id": "4767970833042",
"name": "FAQ",
"img": null,
"icon": "fa-solid fa-cat"
},
{
"id": "4767947544850",
"name": "Announcements",
"img": "https://via.placeholder.com/100x100",
"icon": null
},
{
"id": "4768036246930",
"name": "Example Category 1",
"img": "https://via.placeholder.com/100x100",
"icon": null
},
{
"id": "4768013970194",
"name": "Example Category 2",
"img": "https://via.placeholder.com/100x100",
"icon": null
},
{
"id": "4768052444690",
"name": "Example Category 3",
"img": null,
"icon": null
},
{
"id": "4768063316498",
"name": "Example Category 4",
"img": null,
"icon": "fa fa-cog"
},
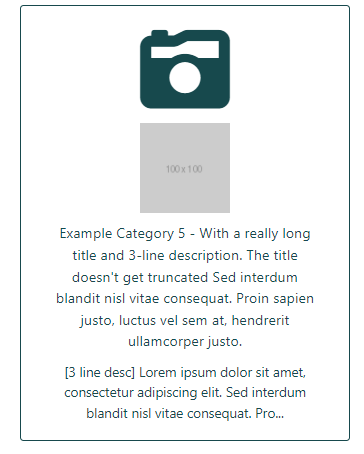
{
"id": "4768065010450",
"name": "Example Category 5",
"img": "https://via.placeholder.com/100x100",
"icon": "fa fa-camera-retro"
}
]
Each category that should have a picture has to be mapped in the array, with an image or an icon. The objects consist of four keys:
id: This is the ID of the section or category
name: This is an optional key, I added it so I don't have to constantly check which ID relates to which category.
img: This key holds the URL to your image
icon: This key holds the Icon CSS classes
If you have trouble working with JSON files, and the file formatting, try JSON Editor Online.
You can select if an image or an icon should be displayed.
If you want to use an image, your object in the mapping should look like this:
  {
    "id": "4767947544850",
    "name": "Announcements",
    "img": "https://via.placeholder.com/100x100",
    "icon": null
  }

  {
    "id": "4767947544850",
    "name": "Announcements",
    "img": null,
    "icon": "fa-solid fa-cat"
  }
Note that if you want to use both keys, that also works as seen in the screenshot below
  {
    "id": "4767947544850",
    "name": "Announcements",
    "img": "https://via.placeholder.com/100x100",
    "icon": "fa fa-camera"
  }