A one click installation tool for python time series forecasting with Qlik Sense without the need to download python or any libraries. This tool works together with the Qwik Forecast extension found here which allows you to quickly create forecasts within your Qlik Sense apps: https://github.com/rileymd88/qwik-forecast
- Added holiday support
- First beta release
- A Qlik Sense Server Installation
- Admin rights on the Qlik Sense Server
-
Download the installer from here: https://github.com/rileymd88/qwik-forecast-installer/releases/download/v0.1/Qwik.Forecast.Installer.zip and unzip
-
Right click on the start.bat file and run it as an Administrator
-
Click on the Install Qwik Forecast button
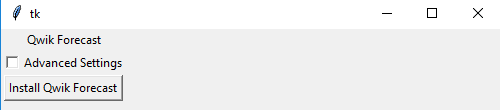
-
Qwik Forecast will automatically do the following:
- Install a python time series forecasting function based on Facebook Prophet
- Install an analytic connection for Qlik Sense which makes a connection to the python function
- Run the analytic connection as a windows service (under the name PythonProphet)
The Qwik Forecast Installer works together with the Qwik Forecast Extension and helps you quickly prepare your app for forecasting. Here is a short guide of how you can use the Qwik Forecast extension in the form of a video or you can choose to follow the text instructions which are found below the video:
- Download the latest release from here: https://github.com/rileymd88/qwik-forecast/files/3974147/qwik-forecast.zip
- Import the extension using the Qlik Management Console
- Either create a new app with your data preferred data model or open an existing app
- Locate the extension from the asset panel and drag it onto a new sheet

5. Click on Start Forecast Setup to start the setup
6. Select the following:
- The date you would like to use as a basis for your forecast. Qwik Forecast will only suggest fields which are tagged as $date. Hint: If you use the data manager Qlik will automatically detect and tag date fields as dates
- Select the aggregation level you would like to have for your forecast
- Select how many time periods you would like to forecast for. If you select months then this will be how many months in the future you would like to be able to forecast etc
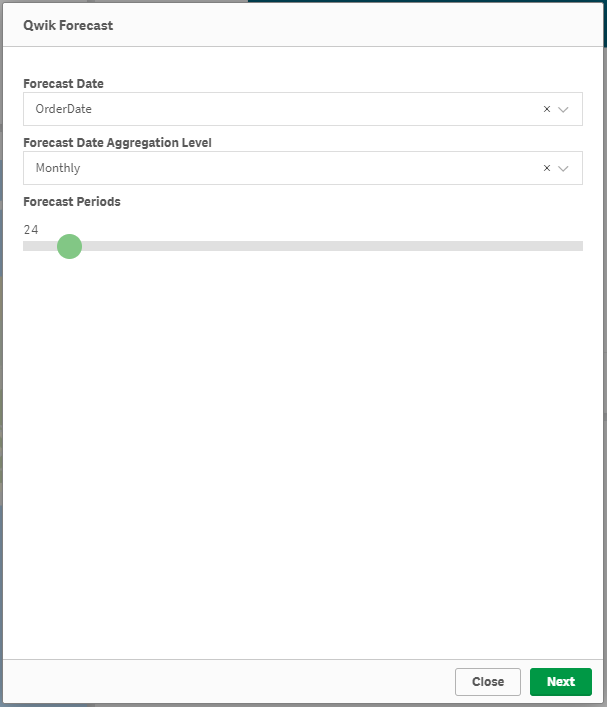
- Hit next
- You will now be presented with all fields in the table from the date you selected in the previous step. Ensure you look through the fields carefully and mark which fields should be treated as dimensions and which can be treated as measures. Hint: If you do not do this step correctly you could end up adding incorrect figures to your data model. When it doubt it is better to mark fields as measures
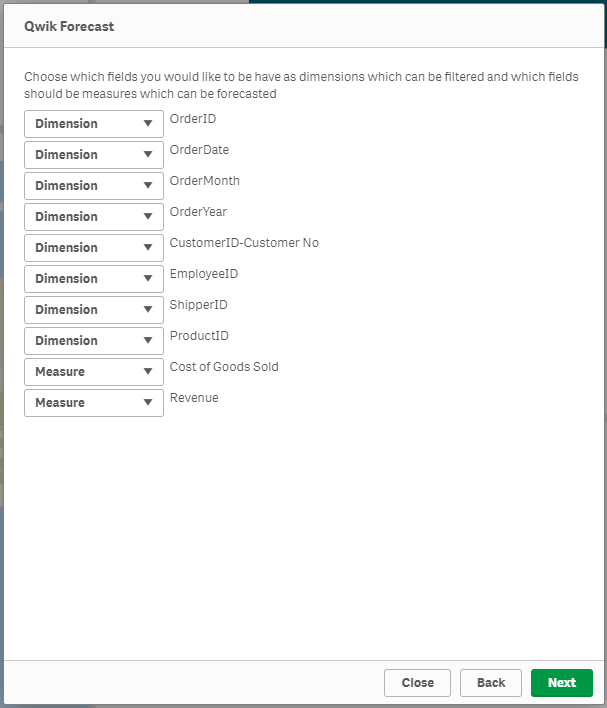
- Hit next
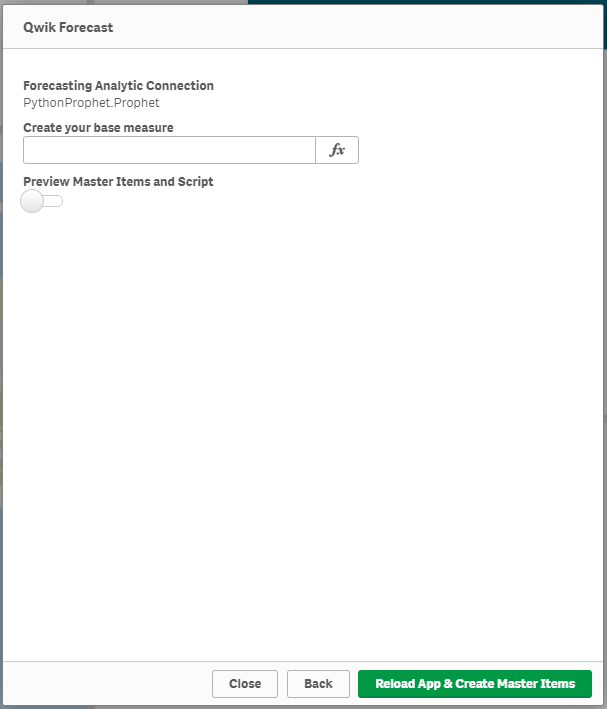
- In this step you will now be prompted to create the base measure which you want to forecast into the future with. Hint) You can also see the master items and load script which Qwik Forecast will automatically correct by turning the preview switch on - If something looks wrong then you can go back to any of the previous steps and correct your input by hitting back
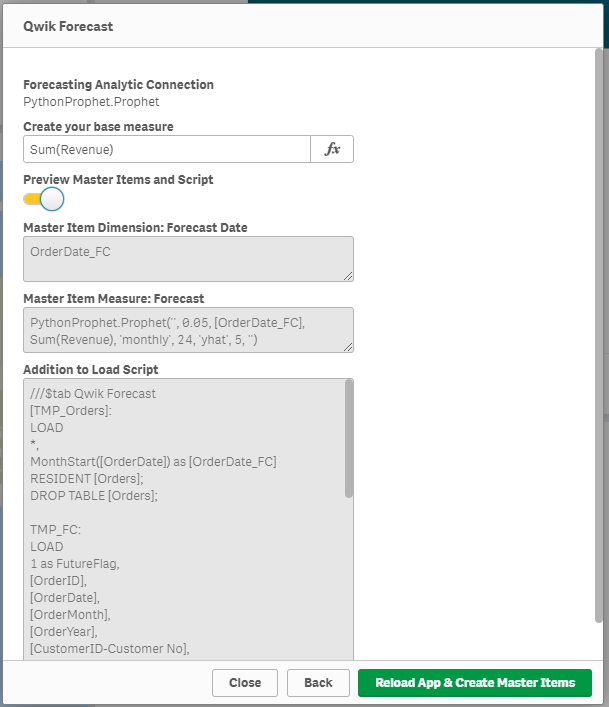
- Now you can hit Reload App & Create Master Items. Hint) This step will reload the app so ensure that you have the correct access to be able to reload the app
- Do not worry if you receive an message saying an error occurred and that a reload is in process. This is a standard Qlik Sense Error message when reloading via APIs in the front end and you can simply click close once the app is done reloading
- If all has run smoothly you should get the following feedback from Qwik Forecast
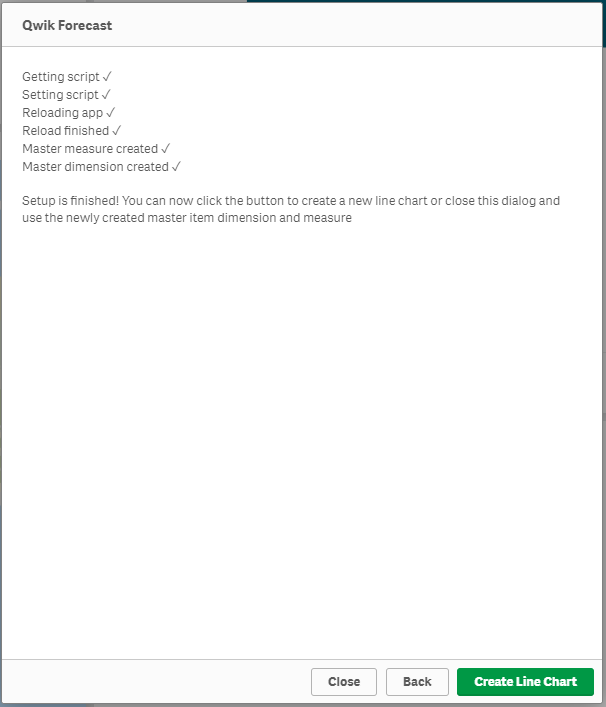
- Qwik Forecast has now successfully created a master dimension (Forecast Date) and a master measure (Forecast) for you. You can now either hit close and use those master items within your own visualization or you can click on Create Line Chart to have Qwik Forecast automatically convert itself into a standard Qlik Sense line chart using your newly created master items
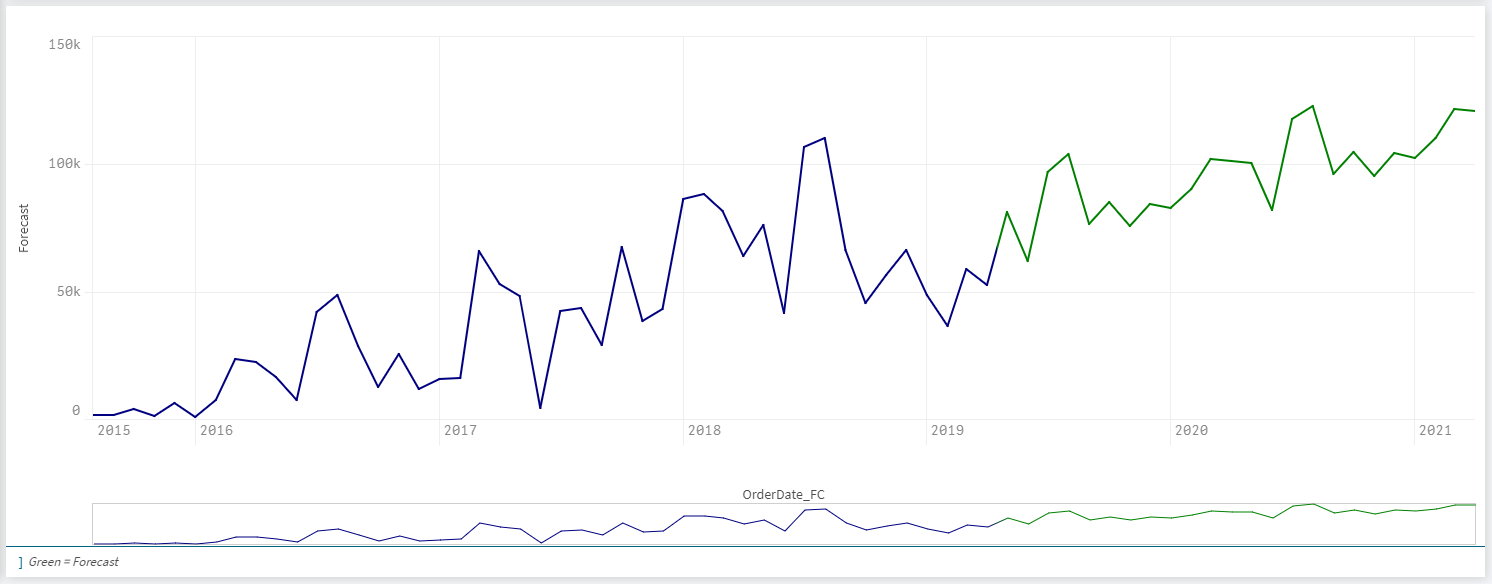
- If you chose to qlik on Create Line Chart you will get the following line chart. Hint: The line is green is when the forecast starts
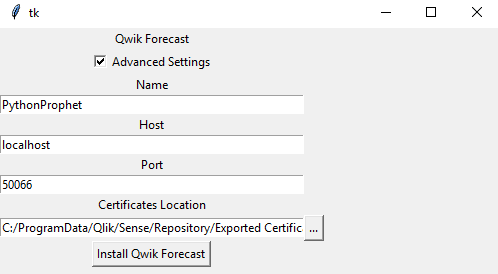
- Name: This is the name of the analytic connection which will be seen in the Qlik Management Console. Default = PythonProphet
- Host: This is the host where the analytic connection is being hosted. Default = localhost
- Certificates Location: This is the folder location of the Qlik Sense Certificates. Default = C:/ProgramData/Qlik/Sense/Repository/Exported Certificates/.Local Certificates/
Please raise a github issue for any bugs or requests
Released under the MIT License.