-
Notifications
You must be signed in to change notification settings - Fork 17
Getting Started
Periodic requires Node.js, MongoDB and PM2 for running the application, for development you need nodemon. The easiest way to install Periodic is via NPM, when installed via NPM, unlike most node modules, Periodic attempts to install into a application folder, instead of node_modules.
Install with NPM - Installation - Upgrading Periodic
$ mkdir mywebapp && mywebapp
$ npm install pm2 -g
$ npm install nodemon -g
$ npm install periodicjs@latest --prefix ./
$ cd periodicjs
$ sudo mongod
$ npm start
$ open http://localhost:8786
- $ mkdir mywebapp && mywebapp # make a directory for you web application
- $ npm install pm2 -g # PM2 is used for running the application
- $ npm install nodemon -g # nodemon for extention and module development
- $ npm install periodicjs@latest --prefix ./ # "@latest" can be replaced with a specific version, "--prefix ./" some linux distros by default install node modules in your user's home directory, this npm configuration option specifies that periodic should be installed in the current directory
- $ cd periodicjs # switch to the Periodic app
- $ sudo mongod # start MongoDB, you need mongo running
- $ npm start #this starts the pm2 daemon process (for development use '$ npm run nd')
- $ open http://localhost:8786 # opens your browser to Periodic running on port 8786
By default, Periodic runs on port 8786, this can be configured in /path/to/mywebapp/periodicjs/content/config/config.json environment specific configurations are in periodicjs/content/config/environment/[name of environment].json.
Advanced configuration options, more information about environments, extension settings, deploys are documented in Configuration
Periodic can be fully installed by updating your configuration JSON file but the easiest way to install Periodic is with the install extension.
When you install Periodic via NPM, the Install extension is installed and enabled by default.
The extension configuration for Periodic is managed by the JSON file periodicjs/content/extensions/extensions.json.
When your application setting (in periodicjs/content/config/config.json) for "status" is set to "install" and the Install extension is enabled, all HTTP requests will bring you to the Install extension interface.

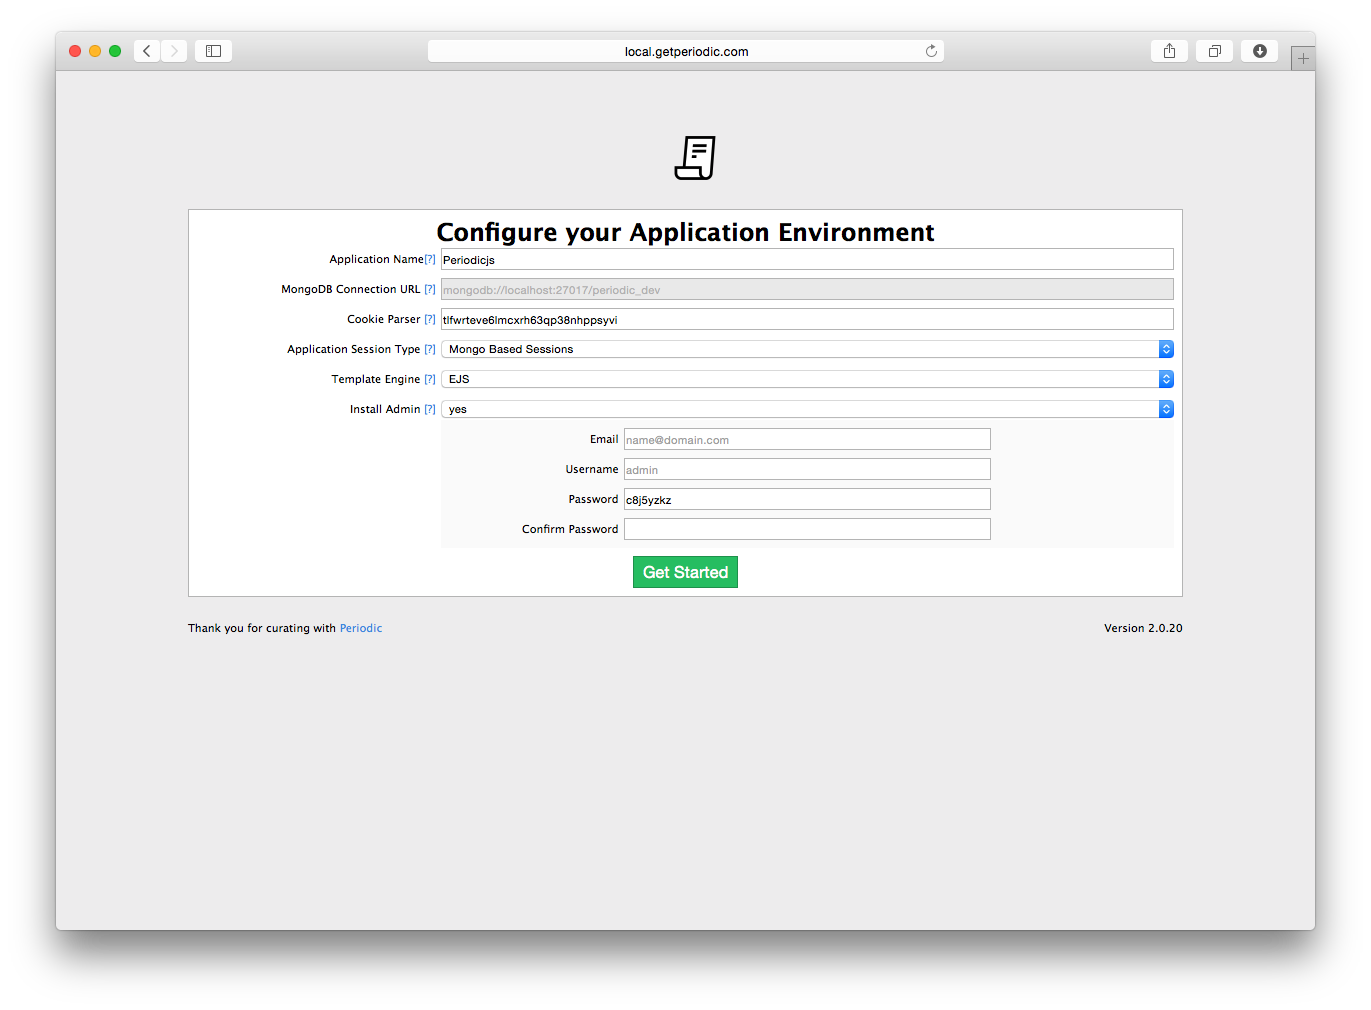
You will see some basic configuration options, like the name of your application, cookie parser, and other Express related options. You'll notice the MongoDB Connection URL is greyed out, you'll need to configure your database settings (located in content/config/database.js), prior to starting the application.
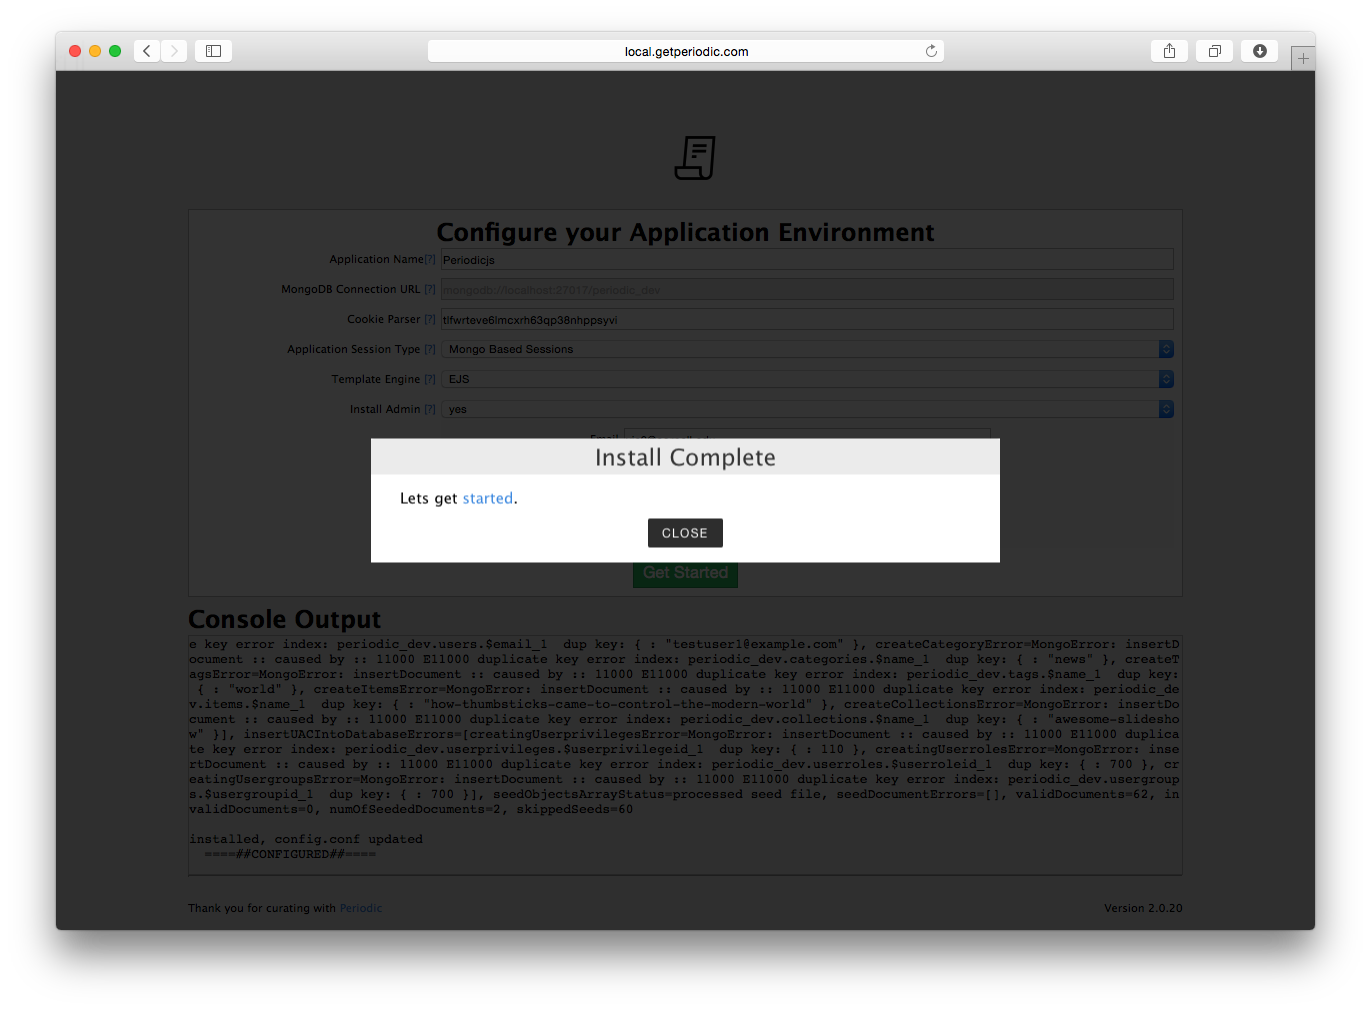
After filling out the required fields, you should be prompted with a success prompt.

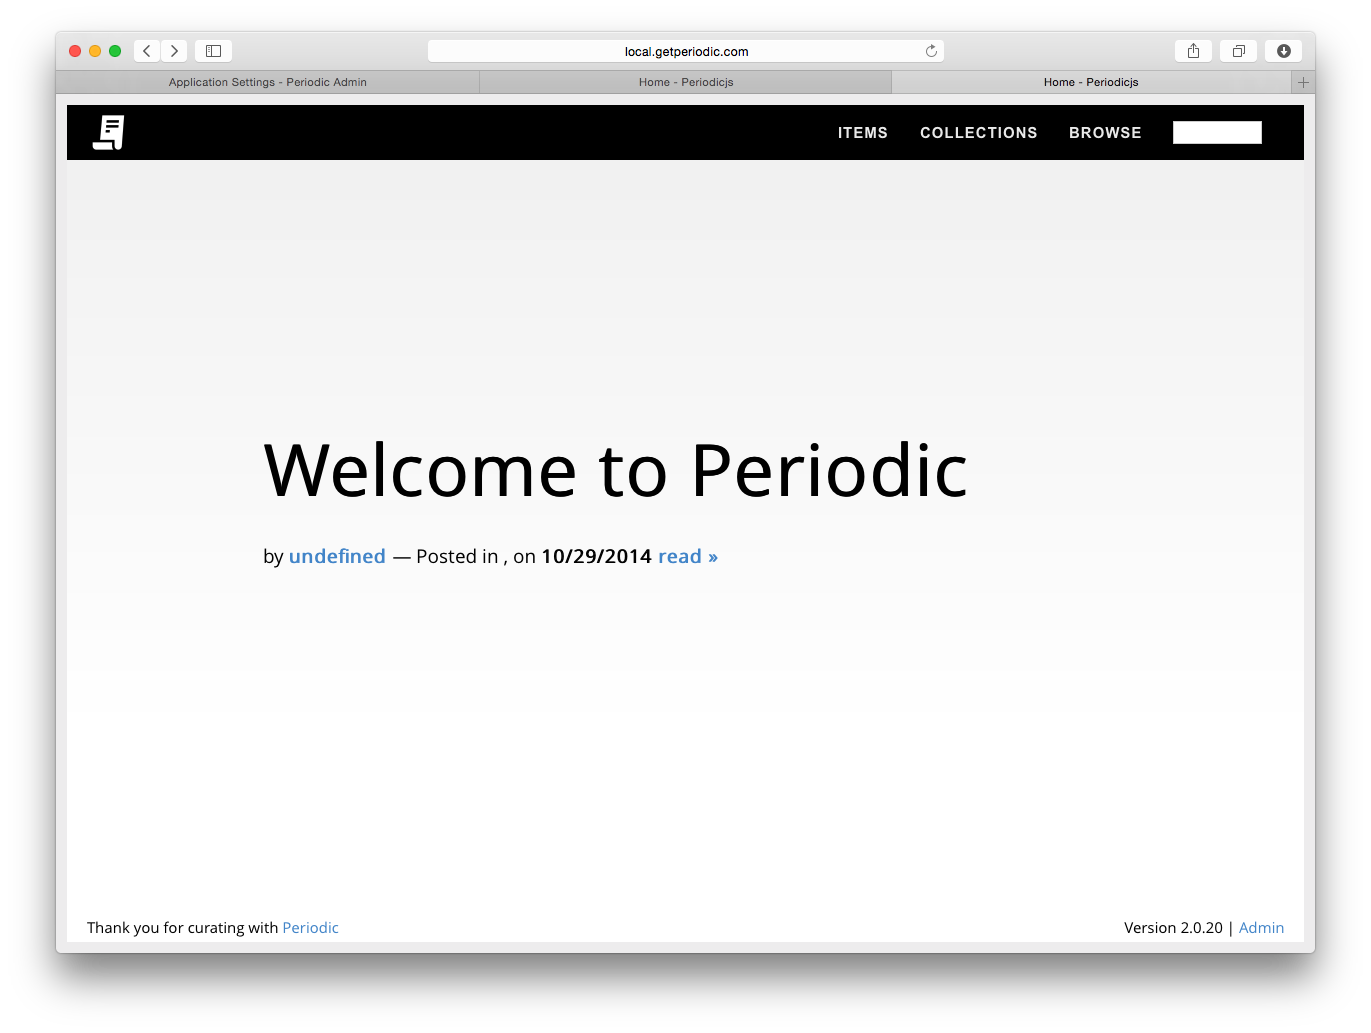
The Install extension, creates an admin user, and seeds the database with the required settings to use the Admin extension (This should also restart your Periodic Node.js application, when in development mode you will see Nodemon restart, otherwise PM2 will restart and you can confirm by running $ PM2 list, and checking your application logs periodicjs/logs).
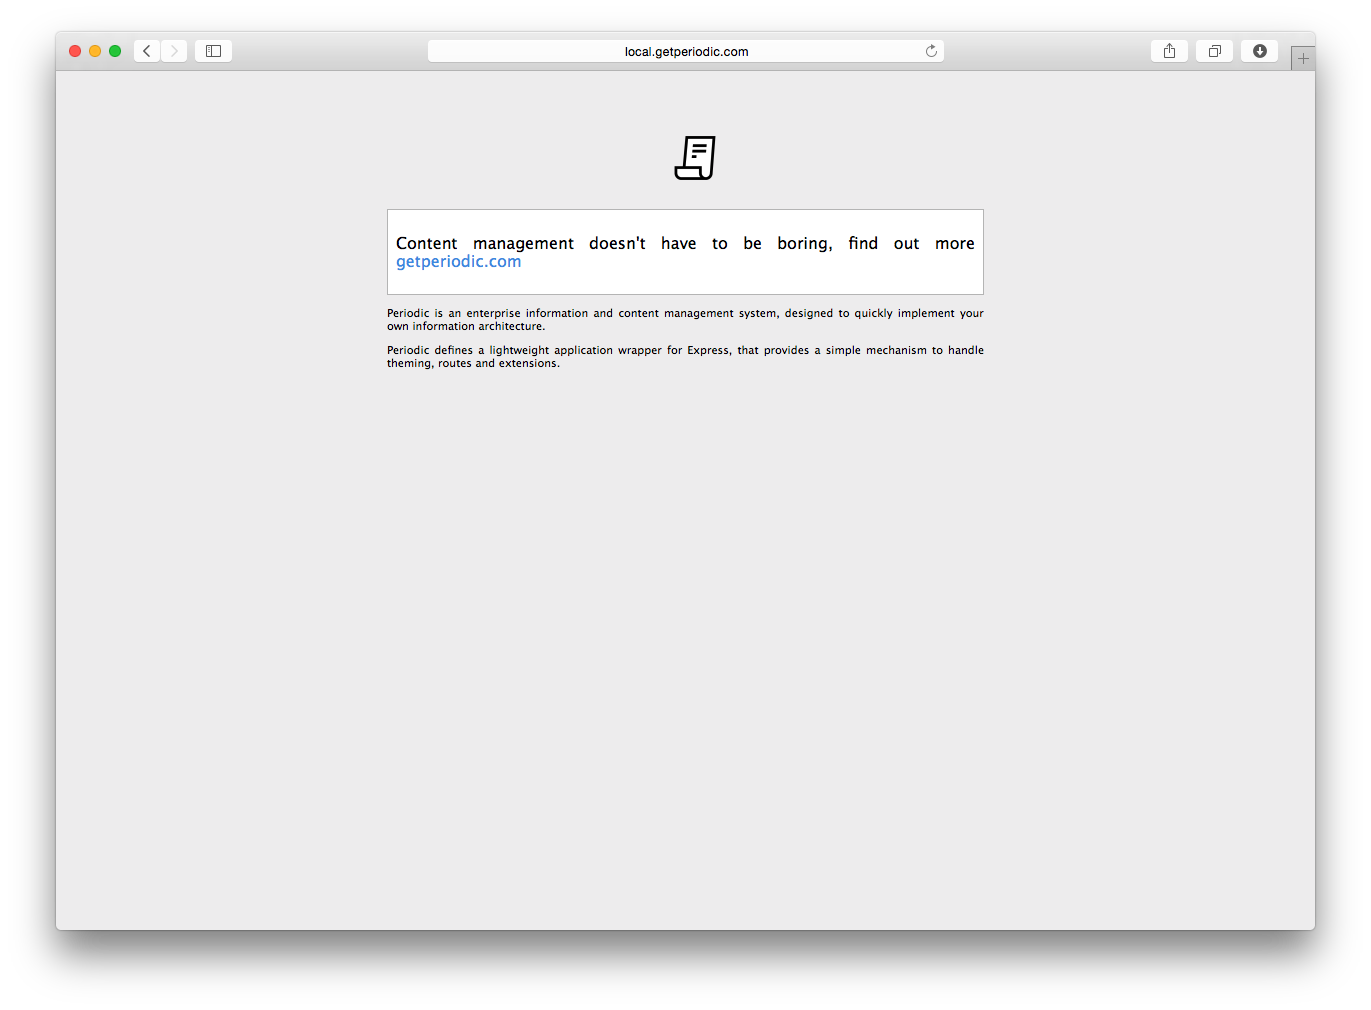
The strength of being modular means that all of these extensions are optional, the Admin extension is only necessary if you plan on using Periodic in a more traditional Content Management Content, but you can already imagine that in a load balanced infrastructure you may not want to provide content management on certain nodes.
The Admin extension adds advanced Content Management Functionality (like scheduling content, user accounts, user access control, and more).
| Installed with Admin | Installed without Admin |
|---|---|
 |
 |
The easiest way to upgrade periodic is to install via NPM
$ cd /path/to/mywebapp
$ npm install periodicjs@latest --prefix ./
- $ cd /path/to/mywebapp #this directory should have periodicjs in it
- $ npm install periodicjs@latest --prefix ./ #the install process will keep your configuration and files intact, you should always back up (there's a backup extension to make this easy) prior to upgrading
After upgrading your application is automatically restarted if you're running with PM2. You'll notice upgrading is not done with npm upgrade, this is because npm is used as a deployment mechanism
- Home
- Getting Started
- Installation
- Upgrades
- Content Management & Data
- Content Entities
- Content Taxonomy
- Content Types
- Content Management System
- Themes
- Switching Themes
- Installing Themes
- Creating Themes
- Extensions
- Managing Extensions
- Installing Extensions
- Creating Extensions
- Configuration
- Database Configuration
- Environment Configuration
- Environment Setup
- Deployment Configuration
- PM2 Deployments
- Development
- FAQ