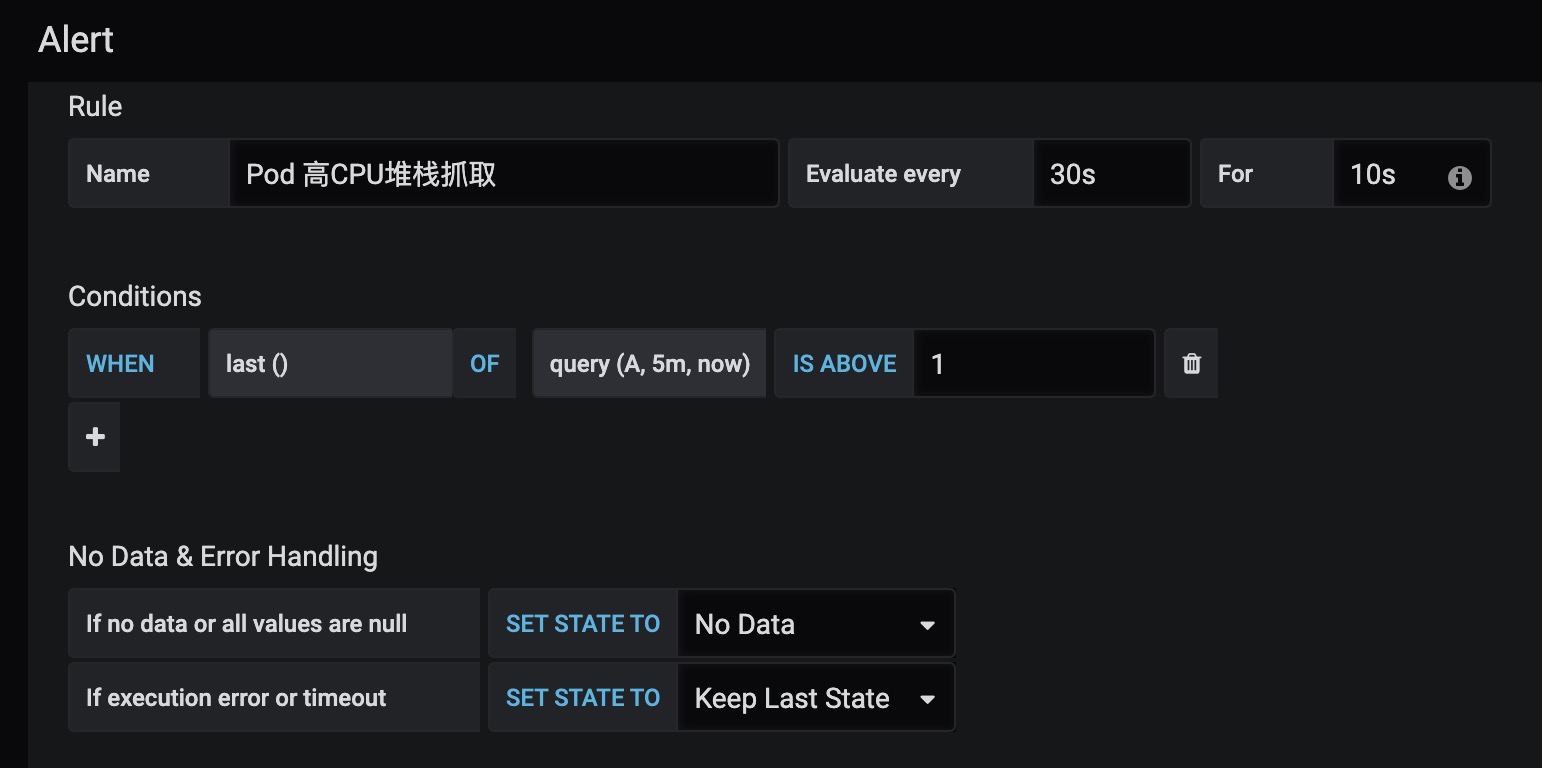
利用了 Grafana 的告警机制,配合阿里的 arthas,来完成高CPU使用率线程的堆栈抓取。
整体流程如下:
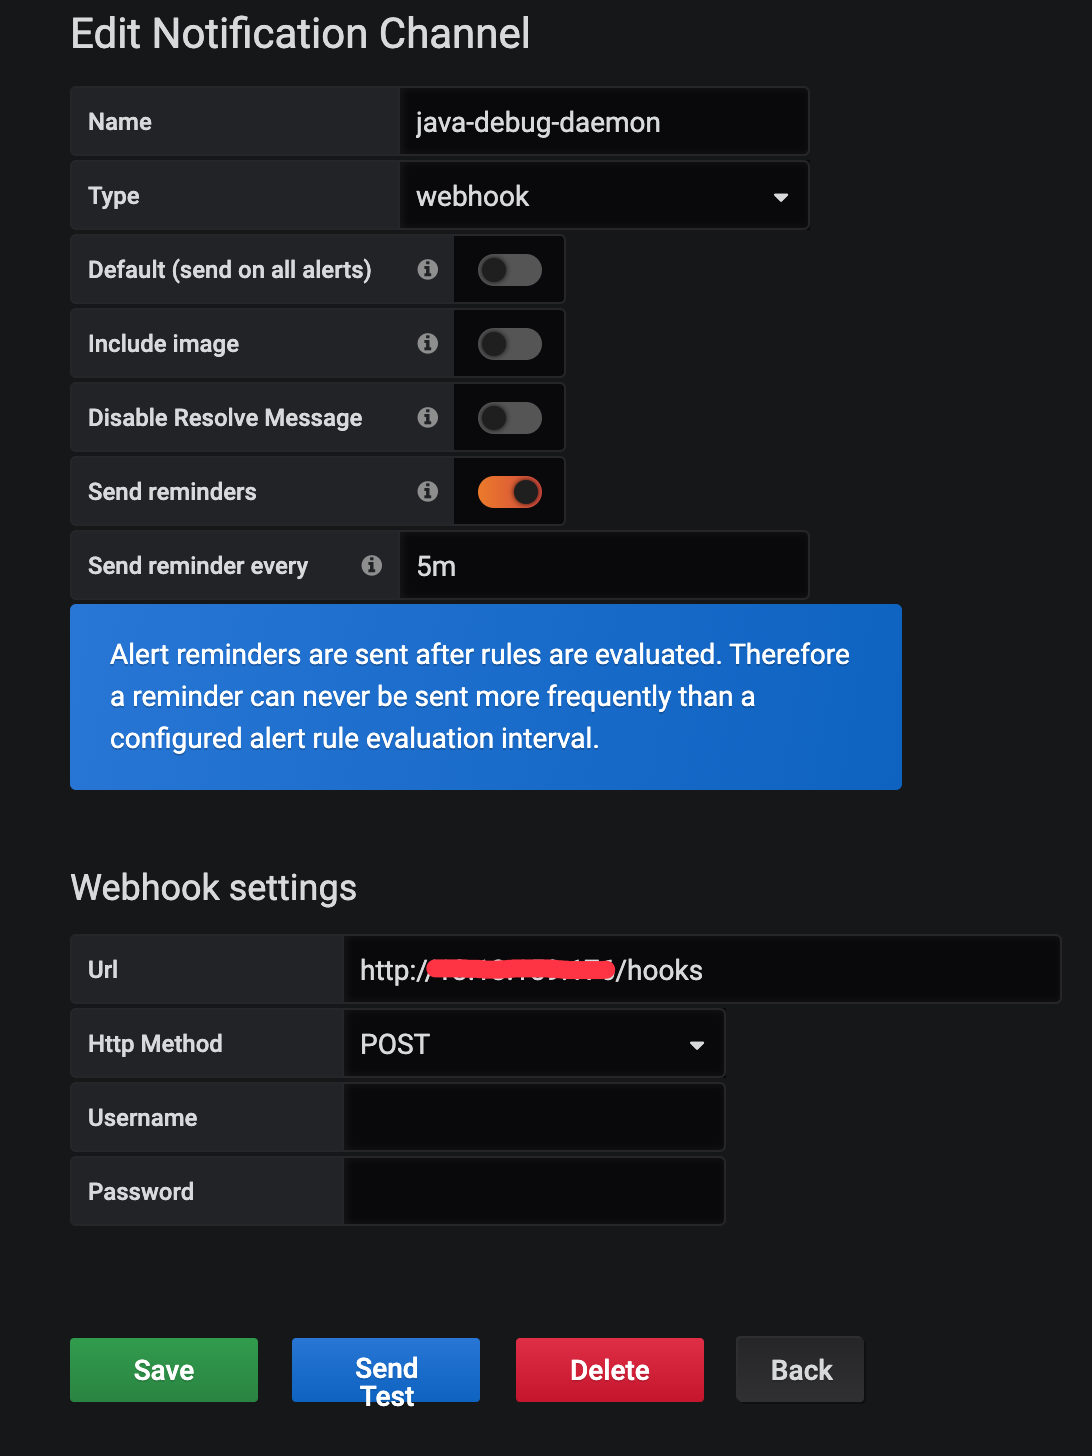
- 为 Grafana 添加 webhook 类型的告警通知渠道,地址为该程序的 url(默认的hooks路径为 /hooks)。
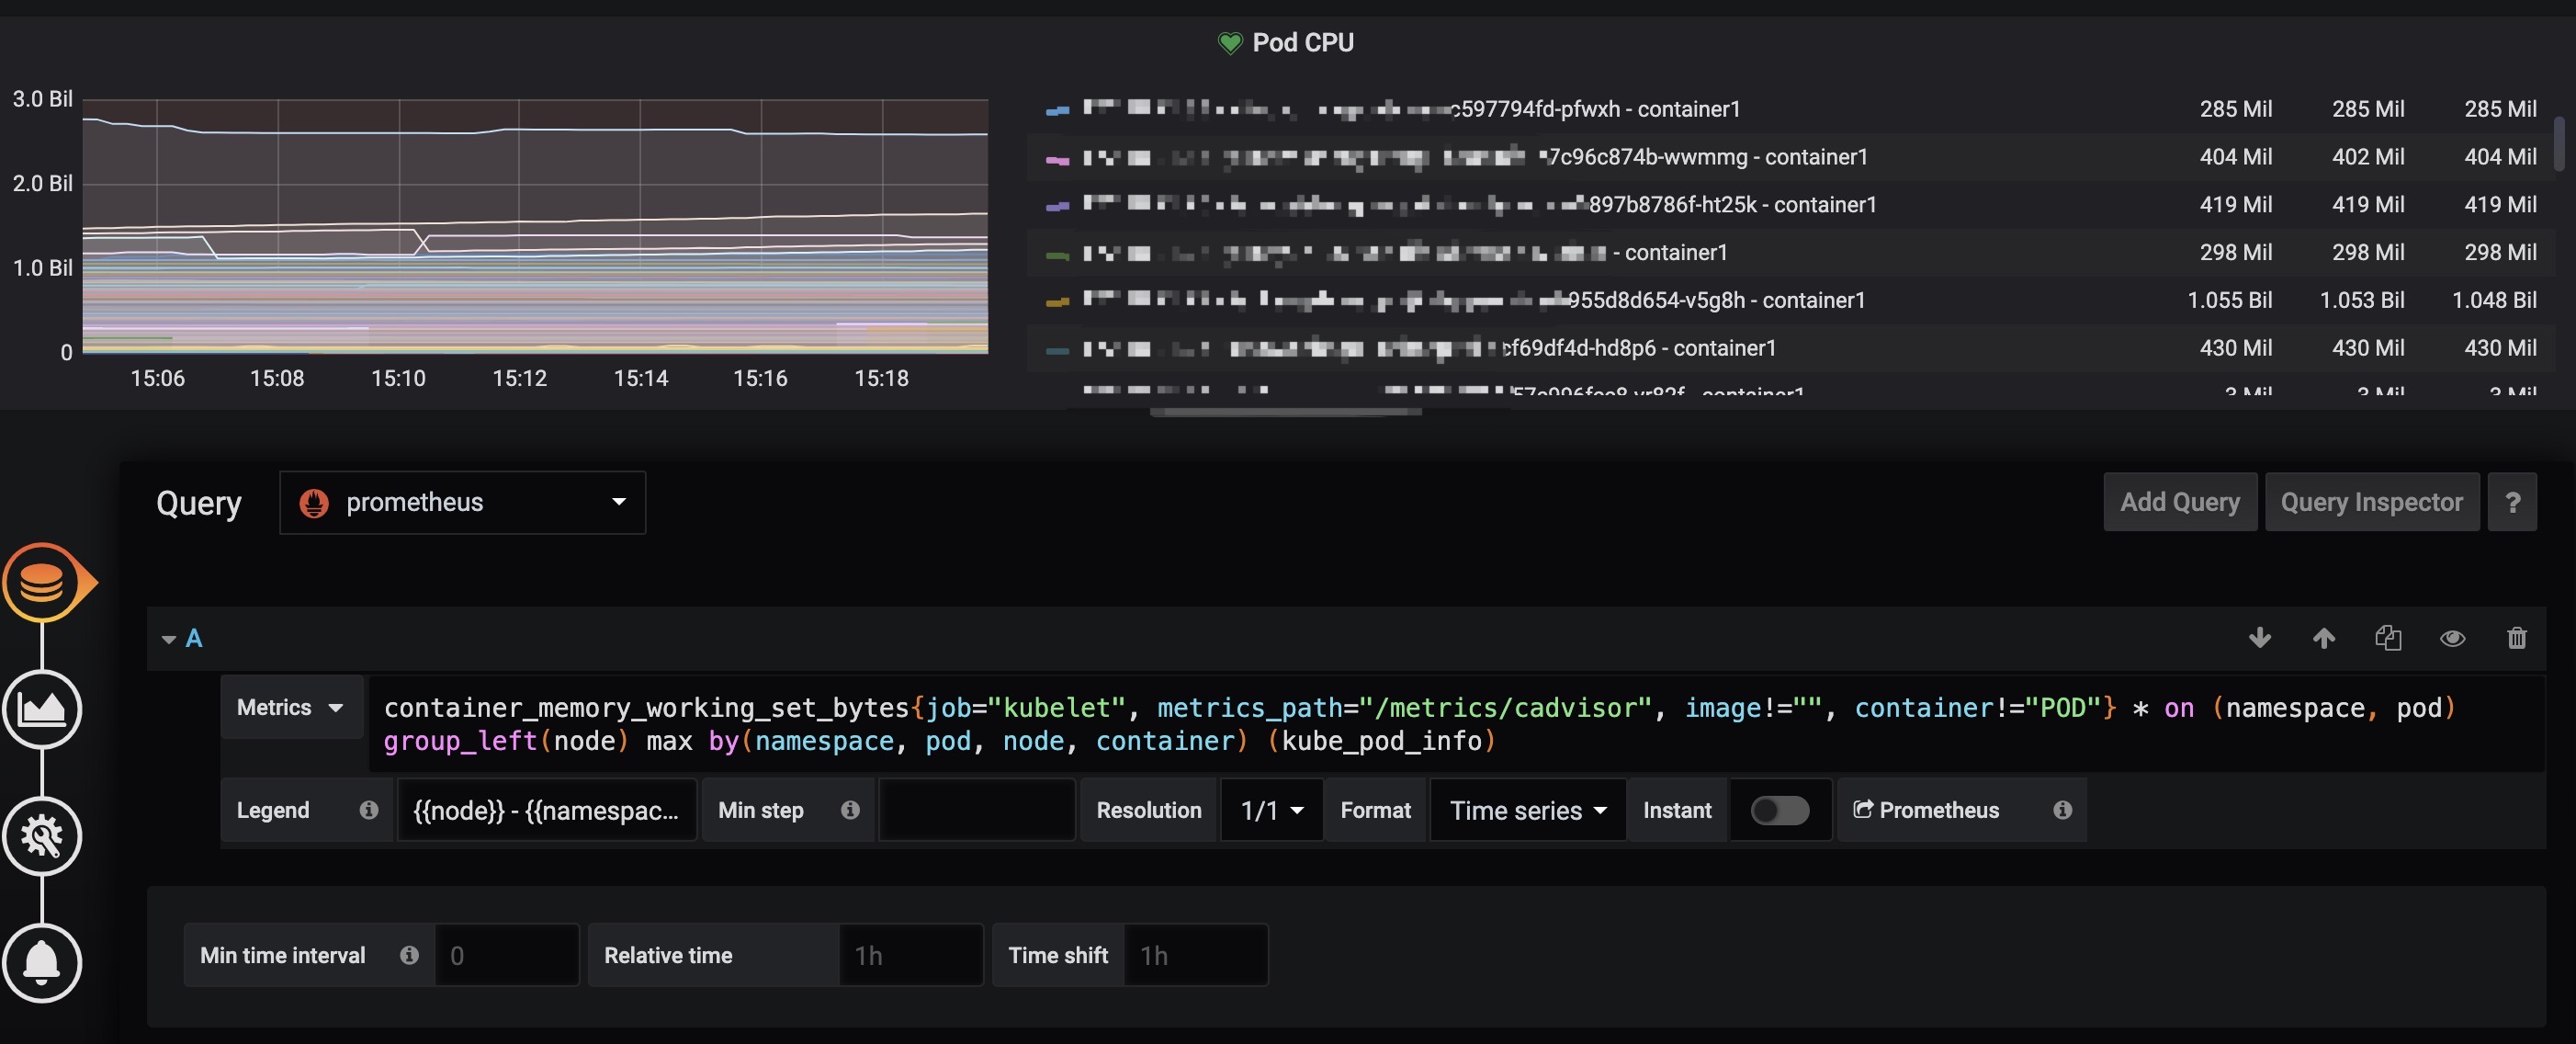
- 配置Grafana图表,并设置告警阈值
- 当 webhook 触发时,程序会自动将 craw.sh 脚本拷贝到对应 Pod 的容器中并执行。
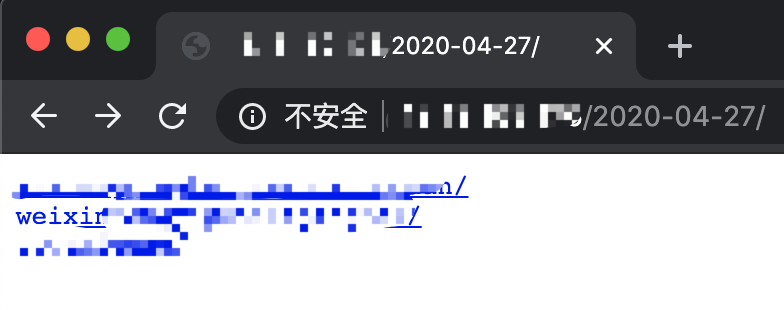
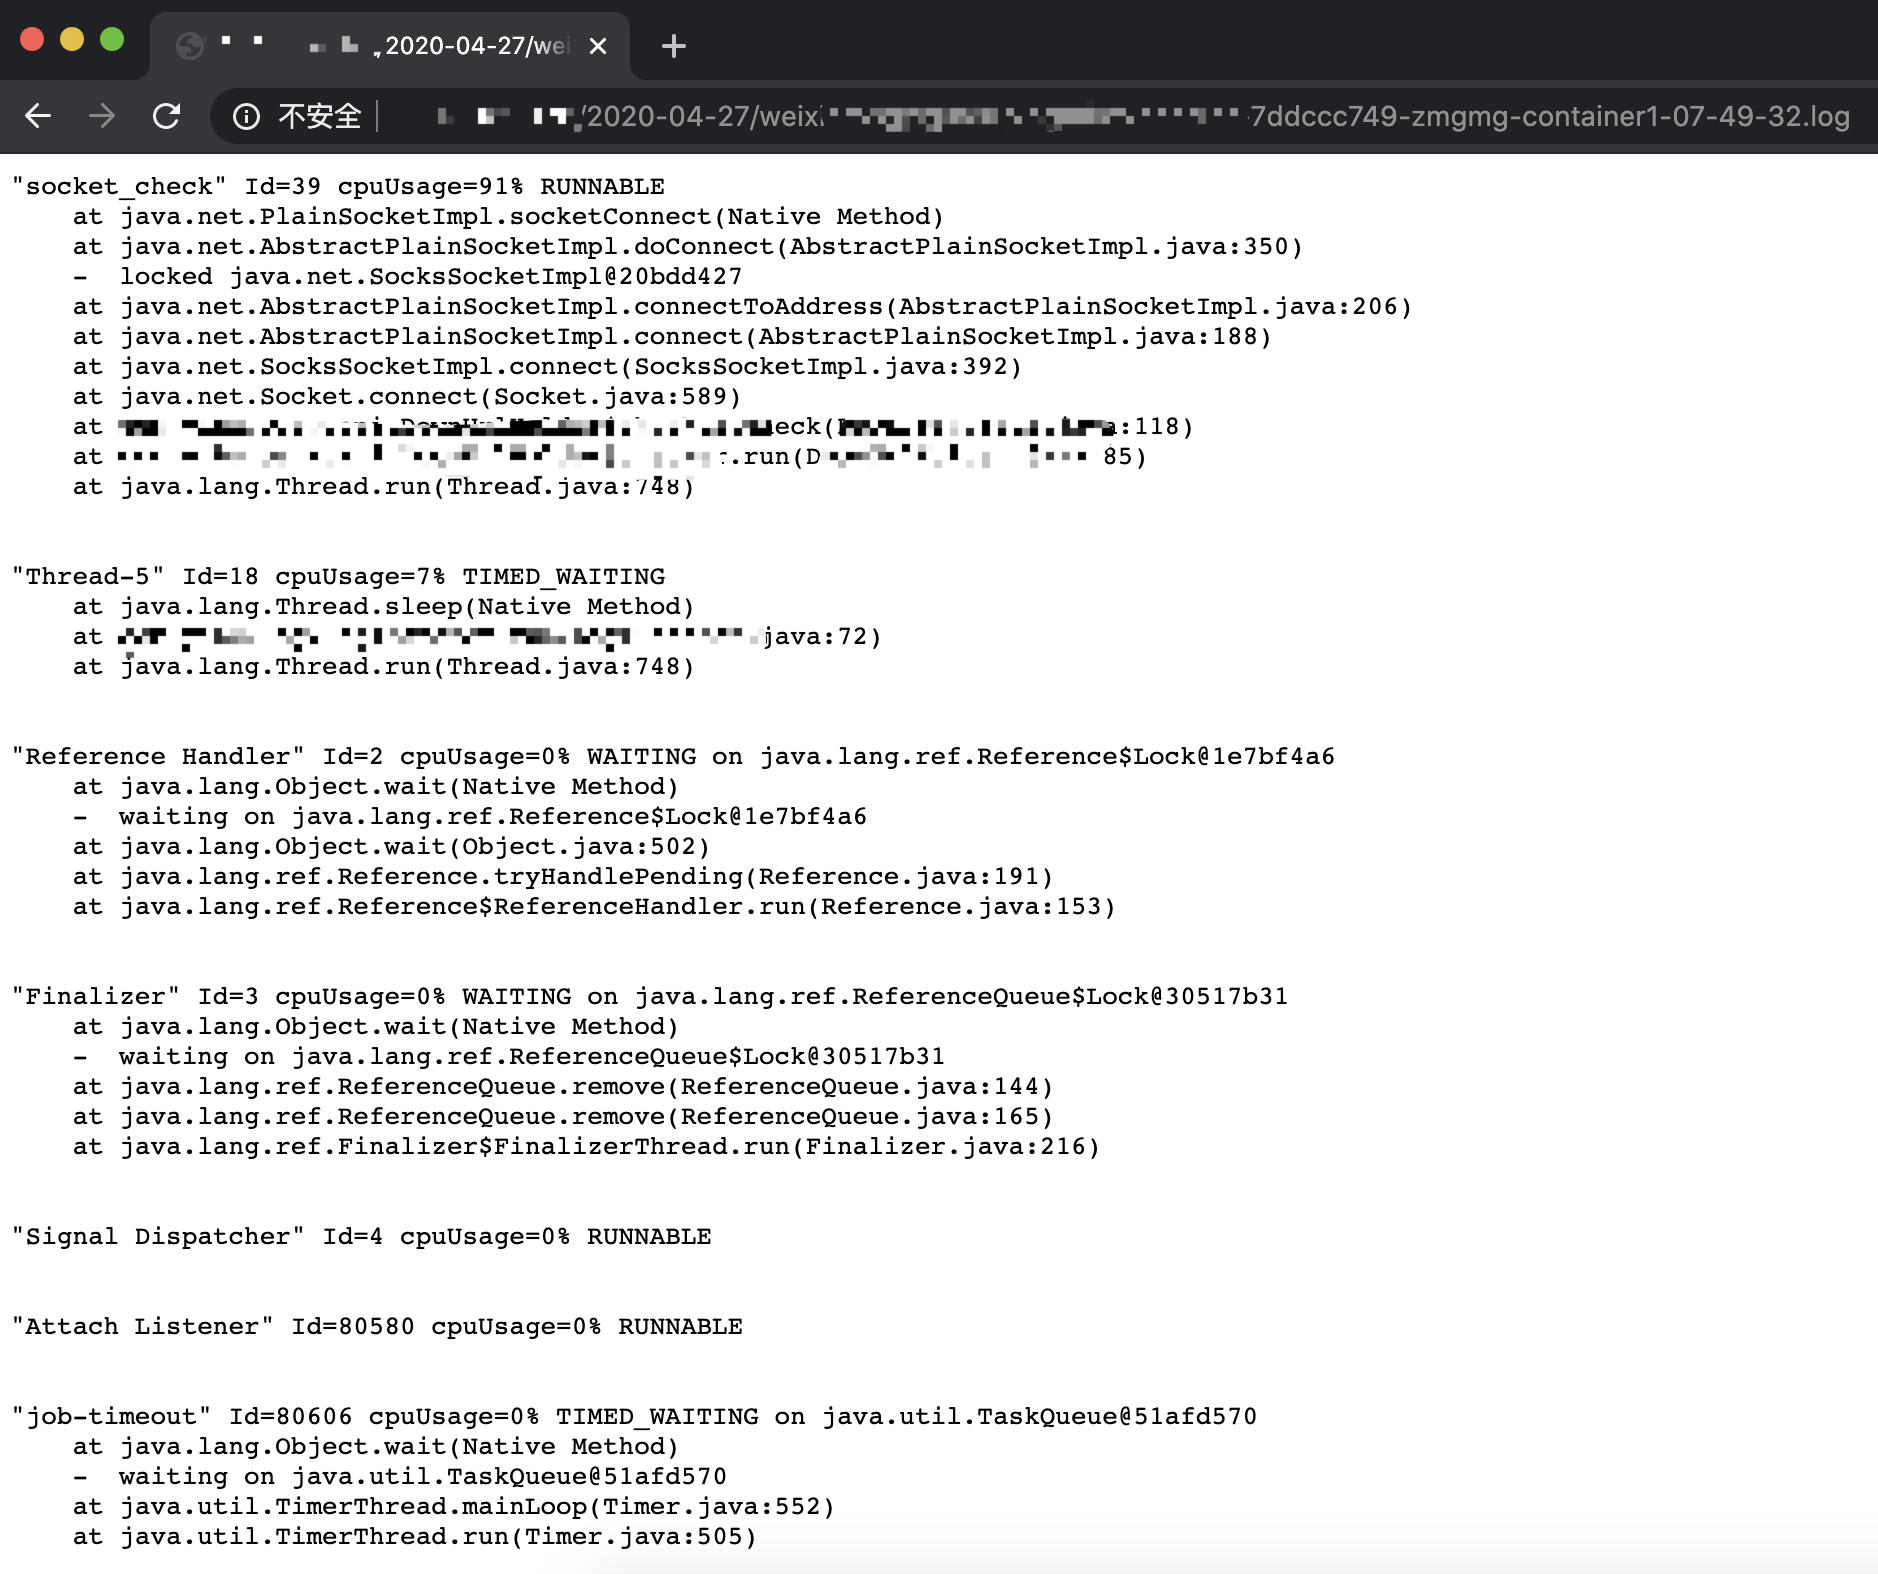
- 程序将 stdout 保存到本地文件。
- 每 node 同时运行执行数为10
可以在
./internal/defaultvalue.go中更改var defaultNodeLockManager = nodelock.NewLockManager(10)
- 默认使用集群内的Master配置
可以在./internal/defaultvalue.go中更改func DefaultKubernetesClient(){} // default func getConfigByInCluster(){} func getConfigByOutOfCluster(){}
- 默认使用并实现了一个基于本地文件的堆栈存储器, 路径位于工作路径下的
stacks中
可以在./internal/defaultvalue.go中更改func GetDefaultNodeLockManager(){}
- 默认取最繁忙的前50个线程的堆栈信息 (可在
craw.sh中修改) - 采集样本时间为2秒 (可在
craw.sh中修改)
- 需要打开 Send reminders, 不然 Grafana 默认在触发告警后一直没有解决不会重复发送告警
- Send reminder every 可以控制最快多久告警一次
如果嫌麻烦可以直接导入以下配置, 在自行更改
{
  "datasource": "prometheus",
  "alert": {
    "alertRuleTags": {},
    "conditions": [
      {
        "evaluator": {
          "params": [
            1
          ],
          "type": "gt"
        },
        "operator": {
          "type": "and"
        },
        "query": {
          "params": [
            "A",
            "5m",
            "now"
          ]
        },
        "reducer": {
          "params": [],
          "type": "last"
        },
        "type": "query"
      }
    ],
    "executionErrorState": "keep_state",
    "for": "10s",
    "frequency": "30s",
    "handler": 1,
    "name": "Pod 高CPU堆栈抓取",
    "noDataState": "no_data",
    "notifications": [
      {
        "uid": "AGOJRCqWz"
      }
    ]
  },
  "aliasColors": {},
  "bars": false,
  "dashLength": 10,
  "dashes": false,
  "fill": 1,
  "fillGradient": 0,
  "gridPos": {
    "h": 9,
    "w": 24,
    "x": 0,
    "y": 2
  },
  "hiddenSeries": false,
  "id": 14,
  "legend": {
    "alignAsTable": true,
    "avg": true,
    "current": true,
    "max": true,
    "min": false,
    "rightSide": true,
    "show": true,
    "total": false,
    "values": true
  },
  "lines": true,
  "linewidth": 1,
  "nullPointMode": "null",
  "options": {
    "dataLinks": []
  },
  "percentage": false,
  "pointradius": 2,
  "points": false,
  "renderer": "flot",
  "seriesOverrides": [],
  "spaceLength": 10,
  "stack": false,
  "steppedLine": false,
  "targets": [
    {
      "expr": "container_memory_working_set_bytes{job=\"kubelet\", metrics_path=\"/metrics/cadvisor\", image!=\"\", container!=\"POD\"}* on (namespace, pod) group_left(node) max by(namespace, pod, node, container) (kube_pod_info)",
      "legendFormat": "{{node}} - {{namespace}} - {{pod}} - {{container}}",
      "refId": "A"
    }
  ],
  "thresholds": [
    {
      "colorMode": "critical",
      "fill": true,
      "line": true,
      "op": "gt",
      "value": 1
    }
  ],
  "timeFrom": null,
  "timeRegions": [],
  "timeShift": null,
  "title": "Pod CPU",
  "tooltip": {
    "shared": true,
    "sort": 0,
    "value_type": "individual"
  },
  "type": "graph",
  "xaxis": {
    "buckets": null,
    "mode": "time",
    "name": null,
    "show": true,
    "values": []
  },
  "yaxes": [
    {
      "format": "short",
      "label": null,
      "logBase": 1,
      "max": null,
      "min": null,
      "show": true
    },
    {
      "format": "short",
      "label": null,
      "logBase": 1,
      "max": null,
      "min": null,
      "show": true
    }
  ],
  "yaxis": {
    "align": false,
    "alignLevel": null
  }
}Metrics 中填写
container_memory_working_set_bytes{job="kubelet", metrics_path="/metrics/cadvisor", image!="", container!="POD"} * on (namespace, pod) group_left(node) max by(namespace, pod, node, container) (kube_pod_info)
Legend 中填写
{{node}} - {{namespace}} - {{pod}} - {{container}}
IS ABOVE
CPU使用值,这边配置的是超过1核CPU就报警, 可以根据需要自己调节
Evaluate every
每多久计算一次
For
Pedding时间
# 为当前系统平台构建
make

# 指定目标系统, GOOS: linux darwin window freebsd
make GOOS=linux
make docker

# 自定义镜像tag
make docker IMAGE=test