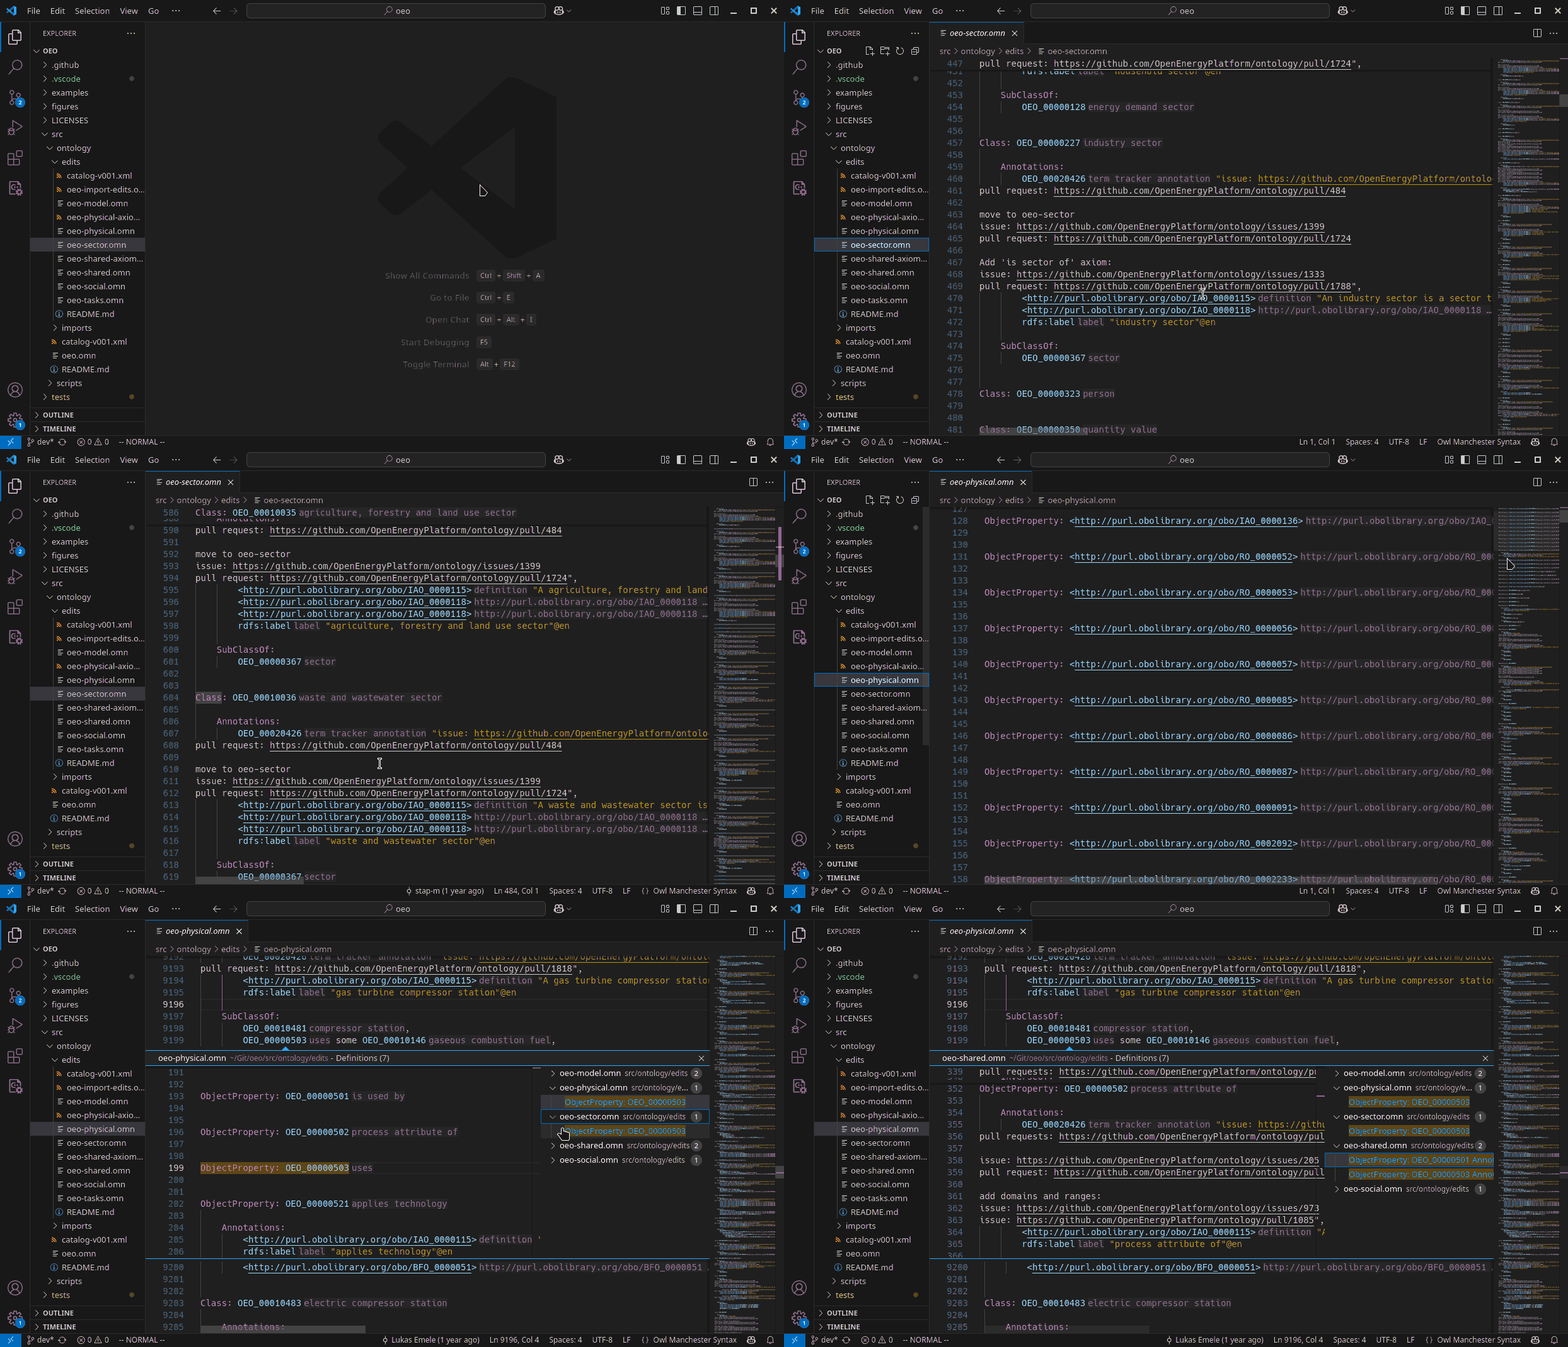
Owl 2 Mancherster Syntax language server support for Visual Studio Code
An incremental analysis assistant for writing ontologies with the OWL 2 Web Ontology Language | Manchester Syntax.
The first thing you need to know is that in order to run a a language server you obviously need a text editor. Most source code editors support the language server protocol in some form or another. You can find a list of supported tools on this website but I recommend Visual Studio Code for beginners. The further instructions for each editor are listed below.
Install the visual studio code plugin by (1) opening visual studio and navigating to view > extensions. (2) Search for "owl-ms" and your should find the "Owl Manchester Syntax" Plugin. (3) Click the "Install" button and wait. You can now use the plugin by opening a *.omn file or by running the command "Change Language Mode" and selecting "Owl Manchester Syntax".
Make sure the language server binary is installed (See Section Installing the binary). Then add the language server, language and grammar to your languages.toml.
[language-server.owl-ms-language-server]
command = "owl-ms-language-server"

[[language]]
name = "owl-ms"
injection-regex = "owl-ms"
scope = "text.omn"
file-types = ["omn"]
roots = []
language-servers = ["owl-ms-language-server"] # you can use the absolut path to the binary if needed
comment-token = "//"
indent = { tab-width = 4, unit = "    " }
grammar = "owl-ms" # this is the default


[[grammar]]
name = "owl-ms"
source = { git = "https://github.com/janekx21/tree-sitter-owl2-manchester-syntax", rev = "a55d6bdd3104cd64bfe7178395aa6a139b5632a9" } # replace rev with head of the repository
Then fetch and build the grammar.
helix --grammar fetch
helix --grammar build
See the helix documentation page on adding languages.
Vim/Neovim with coc.nvim
Make sure the language server binary is installed (See Section Installing the binary).
Merge this setting into your coc-settings.json (open with :CocConfig).
{
  "languageserver": {
    "owl-ms": {
      "command": "owl-ms-language-server",
      "filetypes": ["omn"],
      "rootPatterns":  []
    }
  }
}
See the example config for testing.
This is not needed for visual studio code.
To use the language server you have to first install it and then integrate it into you editor. This differs for each editor. Make sure cargo (the rust package manager) is installed on your system. Switch to nightly toolchain. Then to install the owl-ms-language-server binary use cargo install.
rustup default nightly
sudo apt install build-essential # on windows you will need some cc linker
cargo install owl-ms-language-server
This installs the language server into Cargo's local set of installed binary crates(rust packages), likely located in $HOME/.cargo. Make sure your PATH variable contains $HOME/.cargo/bin.
Alternatively you can clone this repository and use cargo build instead. Using this approach you have to handle the created binary yourself.
To integrate the language server into an editor not listed above use the documentation of your editor. A list of supported tools can be found on this website.
- Distributed via crates.io
Logs can be found under <tempdir>/owl-ms-lanugage-server.log. On Windows <tempdir> is most likely C:\Users\<username>\AppData\Local\Temp, on Linux /tmp and on MacOS /private/var/tmp.
- Basic Grammar
- Basic Language Server
- VS Code plugin
- making the LS more practical
Pull requests are welcome. For major changes, please open an issue first to discuss what you would like to change.
You cant checkout this repository and create a debug build using the following command.
cargo build
Configure your editor to use the created binary at target/debug/owl-ms-language-server or use the VS-Code run script.
To use the local language server with VS-Code either install the binary using cargo install --path crates/owl-ms-language-server or set the environment variable _OWL_MS_LSP_SERVER_DEBUG to the location of your owl-ms-language-server binary. Then with VS-Code open the editor/code folder and run the project (press F5). A second VS-Code editor should open that has the plugin installed and that uses the local language server installation.
All projects use the Apache-2.0 License

