-
Notifications
You must be signed in to change notification settings - Fork 2
Home
AudioVideoAnalysis is designed for realtime spectral analysis of video and audio. by clicking record, you record said information onto the applications display window. Alternatively, hit the spacebar to toggle recording on or off.

Before recording, make sure you configure your device parameters. These include camera device, camera format (resolution) and general audio settings such as audio device, samplerate, buffersize, etc. The video RefreshDevice feature updates the video device list. This is handy if you connect new video hardware to your computer while running the application.
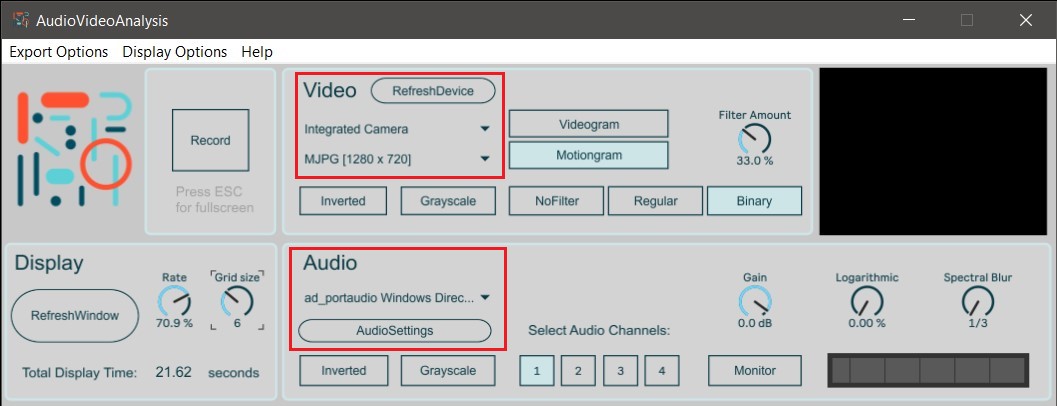
There are three distinct sections of audio parameters that each affect the display window spectrogram in varying ways. These are color, audio channels and processing.
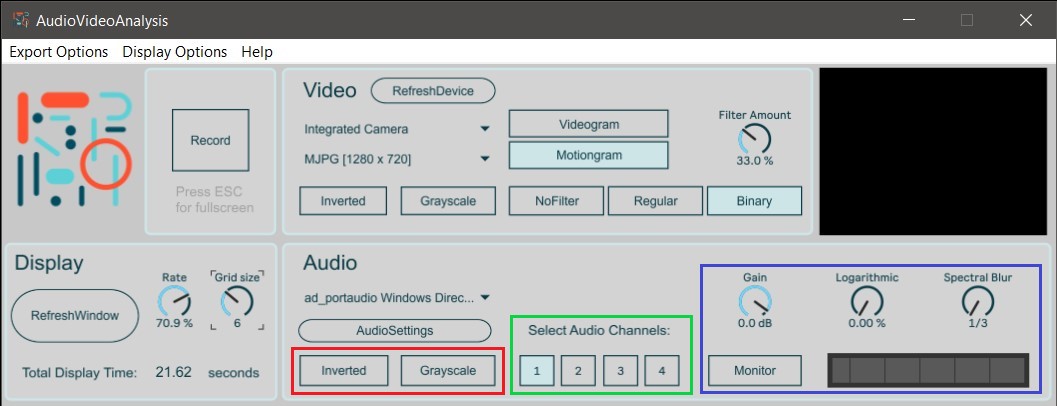
The audio channel tabs decide which audio input channels to use for your analysis. This can be handy if you have multiple active channels but you only want to analyze the spectral content of specific channels. In these cases, the monitor tab is quite useful. It enables you to monitor the incoming audio signal pre-recording.
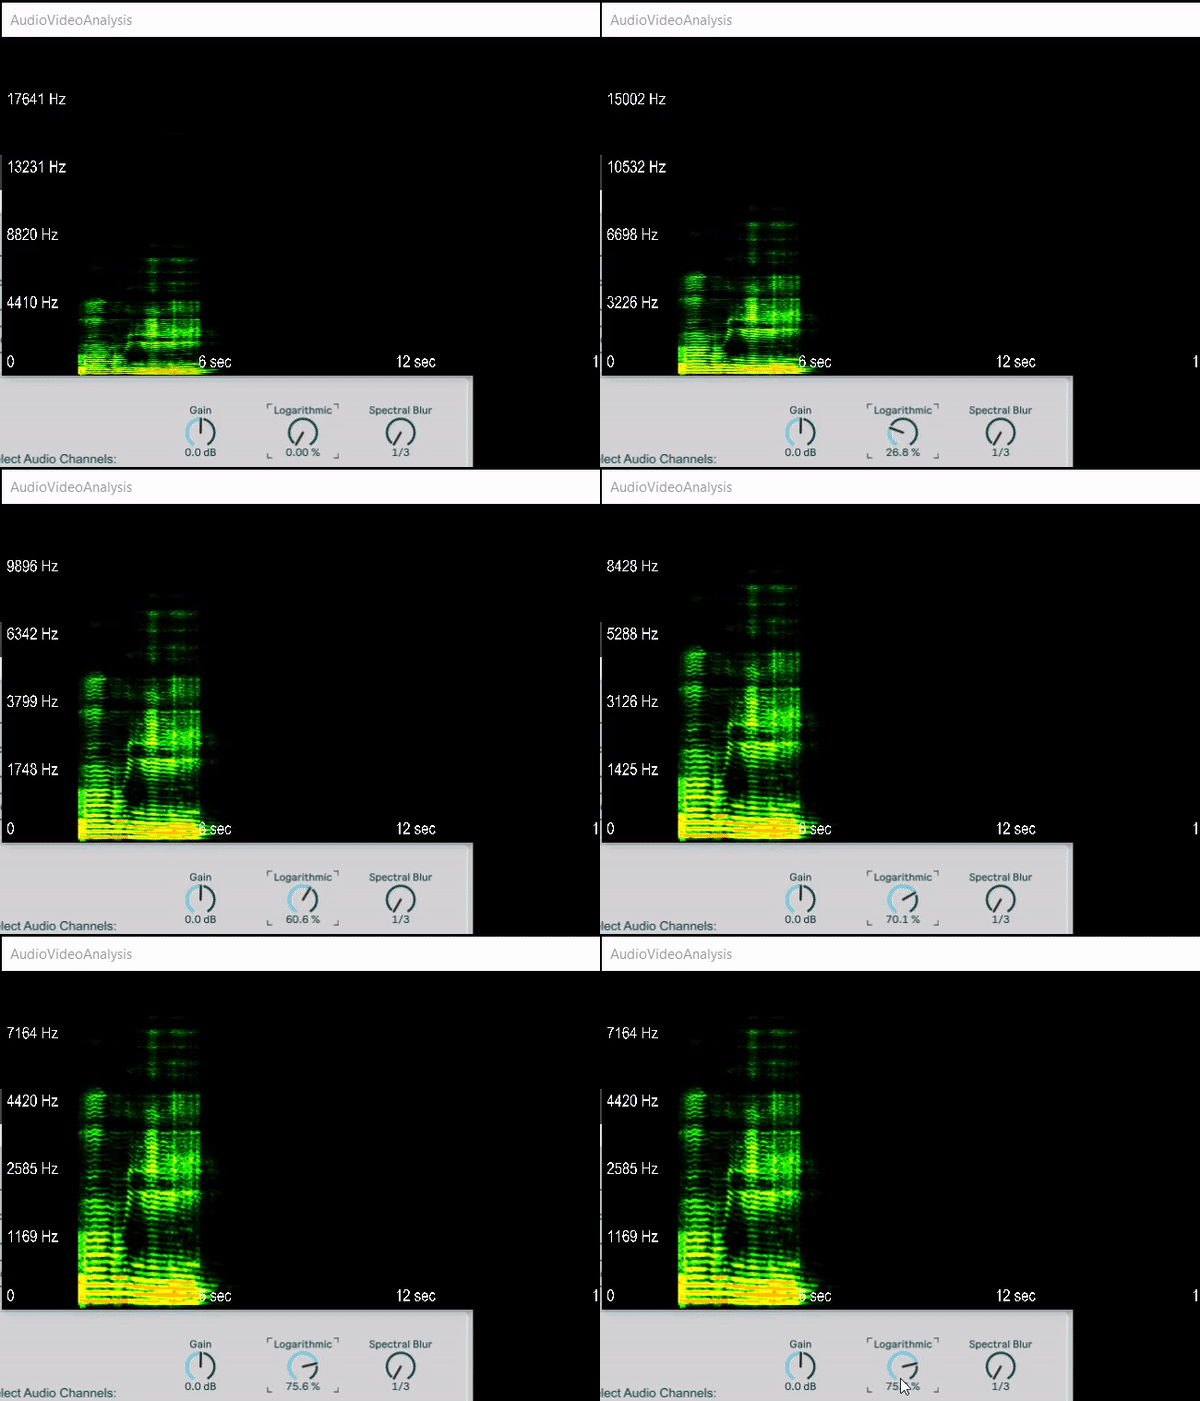
The logarithmic dial controls how logarithmic we want our spectrogram frequency distribution to be. A higher logarithmic value will create a steeper logarithmic curve along the Y-axis of the spectrogram.
the spectral blur is essentially a short vector-sized spectral delay that can be used to create more generalized images of the audio amplitude and frequency content. The spectral blur has 3 modes: no blur - blur - lots of blur.
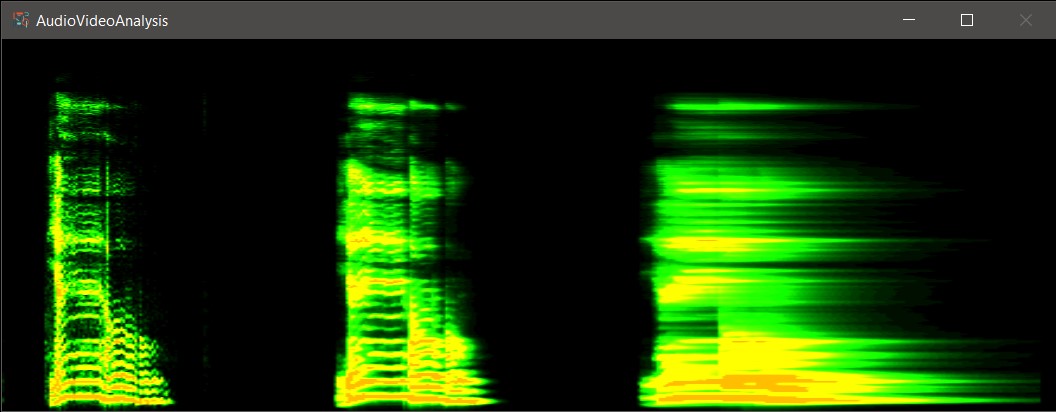
AudioVideoAnalysis also features clickpoint data retrieval of any recorded audio material. This means you can simply point and click anywhere in the display window and get the Amplitude of a certain Frequency(Hz) at a given Time(sec).
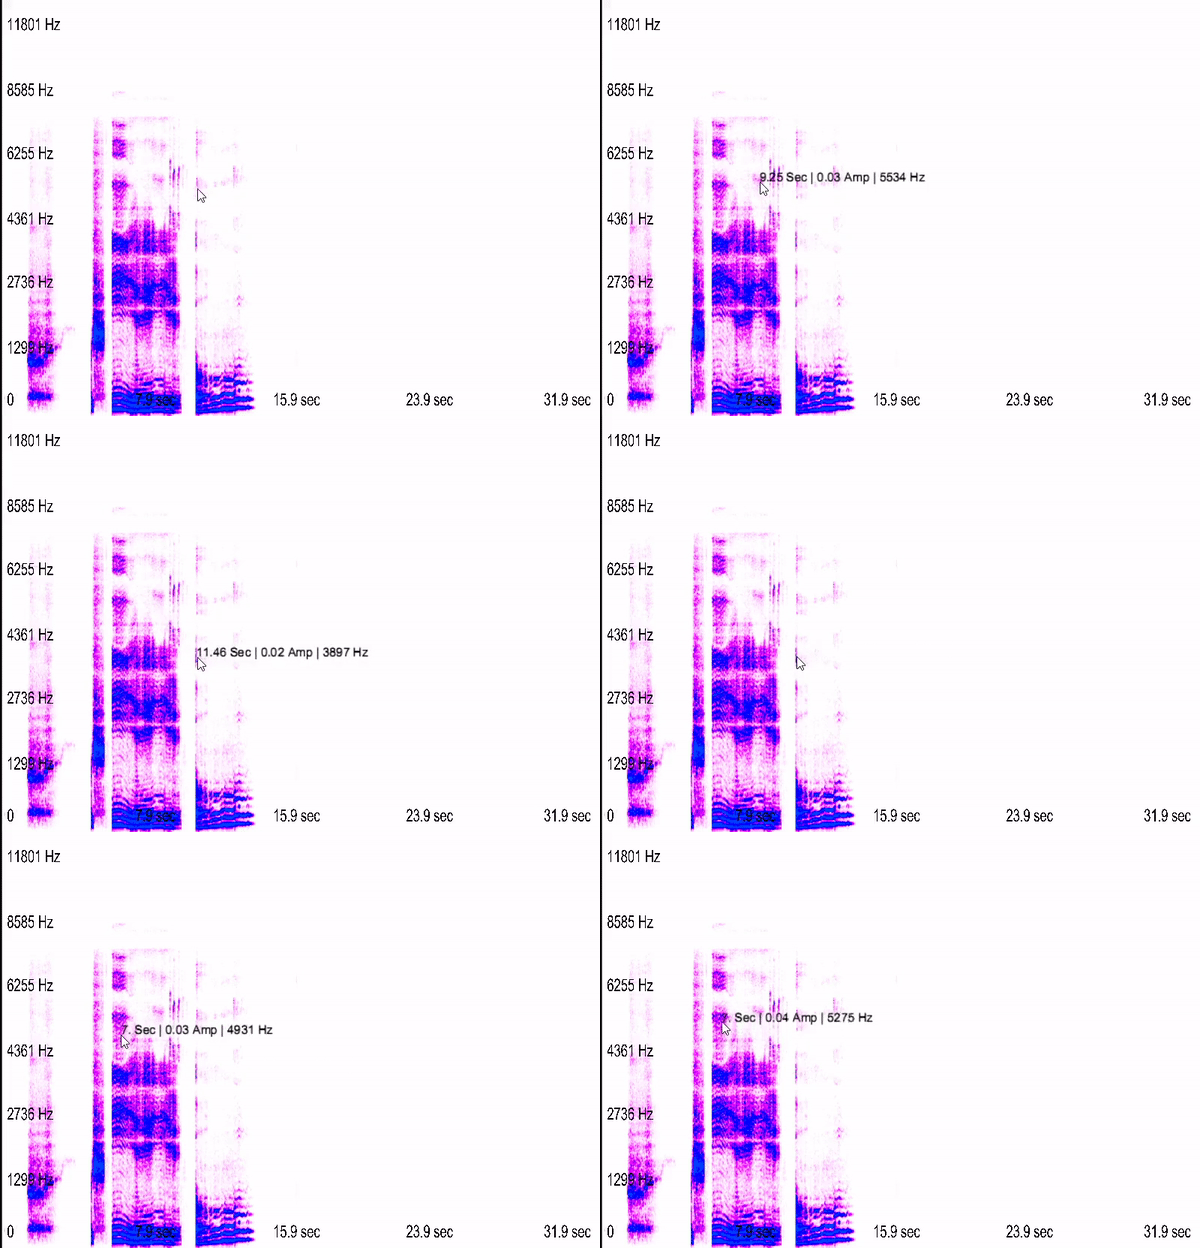
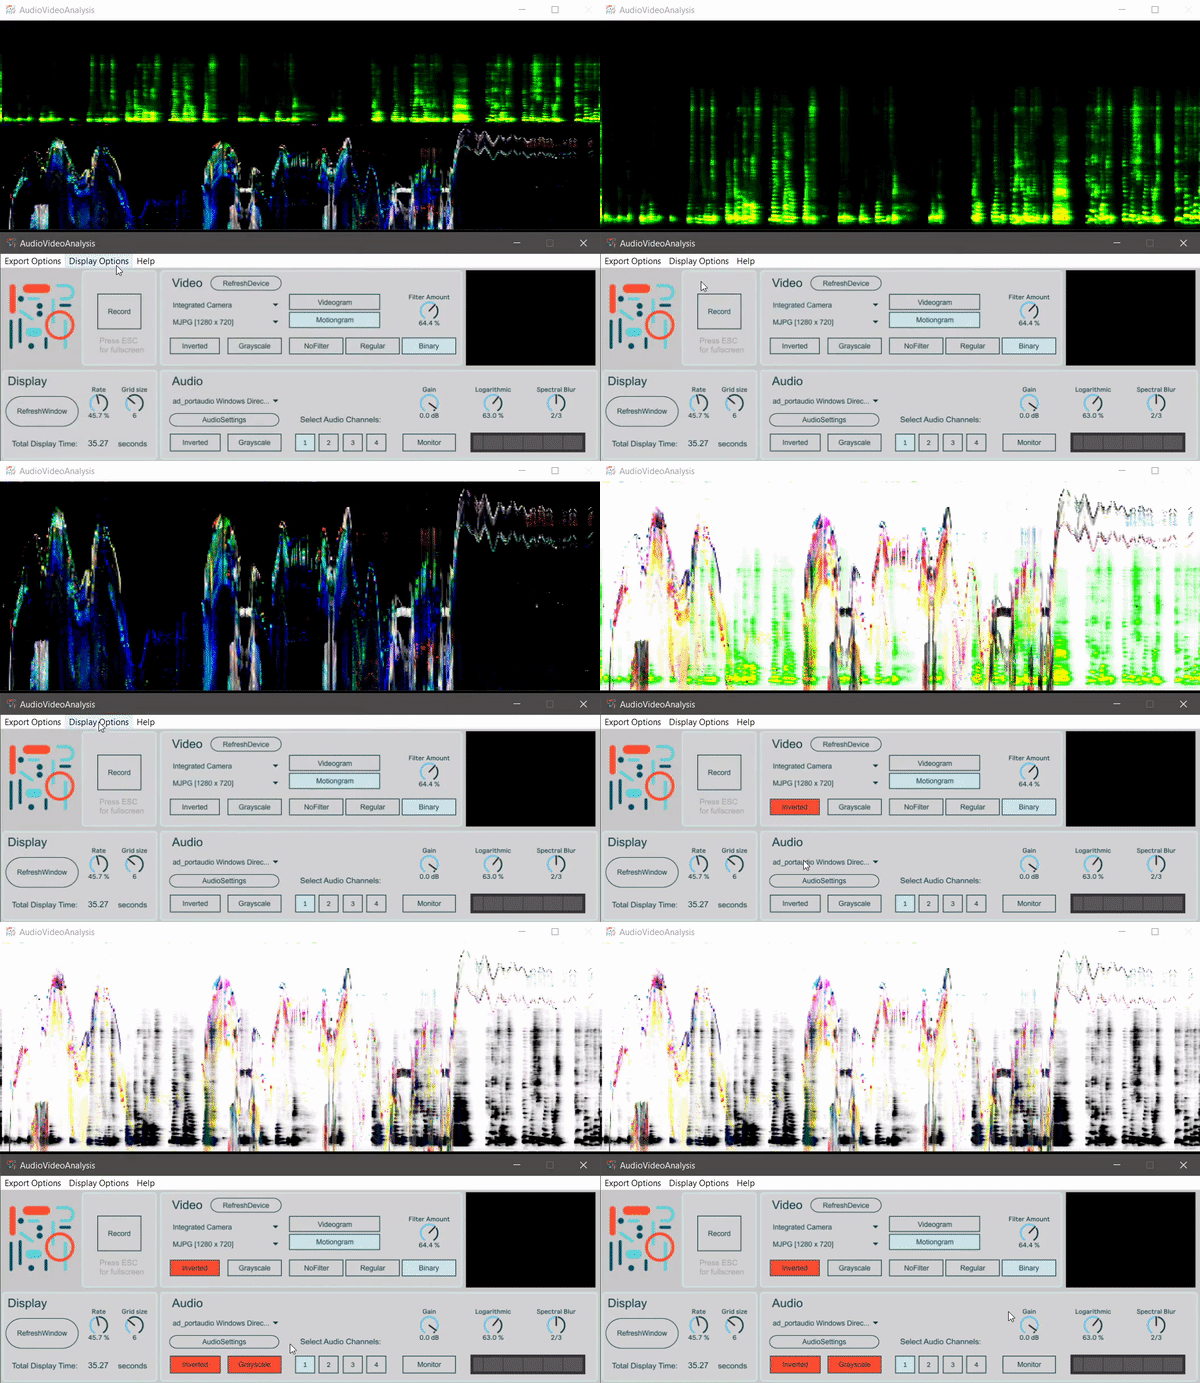
Note: You can use the clickpoint feature, as well as manipulate the spectrograms color and logarithmic frequency distribution, post-recording.
You also have three video parameter sections to process the spectral video printing. These are color, image selector and filter. Additionally, a preview window lets you see how the video-feed is processed before it's printed onto the display window.
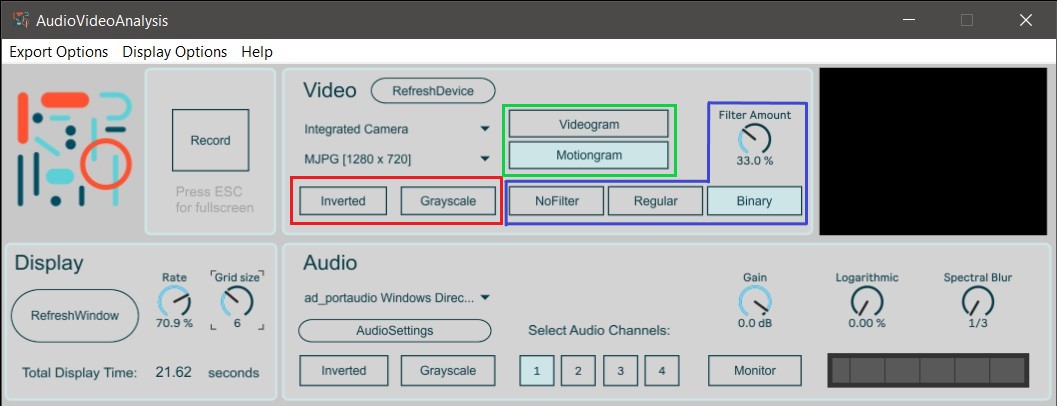
You can view either a motiongram or a videogram in the display window by toggling the image selector. Both images express vertical motion over time, the only difference is that a motiongram has some additional pre-processing which further isolates motion and reduces image noise.
When recording a motiongram, you can use a binary or "regular"(unary) noise reduction filter to reduce unwanted noise in your video-feed. The differences between these two filters are subtle, but a general tendency is that the binary filter is usually more "radical" than its regular counterpart. The preview window can help us see these effects more clearly.

Note: you can also manipulate the motion/videogram color post-recording.
Several display parameters enable you to pre-configure and view your spectral recordings in various ways. This section features a RefreshWindow button that clears all content from the display window, as well as a rate and grid size function.
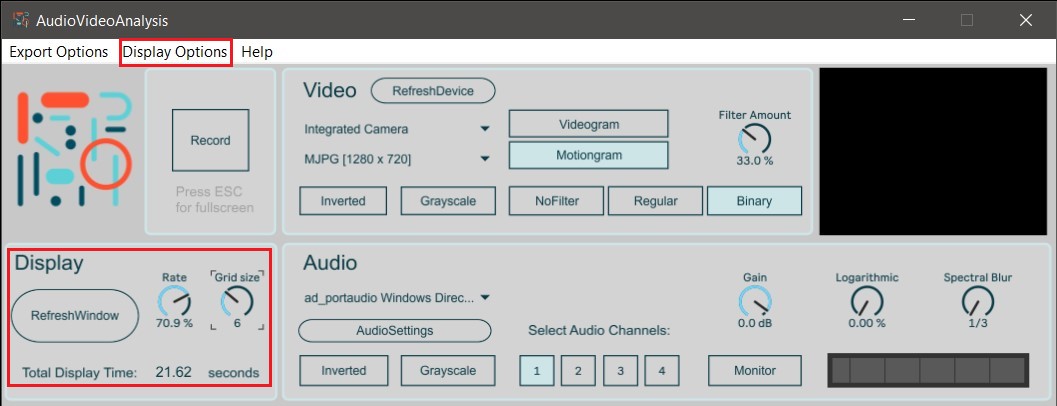
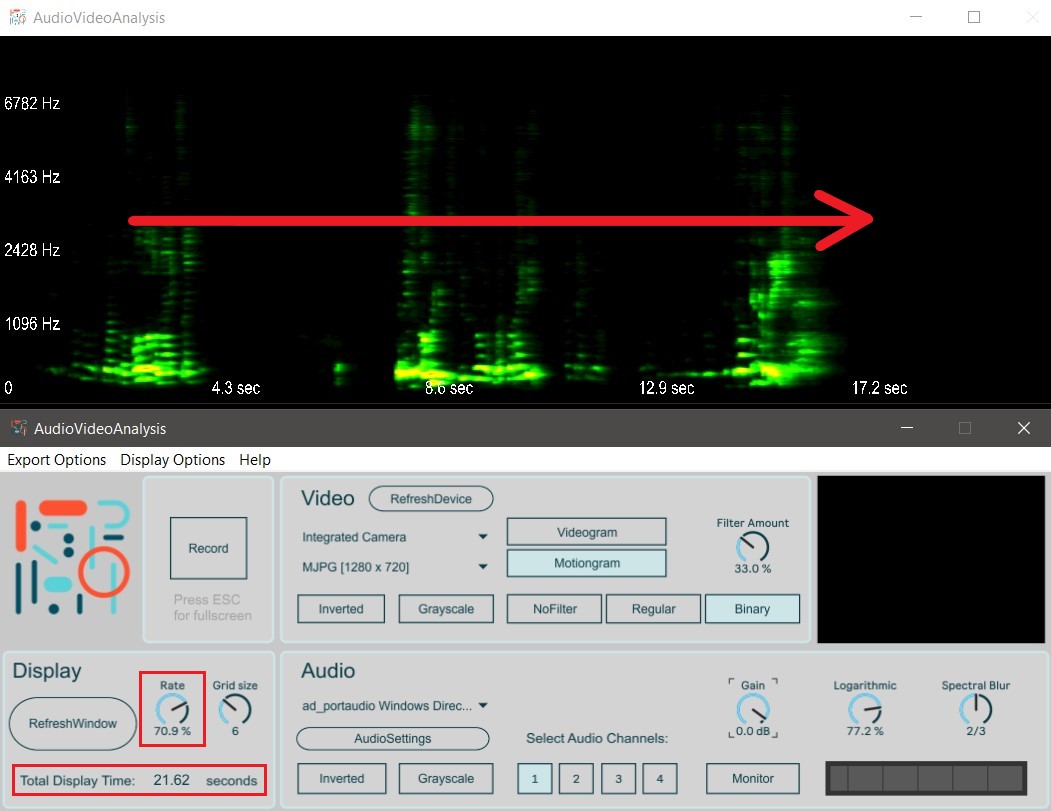
Rate controls how long it takes the spectral recordings to reach the end of the display window, or from x-min to x-max, effectively controlling the printing rate of the recording. Thus, a higher rate value will result in a shorter display length. This Total Display Time is dynamically expressed in seconds in the display section of the UI. However, a higher rate will also result in lower resolution spectral images.
There are also more display options in the Menubar.
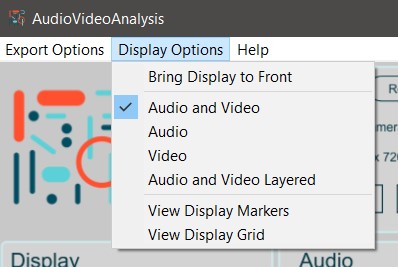
The Bring Display to Front option will glue your display window to the front of your screen. Underneath, you will find 4 different viewing options. These toggle different ways to view your spectral recordings in the display window.
Lastly, you can add analysis markers by toggling the View Display Markers and View Display Grid options. Furthermore, by configuring the grid size you can change the size of your analysis grid. Beware that a grid size of 6 corresponds to a visible 4x4 grid. This is because it requires 6 vertical and horizontal lines to generate a 4x4 grid.
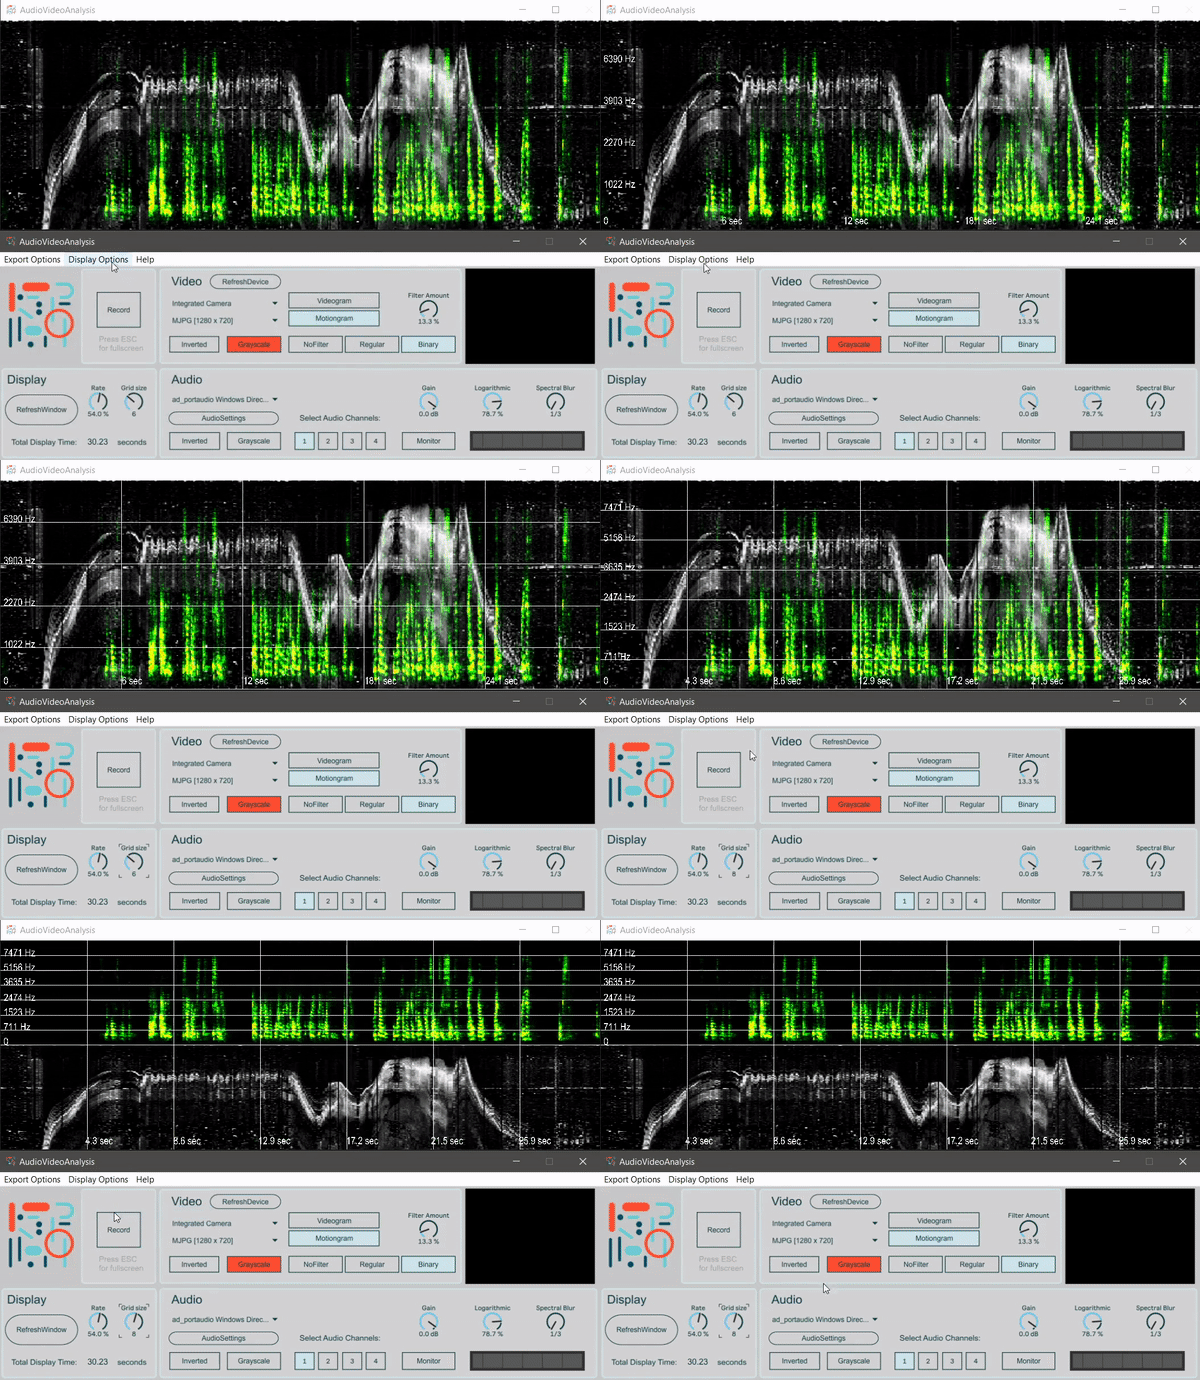
Note: You can resize the display window by simply clicking and dragging. Furthermore, you can change viewing options and add/remove analysis markers post-recording.
An important feature of AudioVideoAnalysis is the ability to export the images we create. In tehse cases, the applications post-recording processing abilities comes in handy!

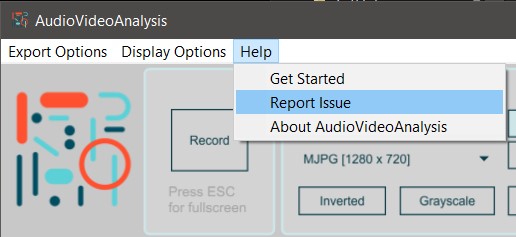
Have you experienced errors or any strange behavior from AudioVideoAnalysis? If you take a moment and report it to us, you can greatly contribute to the development of this software. Clicking on Help > Report a problem... opens your default internet browser and takes you straight to the Issues page at our Github repository for AudioVideoAnalysis. Here you can click on the (green) New issue button, and tell us about the problem.
