Screens
This is a quick overview of what a running MeshCentral server looks like. After the login screen, the first screen you are likely to encounter is the devices screen. Here, you see all your devices. MeshCentral supports Windows, Linux, macOS and FreeBSD. Notice the battery indicator for devices running on batteries, and the blue connection icon on devices with ongoing desktop, terminal or file transfer connections.

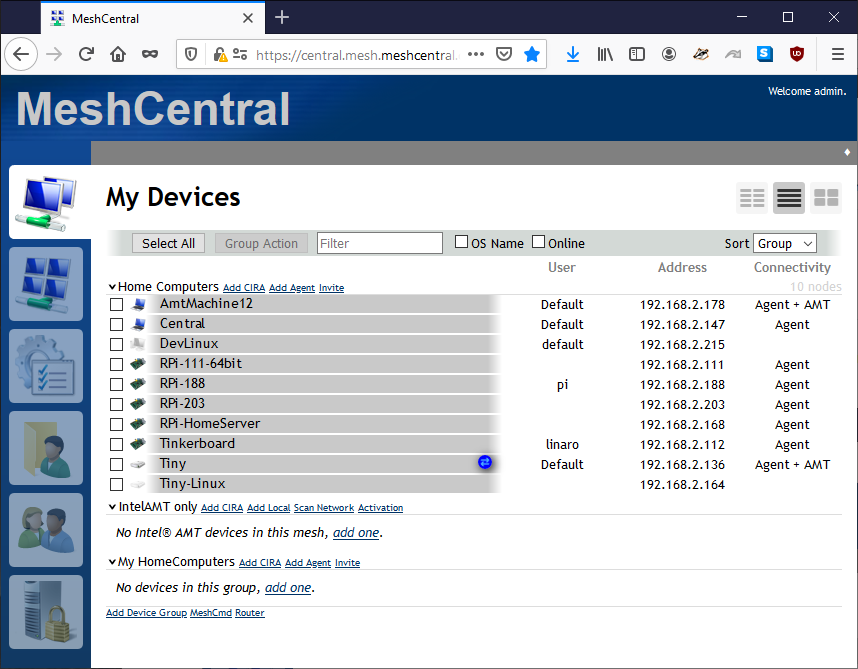
You can also take a look at your devices in a more compact list new mode. Here, the battery and connection icon are still present when needed. There is a filtering bar at the top you can use to start typing and focus on the device you want.
When clicking on device, you see all sorts of information about this device including when it's been connected to the server and much more.

One of the most frequently used feature of MeshCentral is the built-in remote desktop capability. It's all web based, no extra software needed. You can click the connect button and see the remote display and start to interact with it. Note at the bottom there are icons to launch a chat session, start recording or send an alert message to the remote computer.

In addition to the desktop, there is also a remote terminal. This is especially useful for Linux computers or servers where many operations are done using the command shell.

You can also upload and download files from a remote computer using the "Files" tab. Just connect and navigate thru the folders of the remote computer. Click on a file to download or hit the upload button to send a file to the currently selected folder. You can also quickly copy or move files around. To upload, you can also drag & drop a file into the browser.
