A Task that includes writing code and deploying it on an Azure Virtual Machine running Windows Server with Internet Information Services (IIS) for the web server, and then deploying the same application on a Linux Virtual Machine behind an Azure Load Balancer.
- Framework: ASP.NET Core MVC
- Languages: C#
- Authentication: ASP.NET Identity
- Markup: Razor Views
- Styles: Bootstrap 5, CSS3
- Scripts: jQuery
- IDE: Visual Studio 2022
- You can install and manage .NET through the Windows Package Manager service, using the winget tool. For more information about how to install and use winget, see Use the winget tool
- The .NET SDK allows you to develop apps with .NET. If you install the .NET SDK, you don't need to install the corresponding runtimes. To install the .NET SDK, run the following command:
winget install Microsoft.DotNet.SDK.8- To check whether .Net is installed properly, run the following command:
where.exe dotnet- This is the base runtime, and contains just the components needed to run an app. To install, run this following command:
winget install Microsoft.DotNet.Runtime.8- This runtime runs web server apps and provides many web-related APIs. ASP.NET Core Runtime allows you to run apps that were made with .NET that didn't provide the runtime. You must install .NET Runtime in addition to this runtime. The following commands install ASP.NET Core Runtime, In your terminal, run the following commands:
winget install Microsoft.DotNet.AspNetCore.8- For installing the IDE you can Click here and download the community edition.
When installing or modifying Visual Studio, select one or more of the following workloads, depending on the kind of application you're building:
- The .NET Core cross-platform development workload in the Other Toolsets section.
- The ASP.NET and web development workload in the Web & Cloud section.
- The Azure development workload in the Web & Cloud section.
- The .NET desktop development workload in the Desktop & Mobile section.
Clone the project
git clone https://github.com/Srivallabh13/Devops.gitRight click anywhere in the folder and select Open with then click on Visual Studio 2022
Press [Ctrl]+[F5] to run the app without the debugger.
Visual Studio displays the following dialog when a project is not yet configured to use SSL:
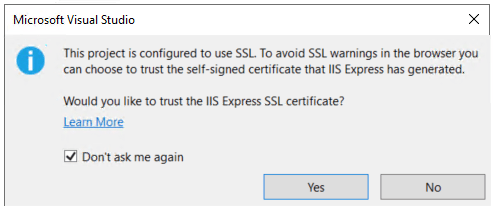
Select Yes if you trust the IIS Express SSL certificate.
The following dialog is displayed:
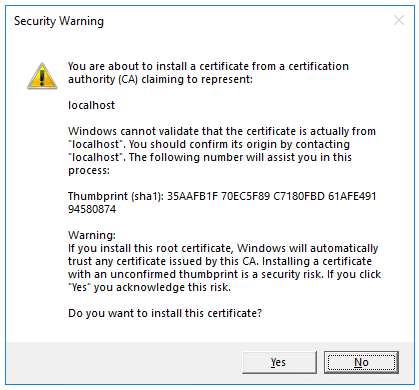
Select Yes if you agree to trust the development certificate.
Visual Studio runs the app and opens the default browser.
The address bar shows localhost:<port#> and not something like example.com. The standard hostname for your local computer is localhost. When Visual Studio creates a web project, a random port is used for the web server.
Launching the app without debugging by pressing Ctrl+F5 allows you to:
Make code changes. Save the file. Quickly refresh the browser and see the code changes.
You can launch the app in debug or non-debug mode from the Debug menu:
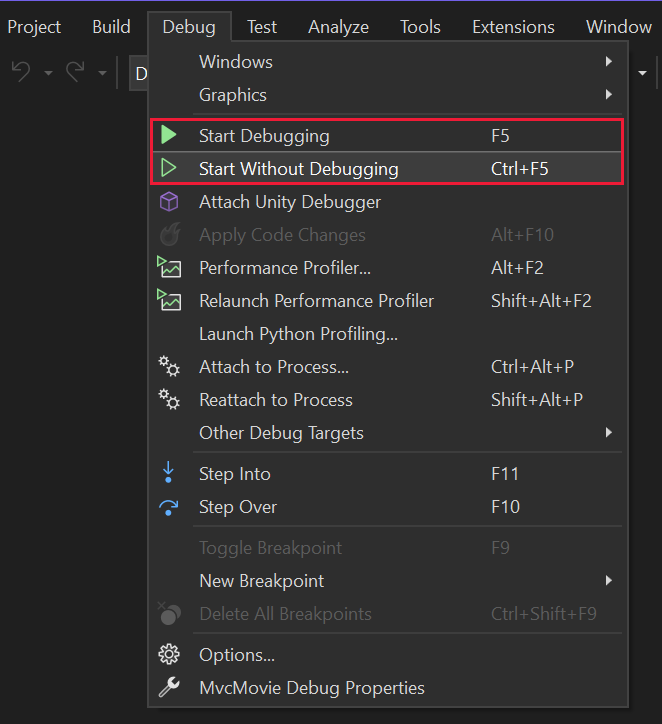
You can debug the app by selecting the https button in the toolbar:

The following image shows the app:
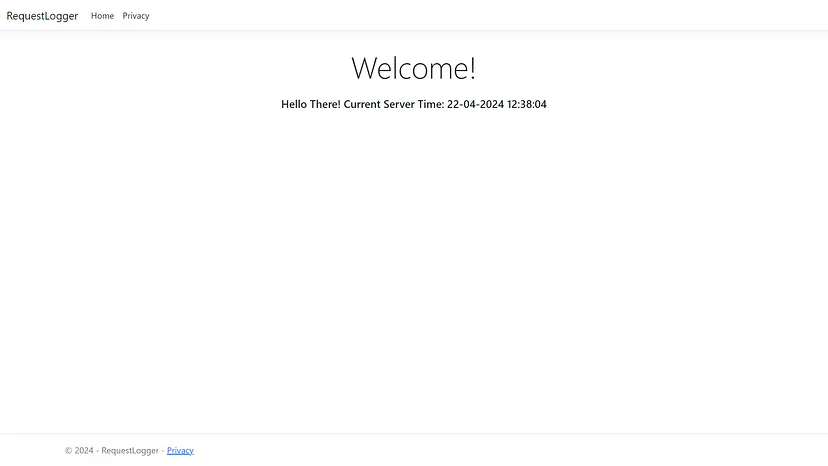
Close the browser window. Visual Studio will stop the application.

A resource group is a logical container that holds related Azure resources. Resource groups allow you to deploy and monitor resources as a group and track billing costs by resource group.
Subnets enable you to segment the virtual network into one or more subnetworks and allocate a portion of the virtual network's address space to each subnet. You can then deploy Azure resources in a specific subnet.
An Azure virtual machine gives you the flexibility of virtualization without having to buy and maintain the physical hardware that runs it. However, you still need to maintain the virtual machine by performing tasks, such as configuring, patching, and installing the software that runs on it.
The networking components include the following resources:
-
Virtual network: Every VM is deployed into a virtual network that can be segmented into multiple subnets.
-
Network interface (NIC): The NIC enables the VM to communicate with the virtual network. If you need multiple NICs for your VM, be aware that a maximum number of NICs is defined for each VM size.
-
Public IP address: A public IP address is needed to communicate with the VM — for example, via remote desktop (RDP). The public IP address can be dynamic or static. The default is dynamic.
-
FQDN: You can also create a fully qualified domain name (FQDN) for the IP address. You can then register a CNAME record in DNS that points to the FQDN. For more information, see Create a fully qualified domain name in the Azure portal.
-
Network security group (NSG): Network security groups are used to allow or deny network traffic to VMs. NSGs can be associated either with subnets or with individual VM instances.

Azure Virtual Machines: serves as the compute resource for the application and is distributed across availability zones. For illustrative purposes, a combination of both Windows and Linux VMs is used.
Azure Virtual Machine Scale Sets in Flexible orchestration mode is used to provision and manage the VMs.
The sample application can be represented in two tiers, each requiring its own compute.
The front end runs the web server and receives user requests. The back end runs another web server acting as a web API that exposes a single endpoint where the business logic is executed. The front-end VMs have data disks (Premium_LRS) attached, which could be used to deploy a stateless application. The back-end VMs persist data to Premium_ZRS local disks as part of its operation. This layout can be extended to include a database tier for storing state from the front-end and back-end compute. That tier is outside the scope of this architecture.
Azure Virtual Network: provides a private network for all workload resources. The network is segmented into subnets, which serve as isolation boundaries.
Azure Application Gateway: is the single point of ingress that routes requests to the front-end servers. The selected SKU includes integrated Azure Web Application Firewall (WAF) for added security.
Internal Azure Load Balancer: routes traffic from the front-end tier to the back-end servers.
Azure Load Balancer: Standard SKU provides outbound internet access to the VMs using three public IP addresses.
Azure Key Vault: stores the certificates used for end-to-end transport layer security (TLS) communication. It could also be used for application secrets.
To deploy this project there are several steps to be done:
- You need to create a virtual machine using the IaC.
- After successful completion of creating a Virtual machine, Navigate to the Virtual machine resource → overview. Here you will see the analytics of your VM for the selected duration.

To deploy our web application we need a server that serve requested HTML pages or files. So we are using IIS(Internet Information Services) as a server.
To use IIS server we need to install and configure it. There are many ways we can install it and configure it.
- After login into the VM, open the server manager and search for server manager → Add roles and features → Next (Before you begin) → Installation Type (Role-based or feature-based) → Server selection (Select server from the pool) → Server Roles (Enable Web Server (IIS)).

- After login into the VM, open Windows Powershell and execute this commnand:
Install-WindowsFeature Web-Server,Web-Asp-Net45,NET-Framework-FeaturesThis will install and configure the IIS in the VM.
- After creating the VM, we install and configure the IIS with the help of Custom Script Extension.
- We will create a Storage Account and create a container, the container will have IIS.config file which will have this commands in it:
    import-module servermanager
    add-windowsfeature web-server -includeallsubfeature
    add-windowsfeature Web-Asp-Net45
add-windowsfeature NET-Framework-Features - We will put and execute this file in the VM through Custom Script Extension. The IaC for doing this would be like:
resource "azurerm_virtual_machine_extension" "custom_extension" {
    name = "example-extension"
    virtual_machine_id = azurerm_windows_virtual_machine.EnterNameOfVM.id
    type = "CustomScriptExtension"
    publisher = "Microsoft.Compute"
    type_handler_version = "1.10"

    depends_on = [ azurerm_storage_blob.EnterNameOfBlob ]

    settings = <<SETTINGS
    {
        "fileUris": ["https://${azurerm_storage_account.storage_account.name}.blob.core.windows.net/app-container/IIS_Config.ps1"],
          "commandToExecute": "powershell -ExecutionPolicy Unrestricted -file IIS_Config.ps1"
    }
    SETTINGS
}- Custom Script Extension will make sure that the file is put into the VM and is executed in the VM. This will install and configure the IIS.
- After installing the Web server (IIS) using server manager, install the .net hosting bundle by downloading the appropriate version. (In my case I will go with .net 8.0)
- We also need to install Web Deploy 3.6 in the virtual machine to synchronize IIS servers or to migrate to newer versions of IIS.Web Deploy Tool also enables administrators and delegated users to use IIS Manager to deploy ASP.NET and PHP applications to an IIS server.
- Right-click on the project in Solution Explorer and select Publish.
- In the Pick a publish target dialog, select the Azure publish option.
- In the Pick a publish specific target dialog, select the Azure Virtual Machine option.
- Select the Resource Group in which you virtual machine exists, then select the VM and click on Finish.
- Click on the Publish button.
- Access the application from a web browser to validate its deployment using the DNS name.
To deploy an web application on linux virtual machine the following steps needs to be followed:
- Right-click on the project in Solution Explorer and select Publish.
- In the Pick a publish target dialog, select the Folder publish option.
- Set the Folder or File Share path.
- If you created a folder for the IIS site that's available on the development machine as a network share, provide the path to the share. The current user must have write access to publish to the share.
- If you're unable to deploy directly to the IIS site folder on the IIS server, publish to a folder on removable media and physically move the published app to the IIS site folder on the server, which is the site's Physical path in IIS Manager. Move the contents of the bin/Release/{TARGET FRAMEWORK}/publish folder to the IIS site folder on the server, which is the site's Physical path in IIS Manager.
- Select the Publish button.
- After login to the Linux VM through SSH key or username password, open windows powershell in local system.
- To Transfer the published files from Windows to Linux VM we can use "scp" command.
$scp -r /local/path [username@public_ip]:~/vm/path- To update the dependencies we can use below command:
$sudo apt-get update- To install the ASP.Net Core runtime we can use the below command:
$sudo apt-get install -y aspnetcore-runtime-8.0-To check whether the runtime is properly installed use below command:
$dotnet- I am going to install Nginx web server and then configure it as a reverse proxy. To install Nginx I am just going to use a simple apt-get command to install it and then start the service.
$sudo apt-get install nginx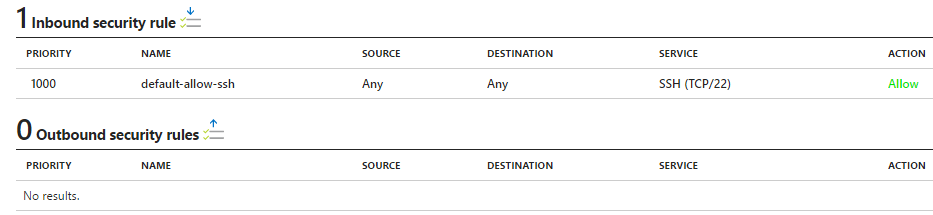
$sudo systemctl start nginx- After the installation is done, I should be able to access the default web page delivered by Nginx server by typing the IP address of the VM. If you try this now, it will not work because of the VM Network Security Group in Azure will not let you access it. By default only SSH connections are allowed to the VM. I want to have the HTTP as web applications work on HTTP. Under Network Interfaces of the VM, click on Network Security Groups. Here you can see the Inbound and Outbound security rules. Under Inbound Security Rules, you can see that there is only one rule which is allowing you to have a SSH connection with the VM.
- We need to give access to the HTTP request in the inbound security rule, the IaC for this would look like:
security_rule {
    name = "Allow_HTTP"
    priority = 200
    direction = "Inbound"
    access = "Allow"
    protocol = "Tcp"
    source_port_range = "*"
    destination_port_range = "80"
    source_address_prefix = "*"
    destination_address_prefix = "*"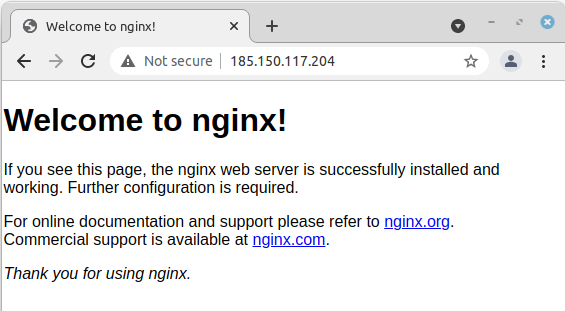
}- Let’s try accessing the web page again and this time I should be able to see the default Nginx web page.
- It's time to configure the web server as a reverse proxy for my web application. Open the config file from the below location.
$sudo nano /etc/nginx/sites-enable/default- And in the default file, comment all attributes of the location function and add this proxy_pass line.
location / {
    proxy_pass http://localhost:[port_no];
}- You can check if the config file is not having any errors by using the below command:
$sudo nginx -t- If you made the changes when the server was running then either restart the server to reload the settings or execute the below command to reload the settings without restarting the server.
$sudo nginx -s reload- Access the application from a web browser to validate its deployment using the the Frontend_IP of the Load balancer.
- Here is the Web Application deployed on the Windows IIS Server.
-
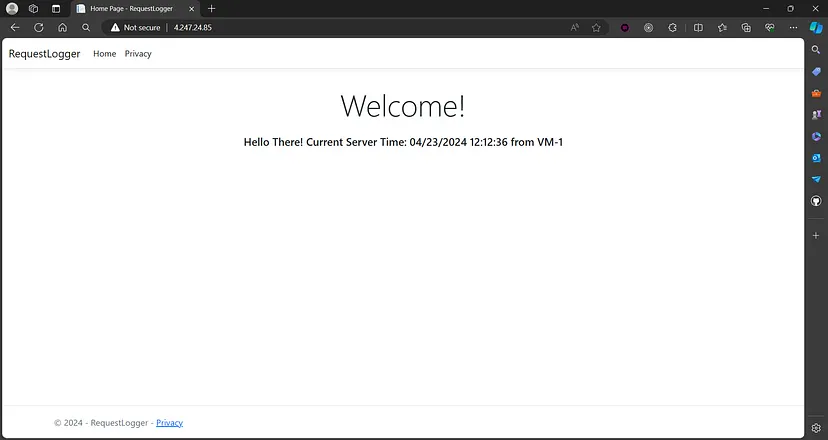
Here is the Web Application deployed on the Linux Nginx Server using Load Balancer.
-
Web Application is served using VM-1.
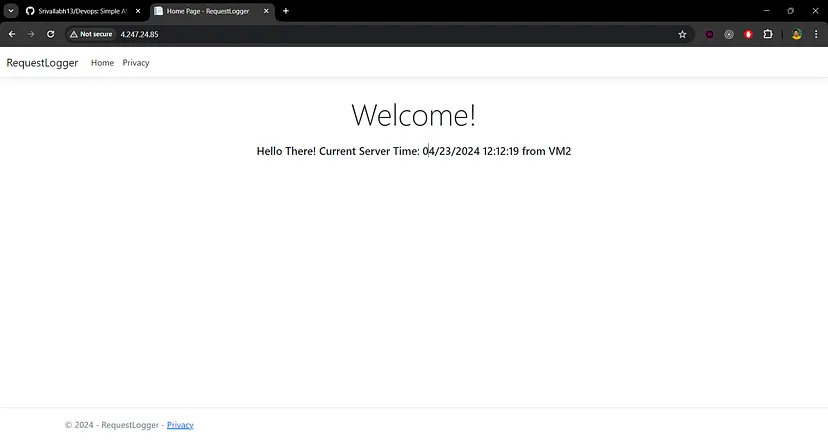
- Web Application is served using VM-2.
Visit the Web Application deployed on Windows virtual machine IIS web server Request Logger.
Visit the Web Application deployed on Linux nginx server behind a Load Balancer Request Logger.
If you have any feedback, please reach out to me at [email protected]