Welcome to the upgraded version of the Laravel Conference Event Demo! This project has been updated to Laravel 10 and optimized for deployment on web hosting servers. Additionally, we've made significant improvements to the database structure and styles to enhance performance and user experience.
- Introduction
- Features
- Installation
- Configuration
- Usage
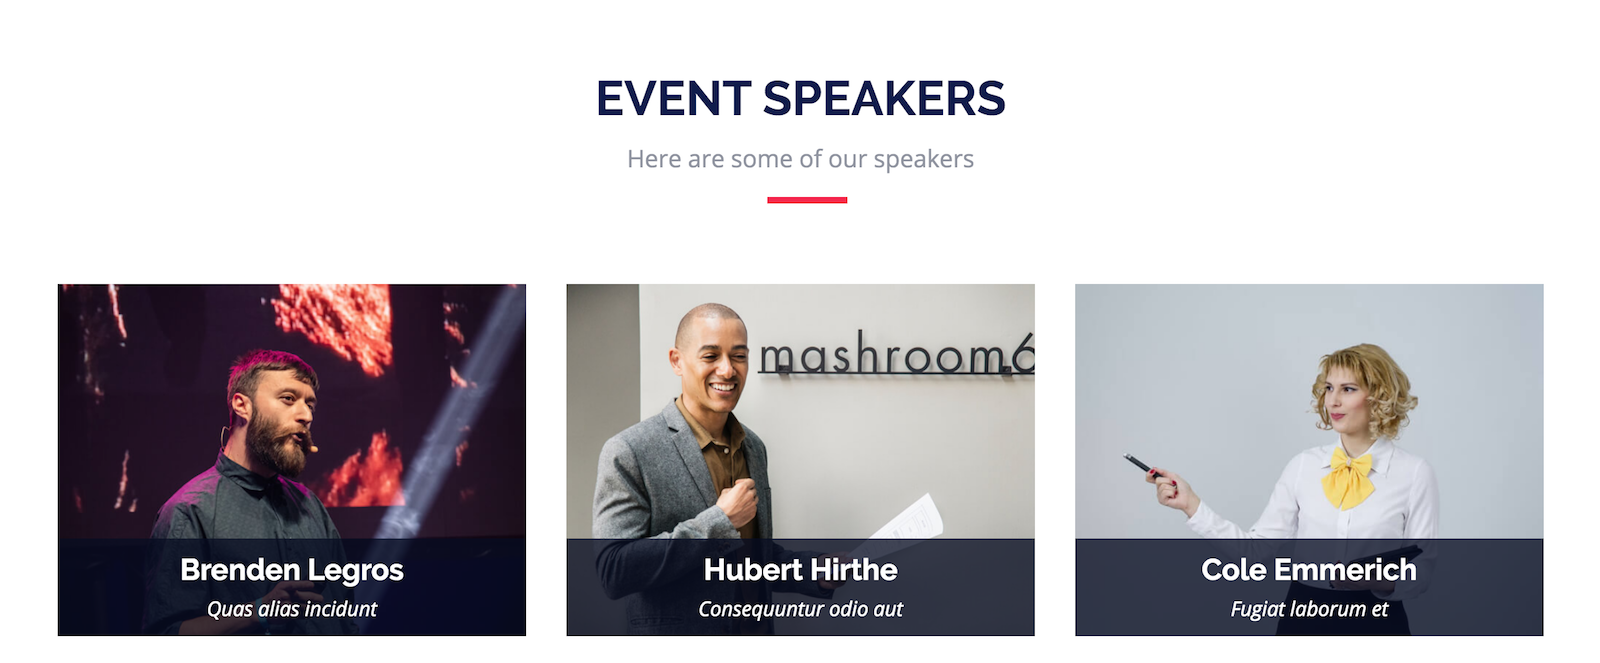
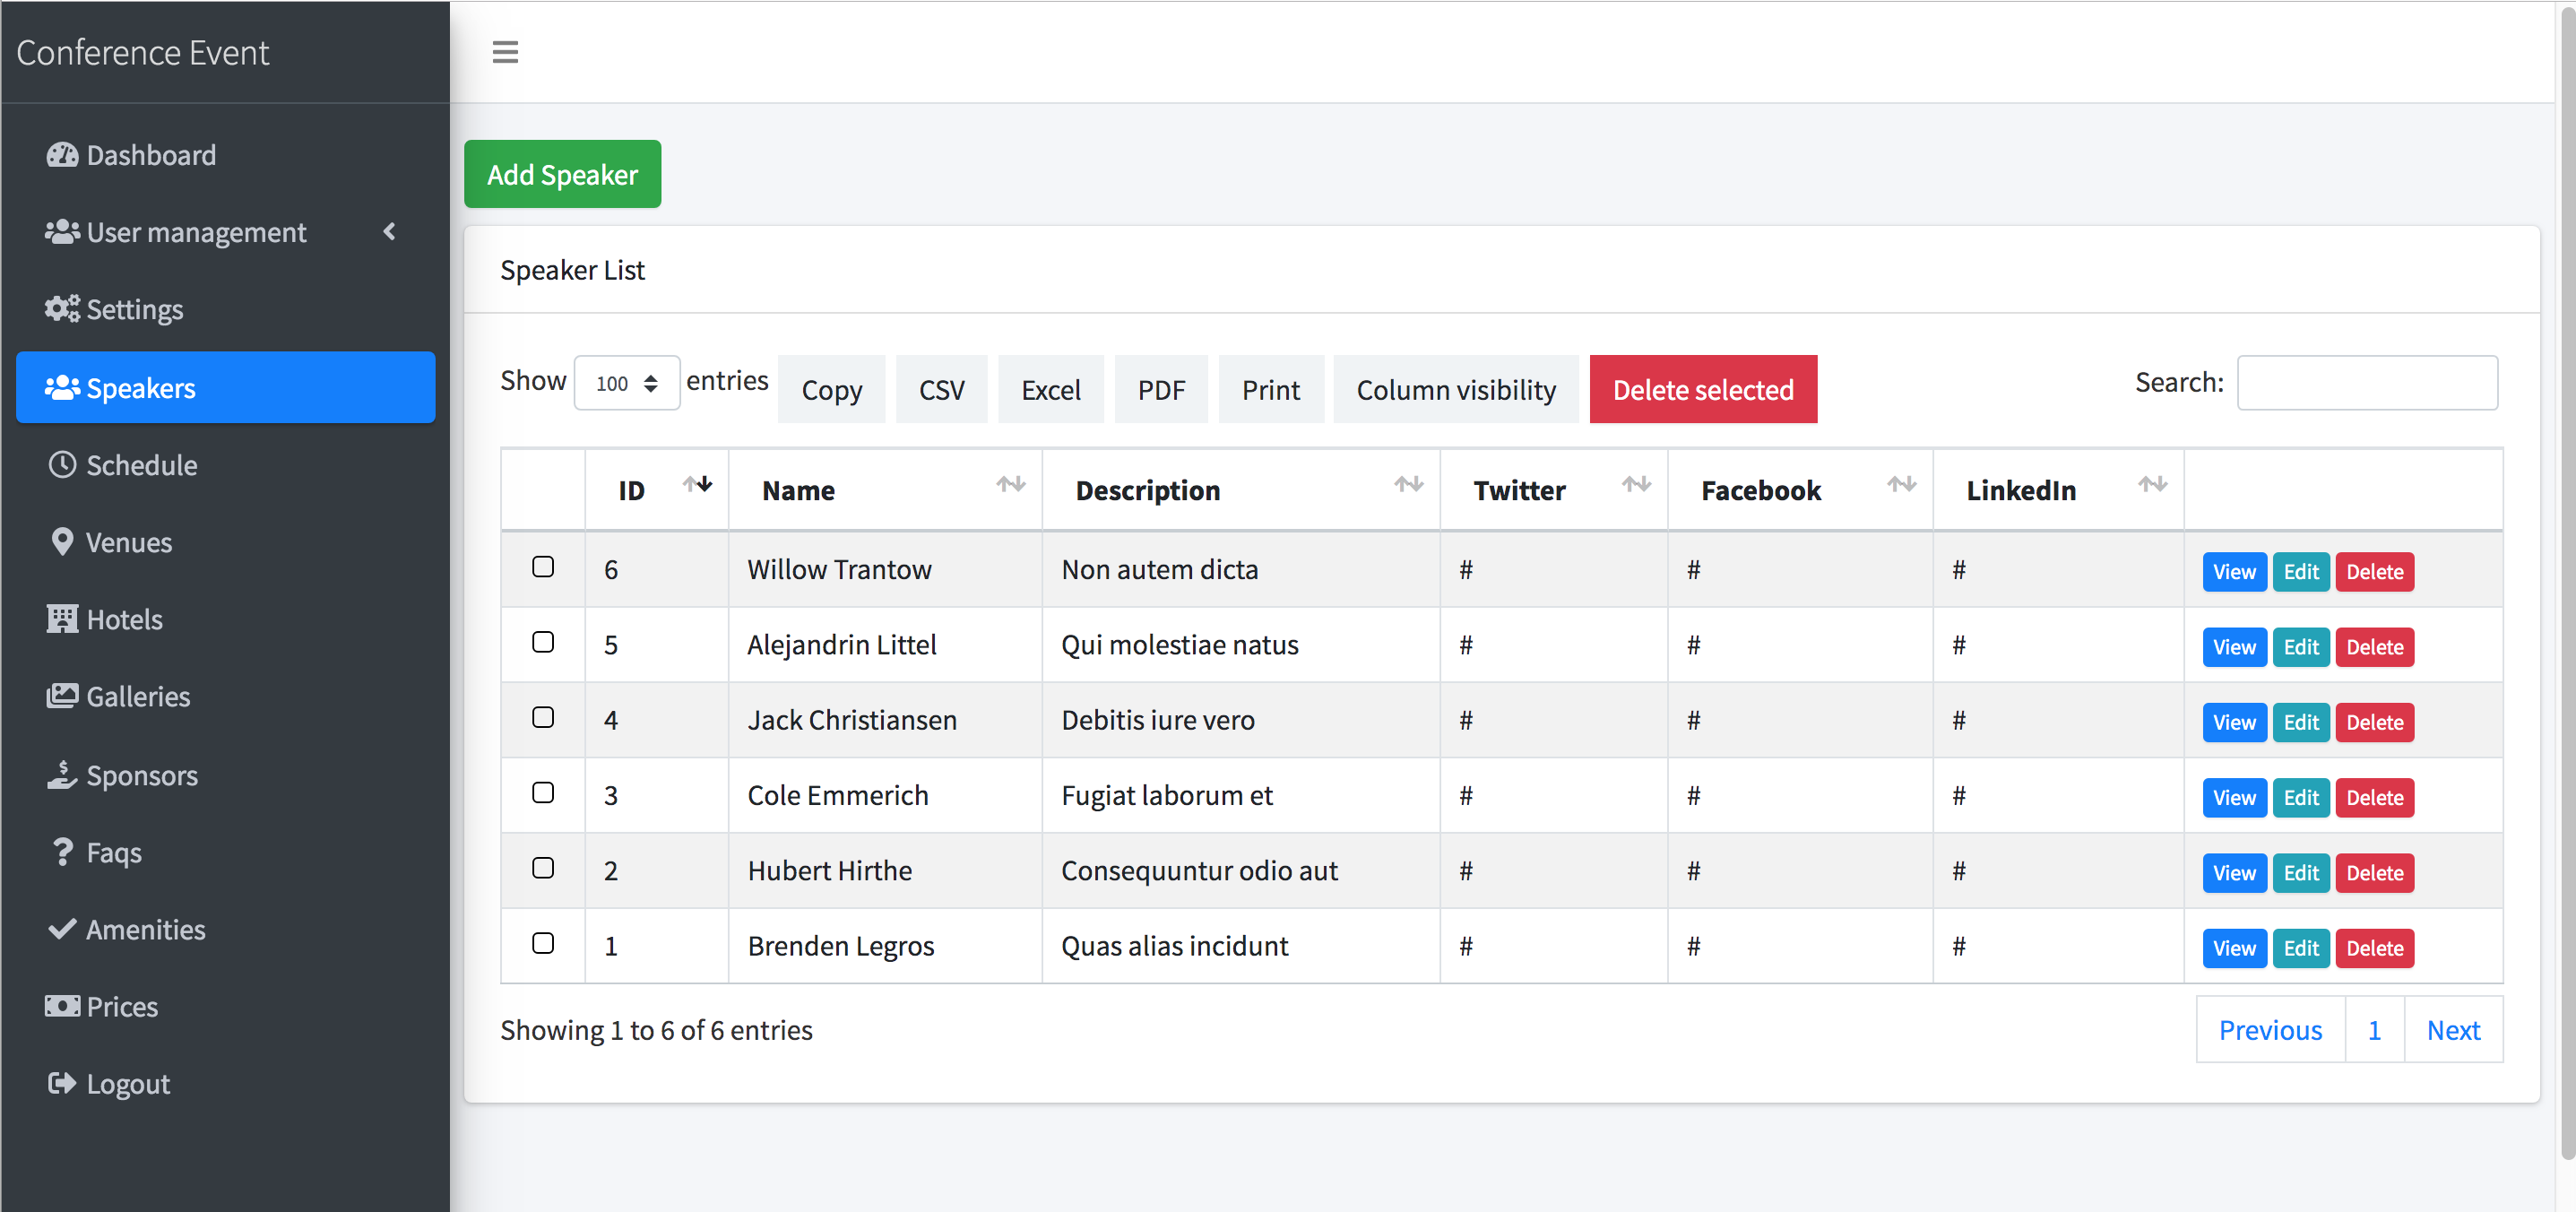
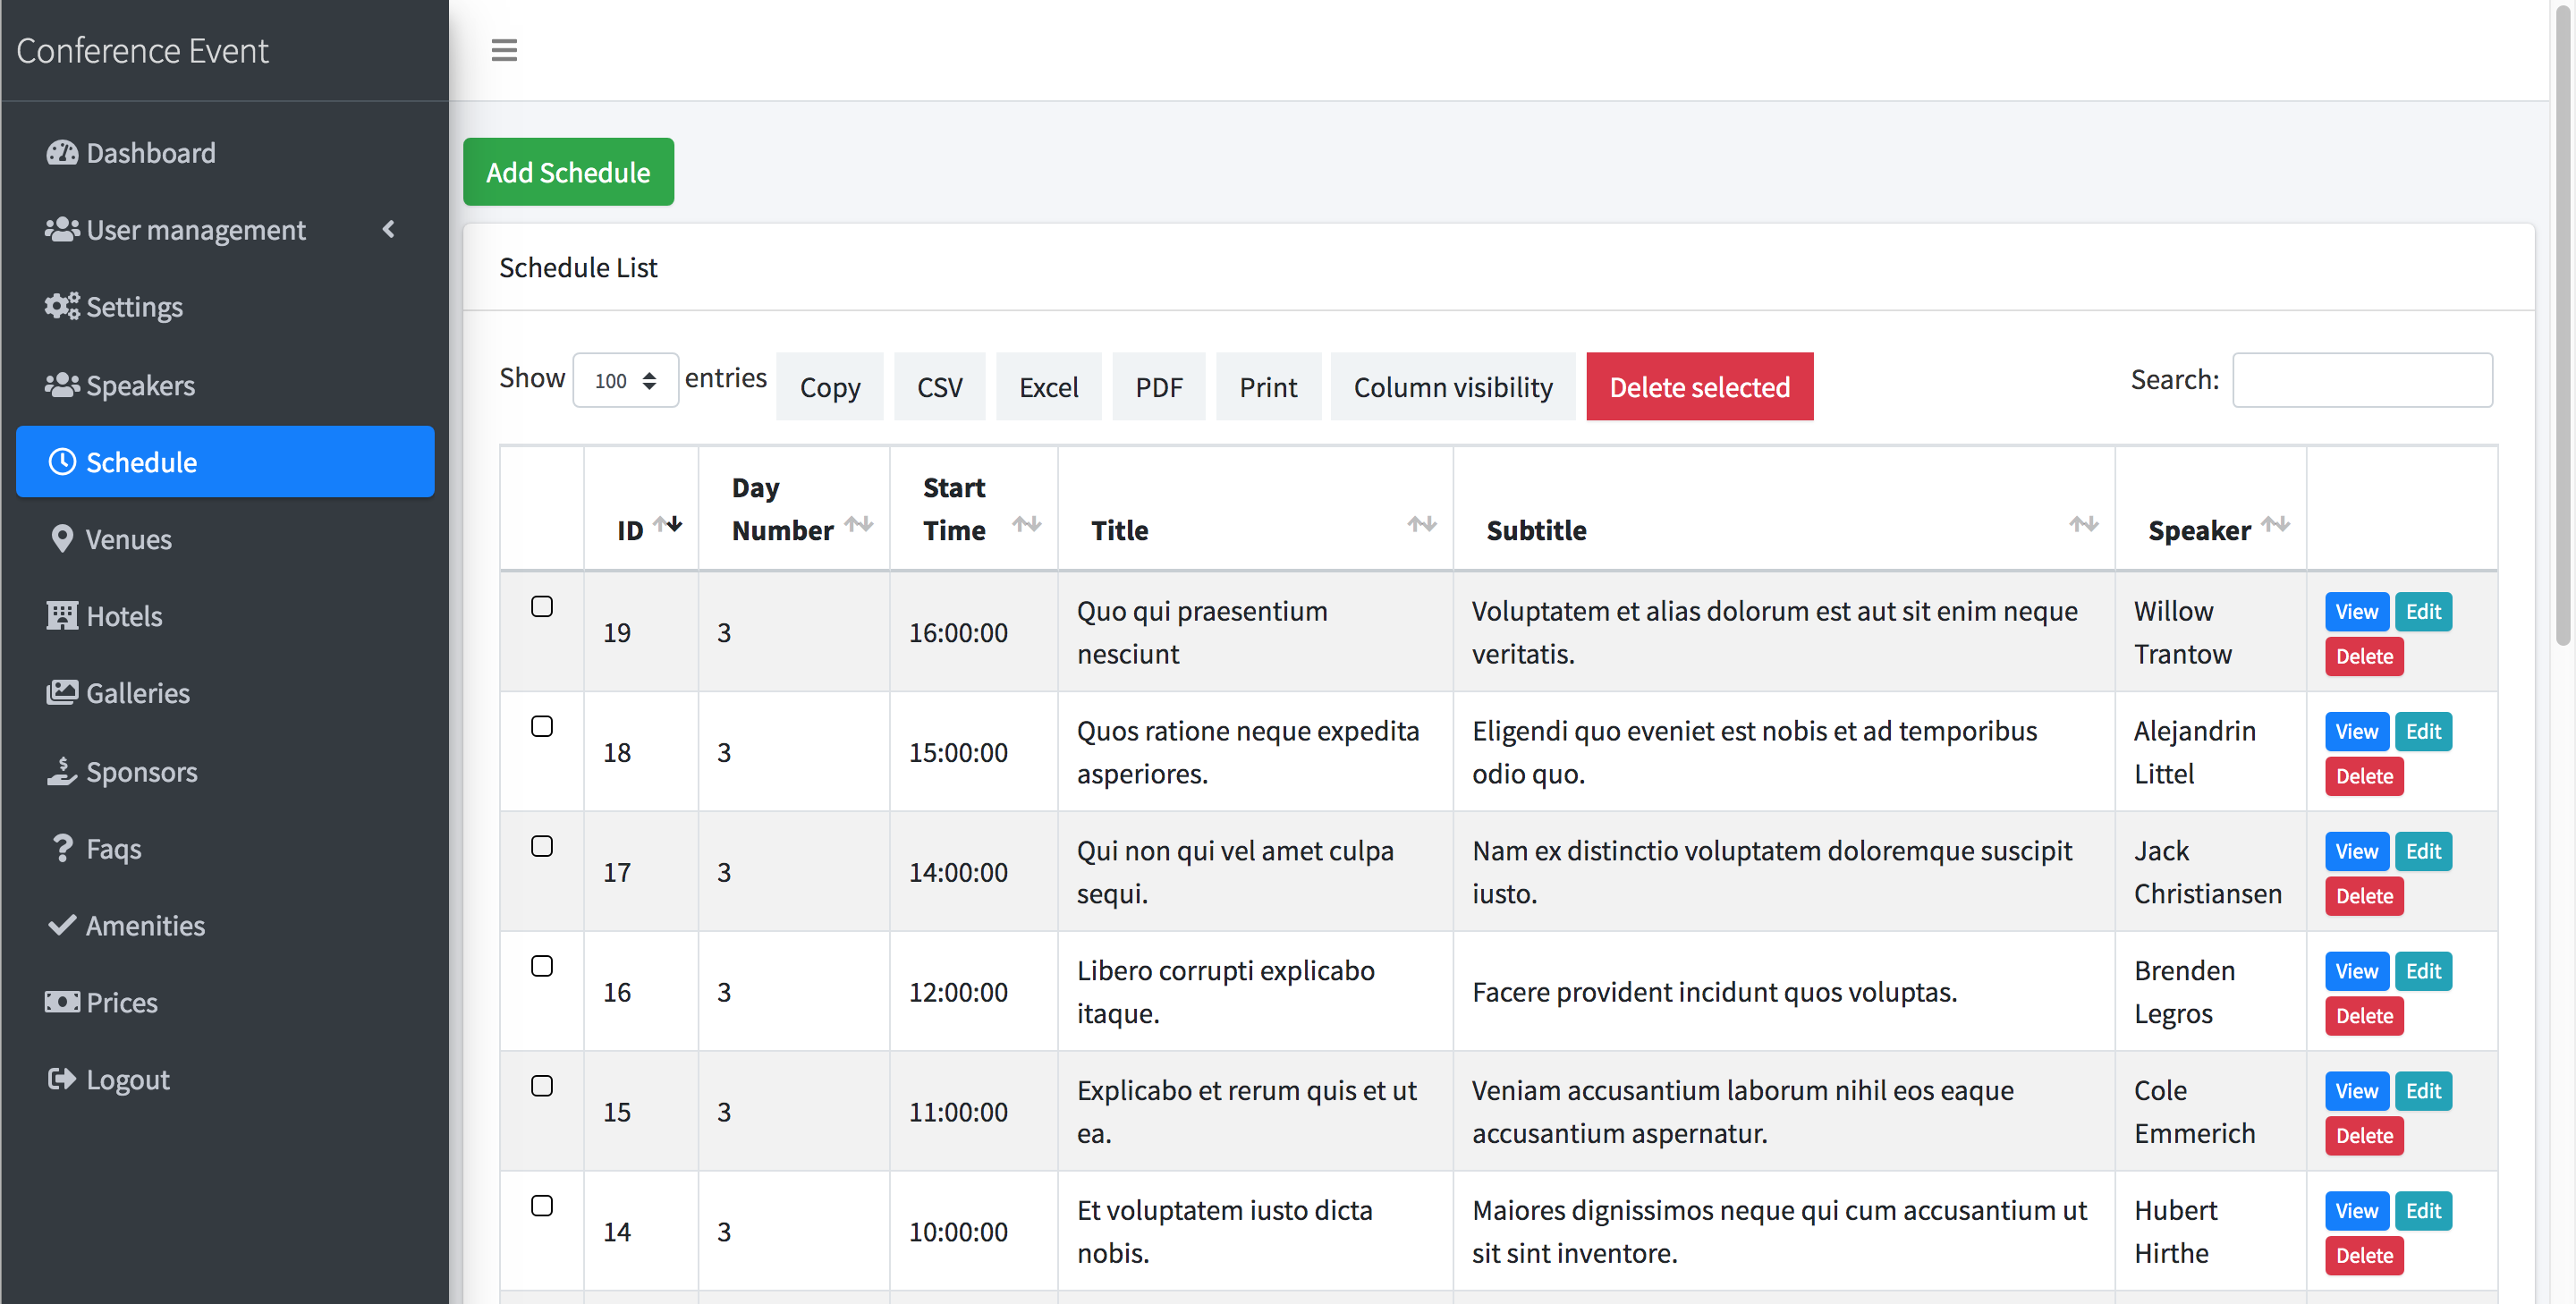
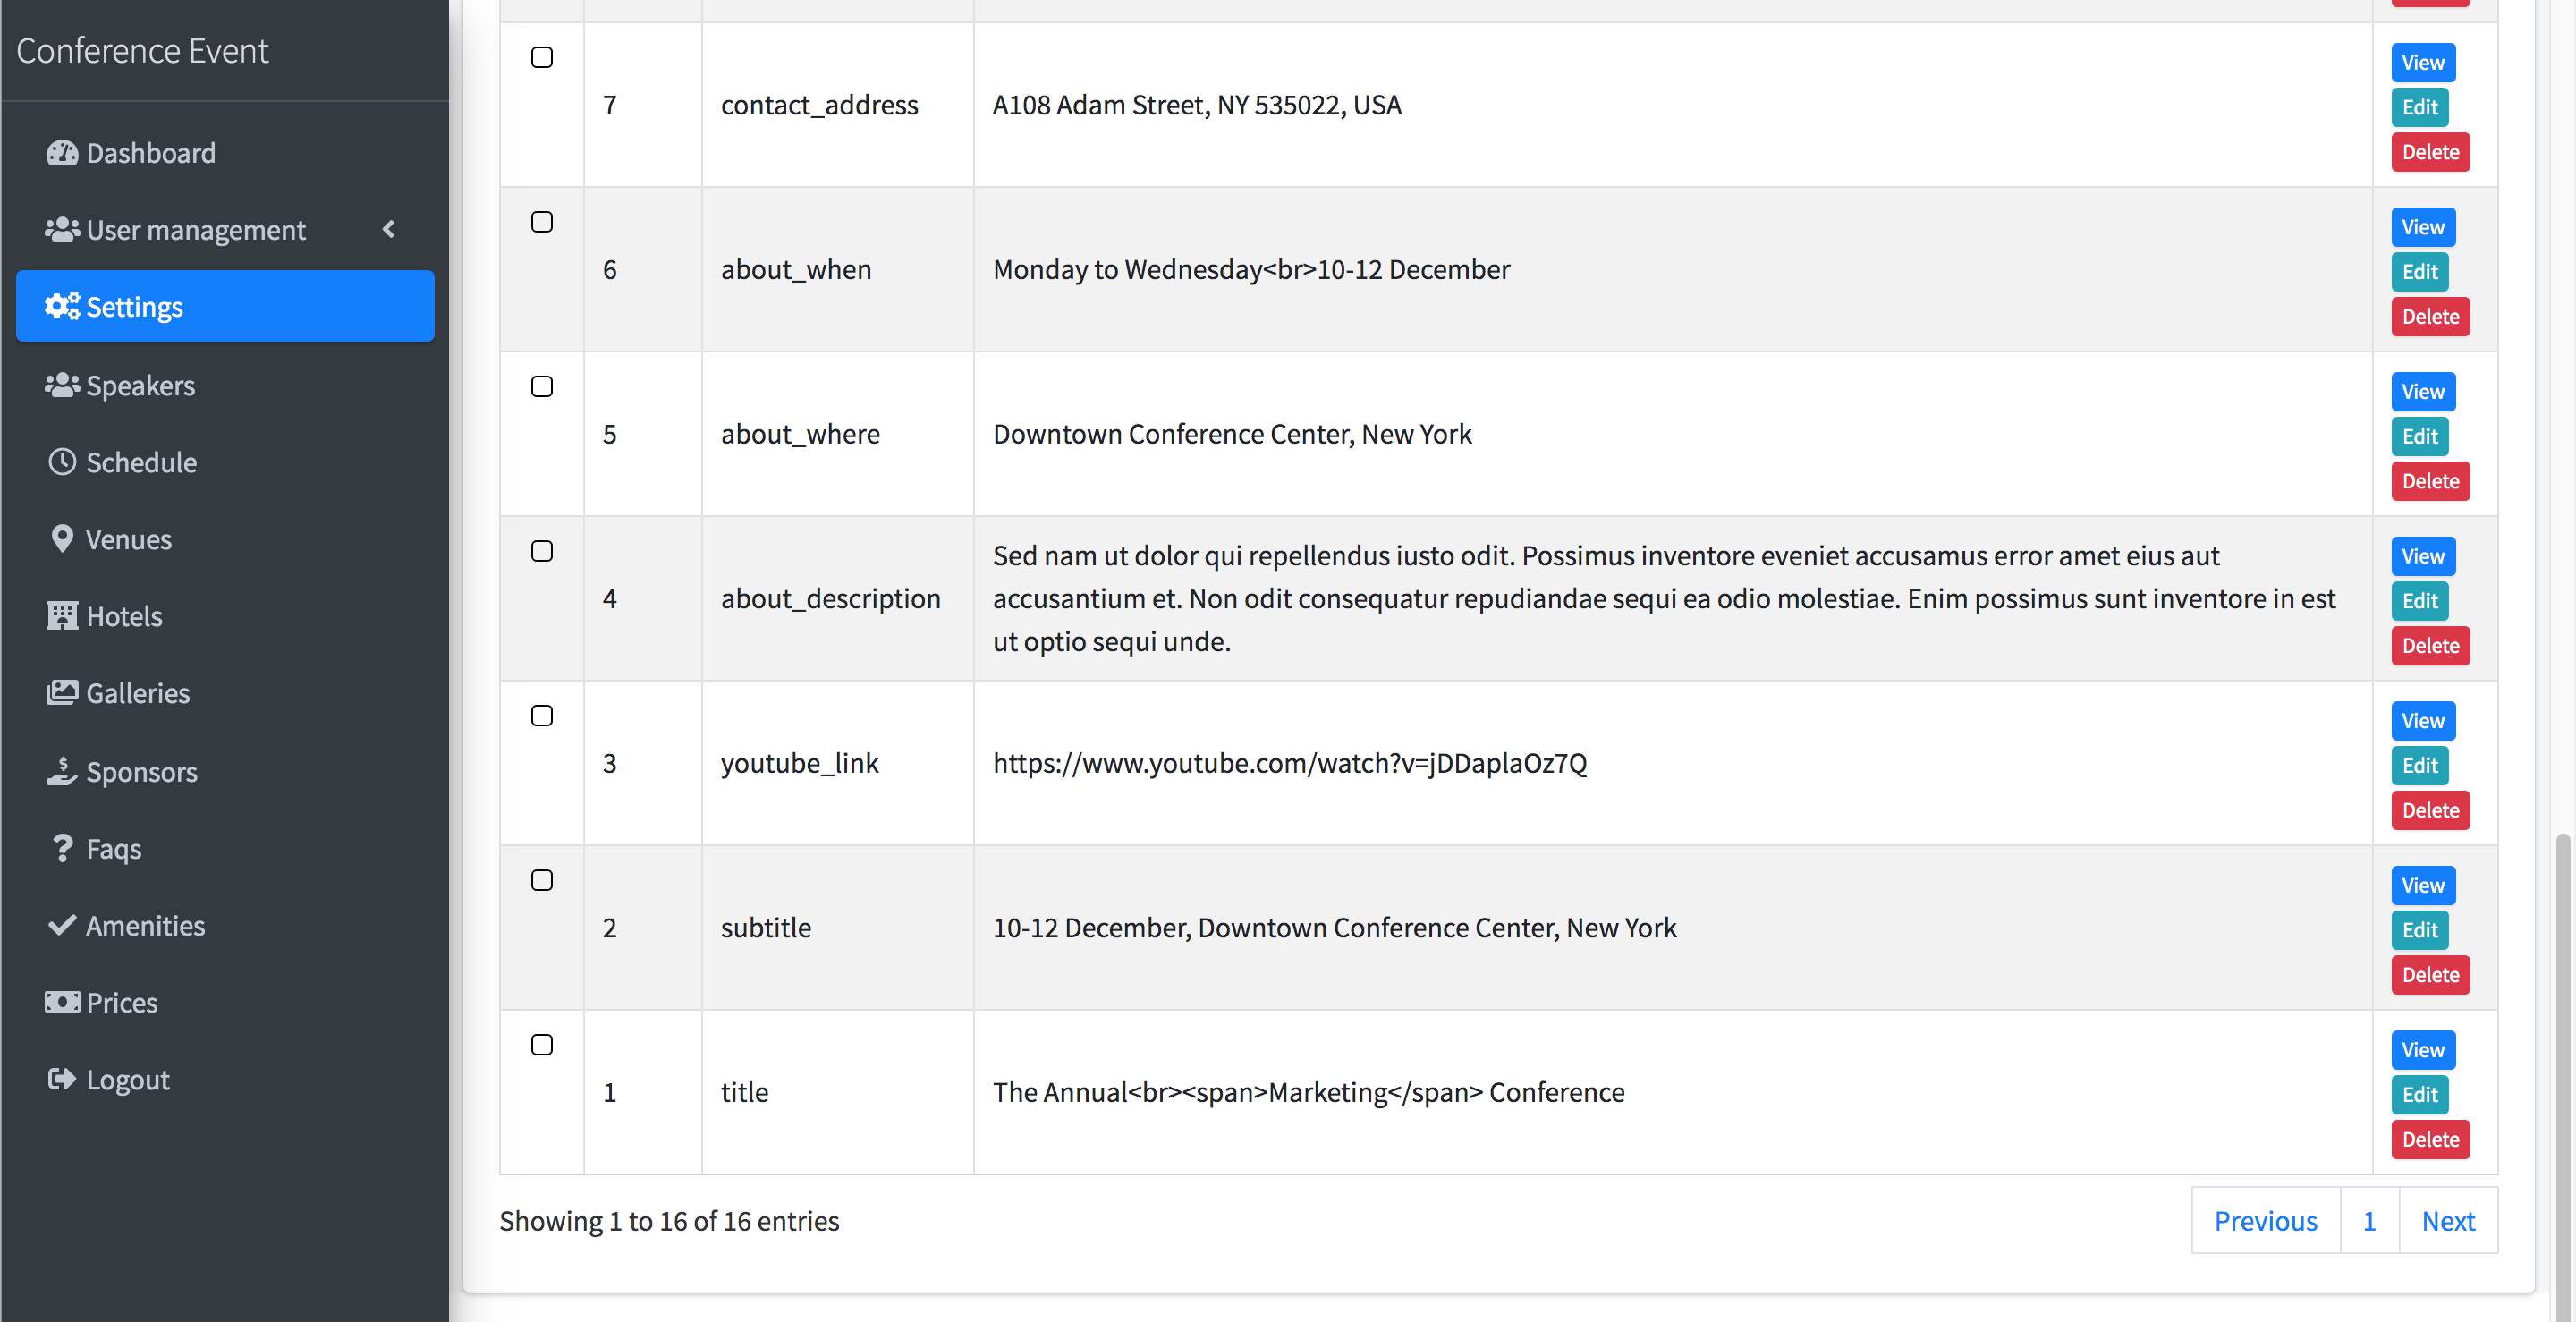
- Screenshots
- Contributing
- License
- More from LaravelDaily Team
This project is a modernized version of the original Laravel Conference Event Demo. It showcases the capabilities of Laravel for managing conference events, including user registration, event scheduling, and more. With the upgrade to Laravel 10, we've ensured that the application benefits from the latest features, security updates, and performance improvements.
- Upgraded to Laravel 10
- Optimized for web hosting servers
- Improved database structure for better performance
- Enhanced styling for a modern look and feel
- Comprehensive event management features
- User-friendly interface for both administrators and attendees
To get started with the project, follow these steps:
-
Clone the repository:
git clone https://github.com/your-username/laravel-conference-event-demo.git cd laravel-conference-event-demo -
Install dependencies:
composer install
npm install
-
Copy the example environment file and set up your environment variables:
cp .env.example .env
-
Generate the application key:
php artisan key:generate
-
Run the database migrations and seed the database:
php artisan migrate --seed
-
Compile the assets:
npm run dev
Ensure that your .env file is correctly set up with your database and other necessary configurations. Here is an example:
APP_NAME=LaravelConference
APP_ENV=local
APP_KEY=base64:yourGeneratedAppKey
APP_DEBUG=true
APP_URL=http://localhost

DB_CONNECTION=mysql
DB_HOST=127.0.0.1
DB_PORT=3306
DB_DATABASE=conference
DB_USERNAME=root
DB_PASSWORD=password

# Other configurations...Once the installation and configuration are complete, you can start the development server:
php artisan serveOpen your browser and navigate to http://localhost to access the application.
You can login to the admin panel by going to /login URL and logging in with credentials [email protected] - password.
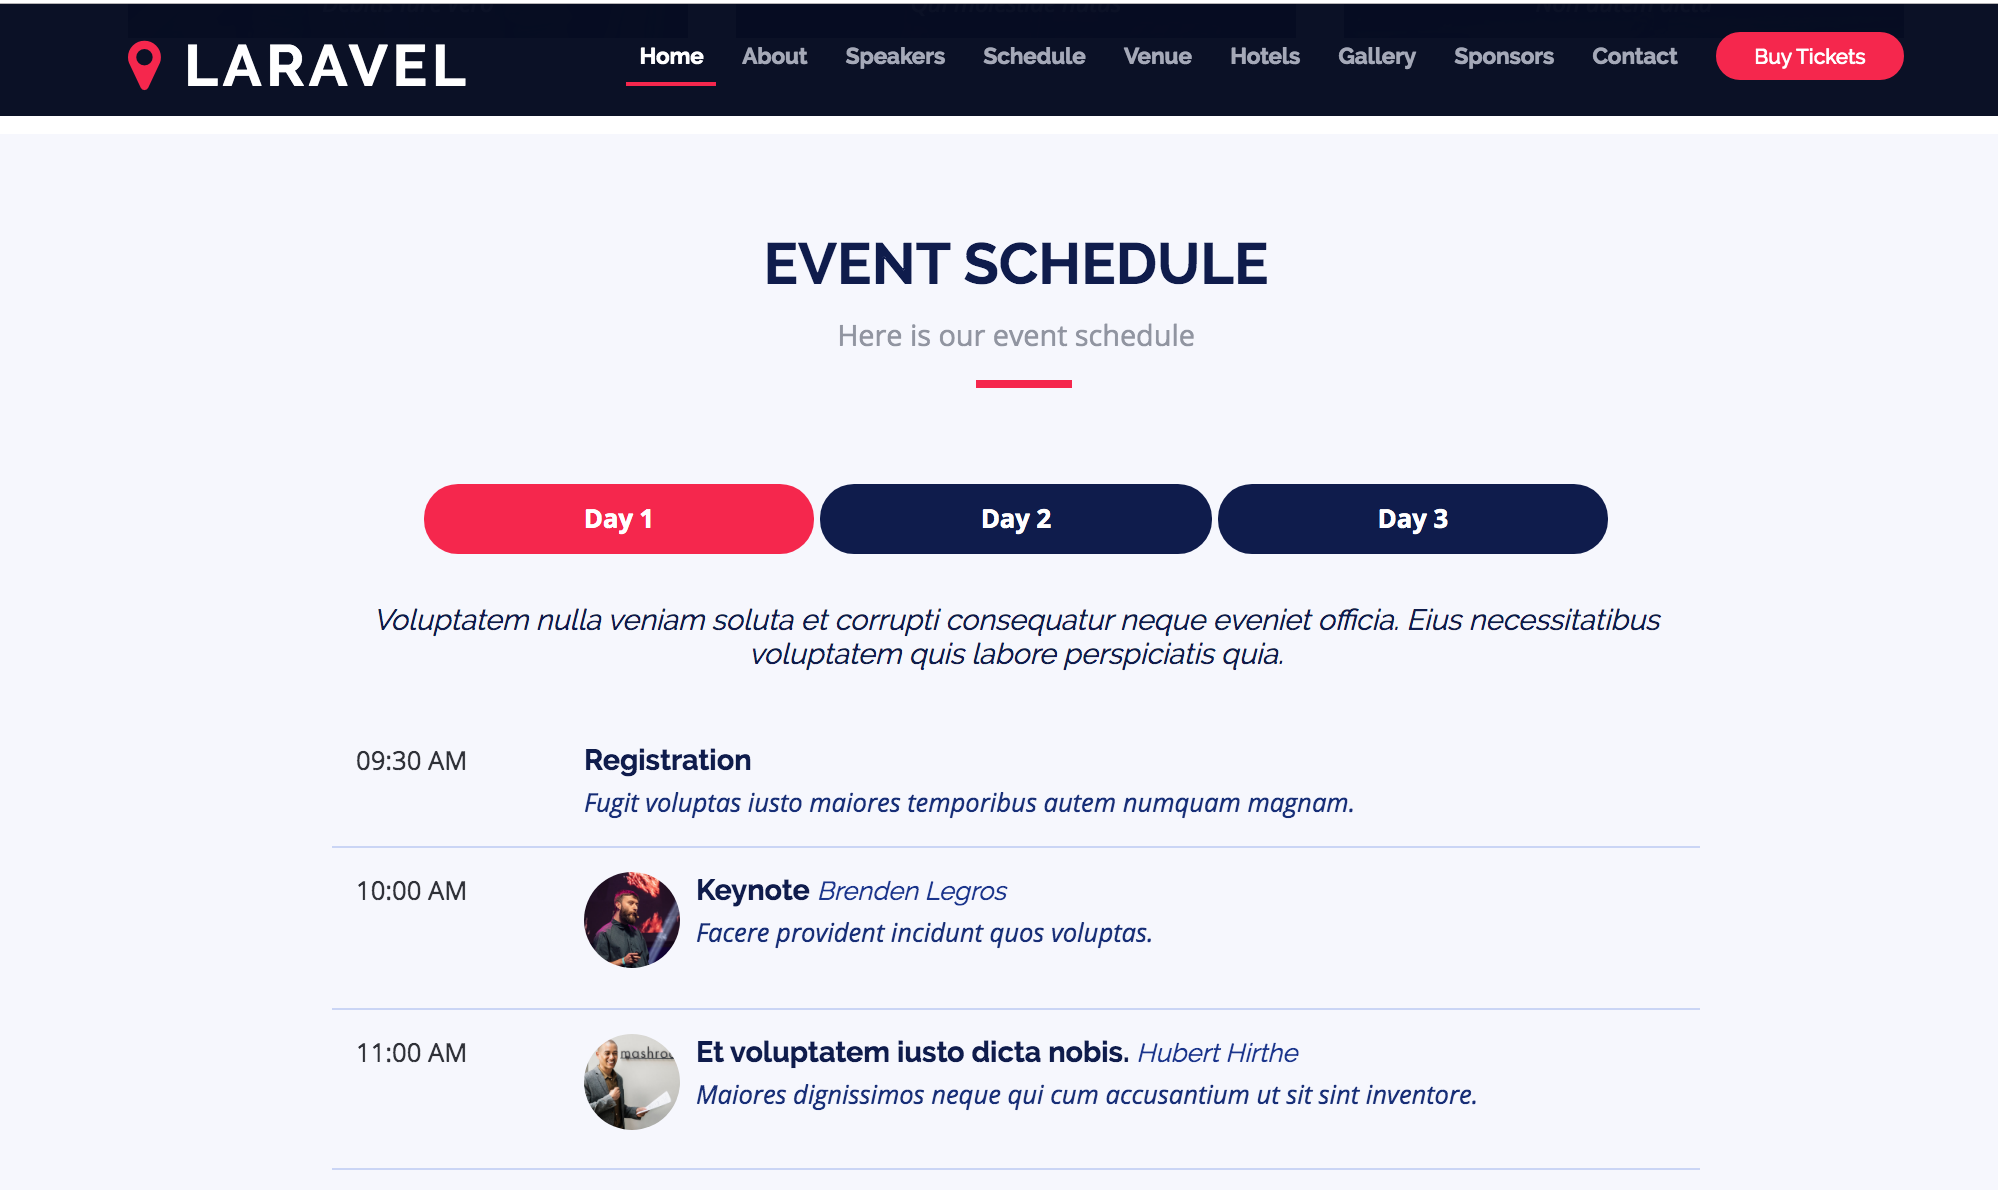

- Front-end part is taken from TheEvent by BootstrapMade and transformed into Laravel Blade and assets.
- Admin part is fully generated with QuickAdminPanel.
We welcome contributions from the community! If you would like to contribute, please follow these steps:
- Fork the repository.
- Create a new branch for your feature or bugfix.
- Make your changes and commit them.
- Push your changes to your forked repository.
- Open a pull request to the main repository.
Please ensure your code adheres to the project's coding standards and includes appropriate tests.
This project is licensed under the MIT License. See the LICENSE file for more details. Basically, feel free to use and re-use any way you want.
- Check out our admin panel generator QuickAdminPanel
- Read our Blog with Laravel Tutorials
- FREE E-book: 50 Laravel Quick Tips (and counting)
- Subscribe to our YouTube channel Laravel Business
- Enroll in our Laravel Online Courses
Thank you for checking out our upgraded Laravel Conference Event Demo! If you have any questions or feedback, feel free to open an issue or reach out to us. Happy coding!