User-Friendly Photogrammetry Software
Read the Manual »
See Demo Annotations
.
Report Bug
.
Request Feature
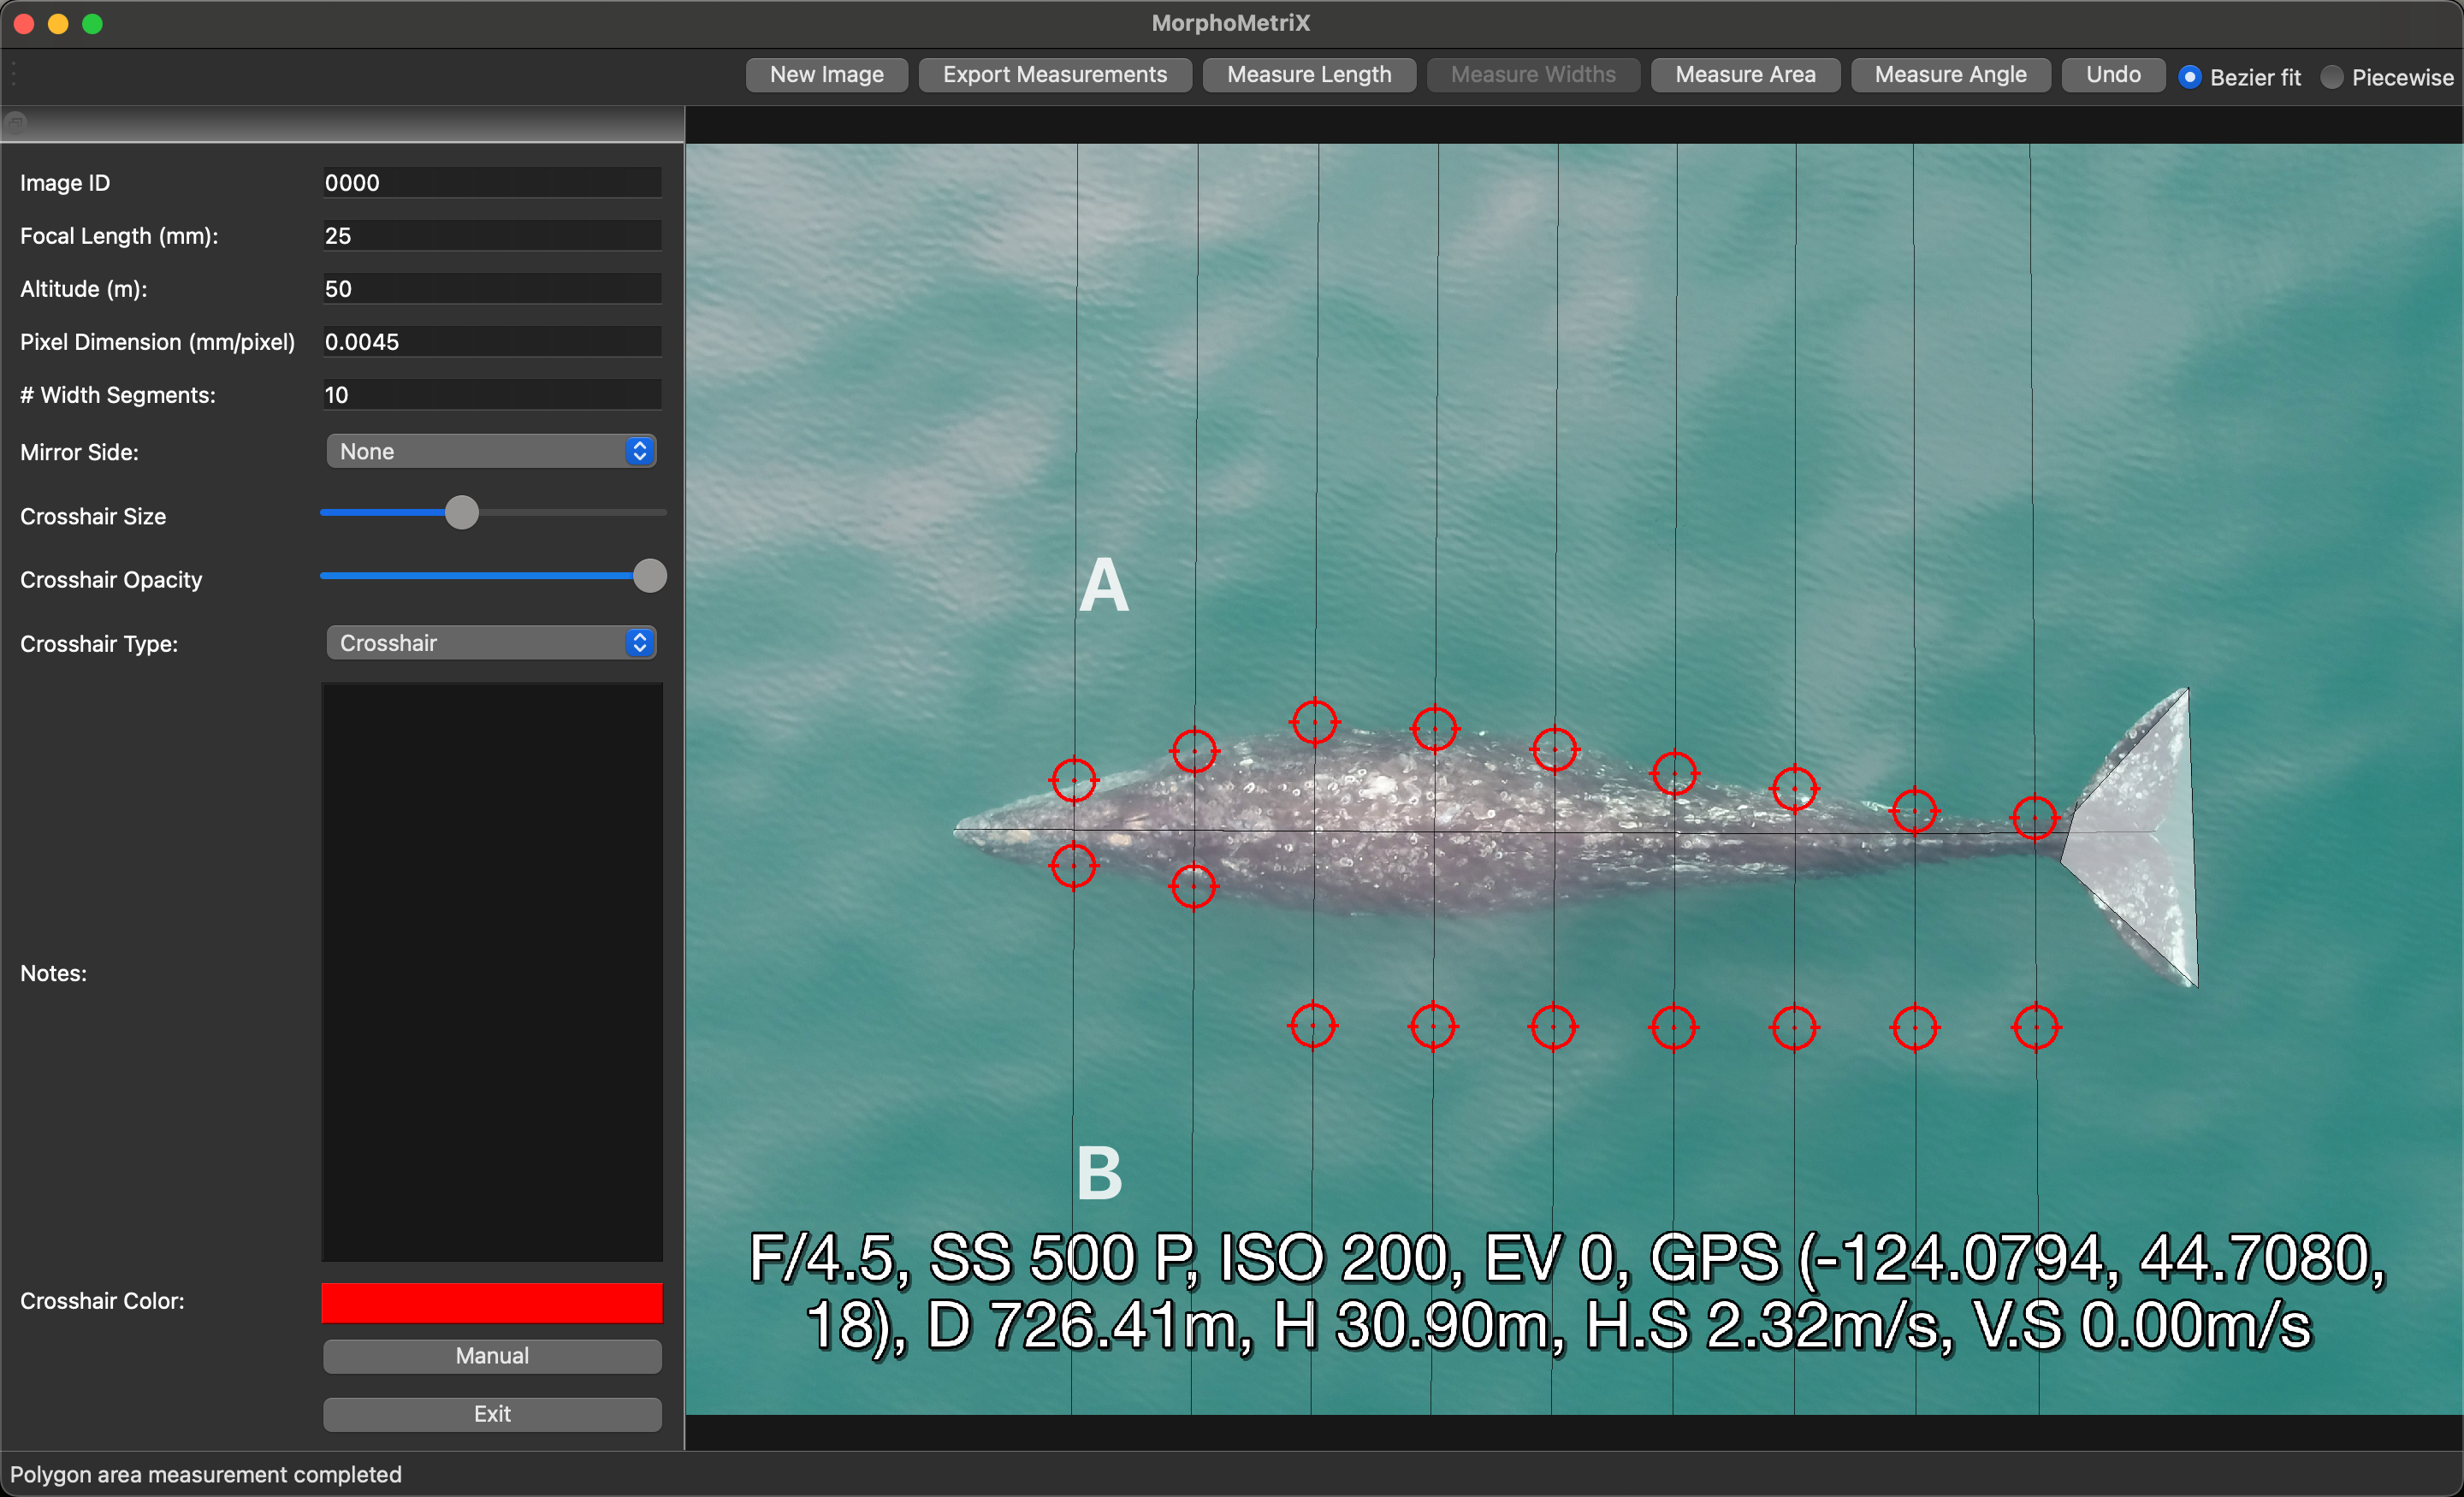
Let MorphoMetriX streamline the often tedious process of making photogrammetric measurements for you, offering a quick intuitive GUI to calculate piecewise/arc lengths and width profiles along segments/curves and areas for polygons.
Also check out CollatriX1, a GUI to collate multiple MorphoMetriX outputs into a single datafile with add-on functions for correcting altitude error from UAS (drone) flights and calculating animal body condition.
- Bird, C.N., and Bierlich, K.C. (2020). CollatriX: A GUI to collate MorphoMetriX outputs. Journal of Open Source Software, 5(51), 2328. https://doi:10.21105/joss.02328
To install MorphoMetrix go to our releases page and download either the dmg (for macs) or exe (for windows). For further detail, please see our manual pdf. Continue reading if you prefer to run the source code locally.
To run MorphoMetrix you need to install:
- python 3.10
Optionally, we recommend using anaconda for better control over your python environment.
- Open your terminal and clone the repo
git clone https://github.com/MMI-CODEX/MorphoMetriX-V2.git- Install Python packages
pip install -r requirements.txt- Launch MorphoMetriX GUI
python3 morphometrix/__main__.pyFor further detail, please see our manual pdf
Contributions are what make the open source community such an amazing place to be learn, inspire, and create. Any contributions you make are greatly appreciated.
- If you have suggestions for adding or removing projects, feel free to open an issue to discuss it, or directly create a pull request after you edit the README.md file with necessary changes.
- Please make sure you check your spelling and grammar.
- Create individual PR for each suggestion.
- Please also read through the Code Of Conduct before posting your first idea as well.
- Fork the Project
- Create your Feature Branch (
git checkout -b feature/AmazingFeature) - Commit your Changes (
git commit -m 'Add some AmazingFeature') - Push to the Branch (
git push origin feature/AmazingFeature) - Open a Pull Request
Distributed under the MIT License. See LICENSE for more information.
- Elliott Chimienti - OSU Computer Science Graduate Student - Elliott Chimienti - Maintainer
- KC Bierlich - Postdoctoral Scholar, PhD Marine Science and Conservation - KC Bierlich
- Clara Bird - PhD Candidate, Department of Fisheries, Wildlife & Conservation Sciences - Clara Bird
- Walter Torres - Postdoctoral Researcher, PhD, Marine Science & Conservation


