-
Notifications
You must be signed in to change notification settings - Fork 13
Know your workspace
LibreSprite has a simple but complete interface, It gives the possibility to create or edit a canvas with a multitude of tools that help you to do it quickly and comfortably.
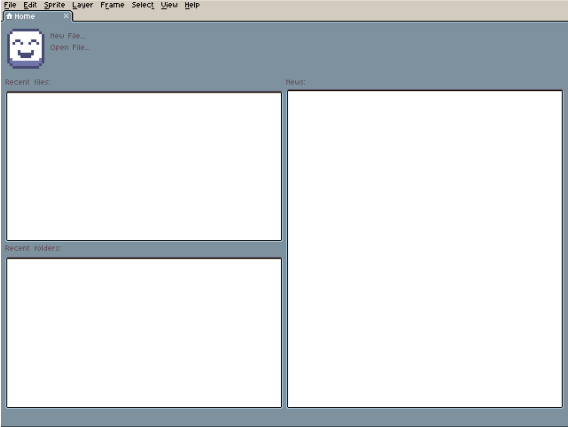
Three sections are displayed on the main screen, with lists of recent files, recent folders, and newly created files.
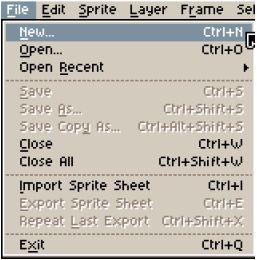
To create a blank file we go to: Files -> New or press Ctrl + N
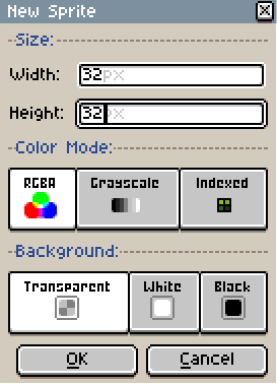
A window will open in which the canvas feature will be edited.
- Dimensions: Here you select the size of pixels to work with in width and height.
- Color mode: Here you choose the color mode with which you are going to work, these are RGB, Cascade and Indexed (Later we will see more about these modes).
- Background: This option allows you to select which background the canvas will start with, it can be Transparent, White or Black.
Clicking Ok will create the new canvas
To enter in advance mode you can press "F11", you can go back to normal mode pressing "F11" again.
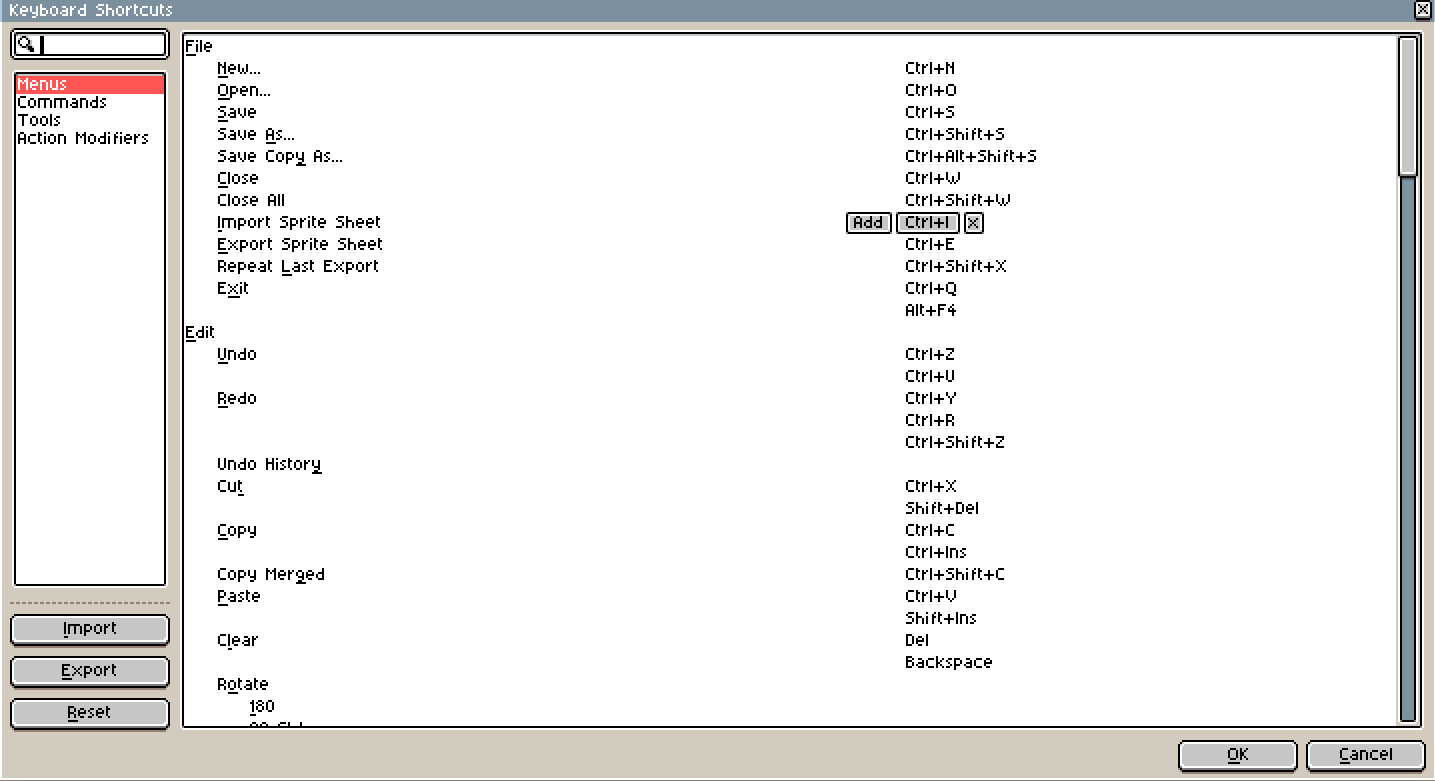
To see/modify all the available shortcuts, you can go to Edit --> Keyboard Shortcuts or press "Ctrl + Alt + Shift + K"
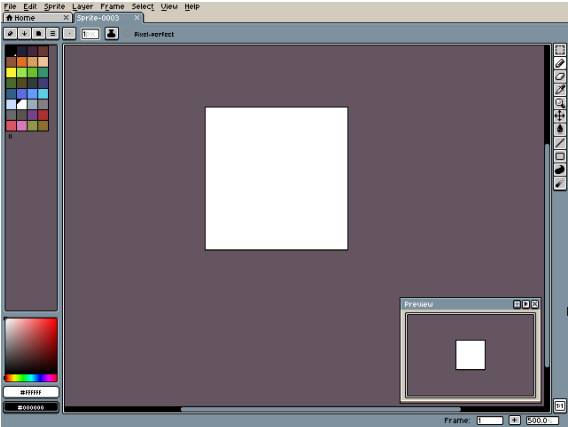
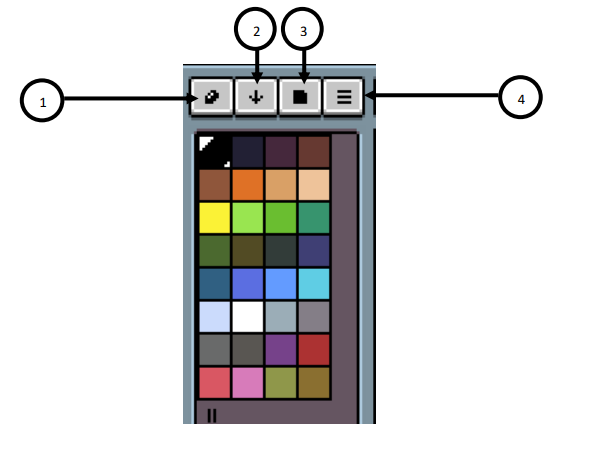
In the top left side we will see the following options for the color palette.
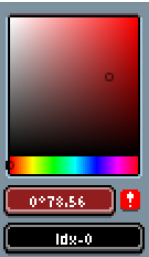
- here you can edit a selected color and even change its opacity
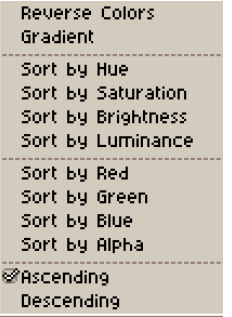
- This option allows to order the colors according to the selected parameter
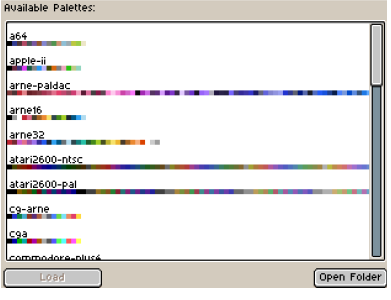
- Present available pre-loaded pallets and allow loading of custom pallets
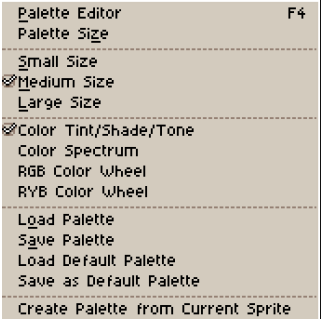
- Displays the options available to edit the palette, from resizing to saving the edited palette.
At the bottom left there is a much more advanced color selector to select the exact color you want.
In the central side there are the following options for the brush:
- Brush type
- Brush size
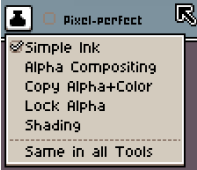
- Ink options
- Checkbox to activate the “Pixel Perfect” mode that helps to style the lines that are drawn
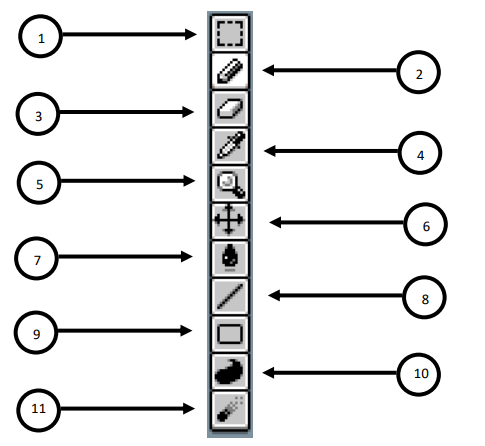
On the right side you will find all the drawing options
- The selection tool with its different variables, allows you to select a part of the canvas, copy it, cut it, modify it, etc. (Shortcut: M)
- The pencil option allows you to draw as a simple pencil and its spray variable that allows us to draw splash (Shortcut: B)
-
The eraser option that allows us to erase pixels (Shortcut: E)
-
The dropper allows you to select a color and add it to the palette (Shortcut: I)
-
The magnifying glass option to zoom in or out and the hand to move the canvas (Shortcut: Z)
-
The move tool is used to move the current layer (Shortcut: V)
-
The cube fill closed surfaces faster (Shortcut: G)
-
The line tool that allows you to draw lines and their curve variant (Shortcut: L)
- The rectangle tool that allows you to create rectangles or ellipses with and without fill (Shortcut: U)
- the contour tool allows you to make closed figures simply by drawing their silhouettes (Shortcut: D)
- The blur tool that allows you to make a gradient in a drawing that has already been created before (Shortcut: R)
Pressing the TAB key, a new section will appear at the bottom where the layers and frames that you work with will be shown. Alt + N will create new frames and Shift + N a new layer.
-
Change the visibility of the layer, allows to show or hide the layer (Shortcut: Shift + X)
-
Lock the layer so it can't be edited or moved
-
It allows to join frames in the layers so that they are displayed continuously
-
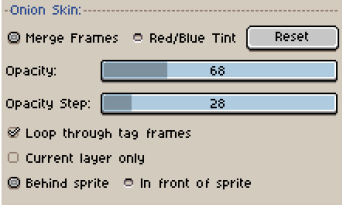
Presents the onion skin configuration options, where you can modify the onion skin.
-
Enable and disable onion skin (Shortcut: F3)
-
Frame playback options
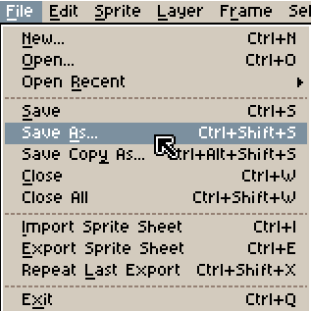
To save a file, just go to Files -> Save (Ctrl + S) or Save As… (Ctrl + Shift + S)
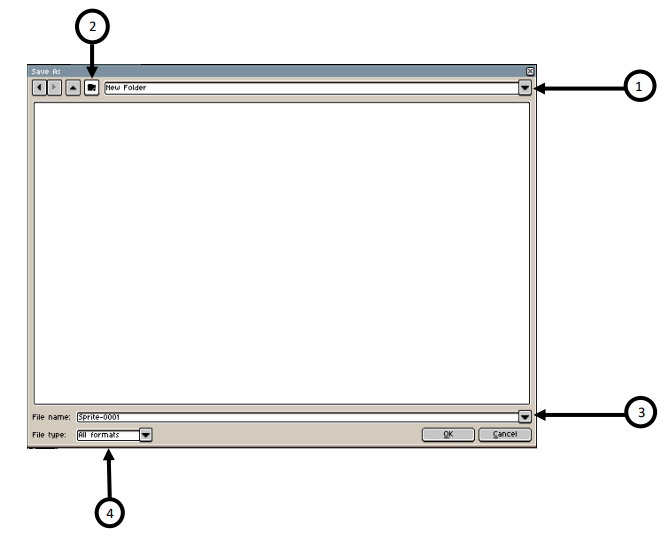
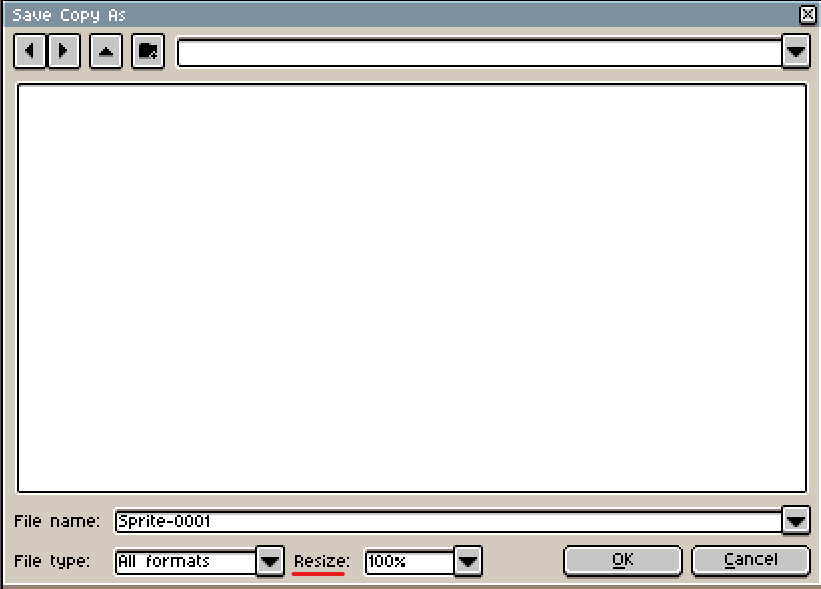
A window will open where you could choose the place and the format in which the file will be saved.
-
Select the path or folder where the file will be stored
-
Create a new folder
-
The name of the new file
-
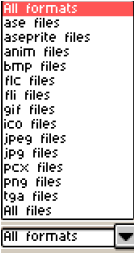
List the available formats in which the file can be saved
By default it will be saved in a .ase file so that it can be edited later, but there are also several options that you can choose from depending on the need.
If you want to export with a different size, the "save copy as" item in the file menu has a "resize" option.
LibreSprite Devs 2021
