- Description
- Features
- Setup
- Config File
- Deployment
- Deployment Settings
- NDS Jobs
- Update Guide
- Using non-nodejs images
As the name suggests, NDS is a quick and easy platform where users can create their own "cloud" and easily deploy, manage, and update their Node.JS webapps. NDS is powered by Docker.
- Easily deploy code to a remote server running NDS
- Directly upload your code, Git hosting not required!
- Create resource limits on individiual deployments
- Easily change port mappings
- Easily change deployment node versions
- Set different permissions for different users (admin, read/write, readonly)
- All this can be done from the webapp!
Installing NDS is extremely simple. All you need installed on your system is Docker and a Node LTS version, preferably version 14 or higher.
- Grab the latest release from Github, and download the zip file
- Extract the zip file
- Navigate to the zip file in terminal, and run
npm installto install the required dependencies - Everything's all set! Running
npm run startwill start the server on port 3100, (configurable) - Navigate to the server in your browser, and enter your credentials. (Defaults are
username: adminpassword: password
This file describes all of the settings that NDS uses, like authorized users, ports, deployments, and authorization keys. Many of these can edited directly in the webapp if the user has the admin privilege.
Deploying is easy!
- Navigate to the dashboard and click "New Deployment"
- Enter the deployment's name, port mappings, and memory. (All this can be changed at any point)
- Move to the
deploytab, and upload your code in a zip file. - Make sure that the zip file name isn't
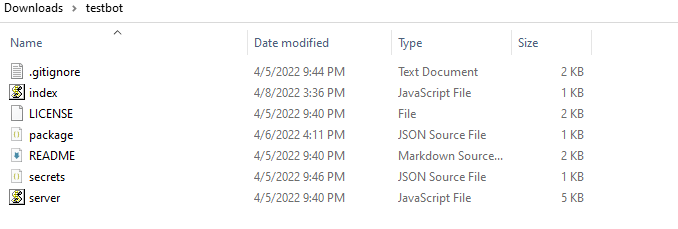
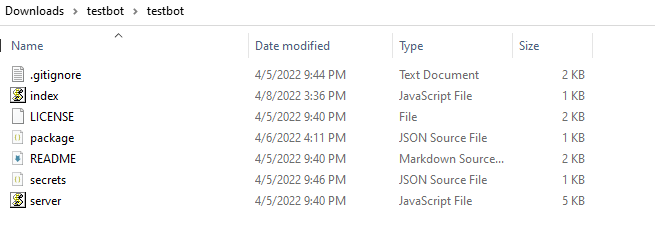
codeImportant: The folder containing your deployment MUST contain apackage.jsonfile in its highest directory. See below for examples
Important: Windows built-in compressing may not work! Instead, use 7-zip
Do this:
 Not this:
- After uploading your code, you can navigate to the
exploretab to preview your files before deploying - Move to the
deploytab and hitdeploy!
Port Mappings
This allows you to expose ports from inside the deployment, and map them into external ports.
External port must be different across different deployments.
Internal port - Integer (0-65535)
External port - Integer (0-65535)
Requires re-deploy to apply changes
Deployment Name
This allows you to change the visible deployment name. This is purely cosmetic and does not change anything
Name - String
Does not require re-deploy to apply changes
Deployment Environment
Memory: Integer (min: 512). In MB
NodeJS Image: String - A valid, public NodeJS base image from the Docker Registry
Start Command: String - the NPM command that gets run when deployment boots.
Requires re-deploy to apply changes
Environment Variables
Allows you to set environment variables in the standard KEY-VALUE pair
Requires re-deploy to apply changes
Container Settings
- Start deployment on computer startup
Requires re-deploy to apply changes
Attached Storage Spaces
Attach storage spaces (docker volumes) into your deployment, and mount them as folders inside of the specified mountpath.
Requires re-deploy to apply changes
NDS Jobs are a quick and easy way to run management jobs periodically to check on the status of deployments, backup volumes, and many more actions.
*This requires read-write or admin privileges
First, simply navigate to the jobs page, and click "new job." You will be prompted to enter a name for the new job.
Then, click the edit icon, and you will be taken to the job configuration page.
Job Enabled: defaultfalse. This enables you to prevent jobs from being executedName: Allows you to change the display name of the job. Allowed to have duplicate namesActions- The actions that the job executes in order- Type:
Backup Volume- Copies the entire volume to another directory (can be a Windows netowk path)Volume- The volume to backupPath- The path to the directory to store the volume Absolute or relative paths allowed. (Everything in this directory will be deleted)
- Type:
Check Deployment- Allows you to check the status of deployments and perform actionsDeployment- The deployment to checkOn running- Actions to perform when discovered that deployment is running- Valid parameters same as
on failed to start(see below)
- Valid parameters same as
On failed to start- Actions to perform when discovered that deployment has failed to startFetch API- Allows you to make an API request to a network serverType:Fetch(Unchangable)Method: The method to use to Fetch. (GETPOSTPUTPATCHDELETE)URL: The url to make the request to. (Must include protocol and domain)Body: The body to send (Doesn't work onGETrequests
Manipulate ContainerType: The type of action to perform on the deployment. (pause,unpause,restart,stop,remove)Deployments: The deployment to perform said action
- Type:
Example
{
            "id": "job id (generated by NDS)",
            "name": "your name",
            "run_every": 60 // in minutes,
            "enabled": false,
            "actions": [
                {
                    "action": "backup_volume",
                    "data": {
                        "volume_id": "volume id",
                        "path": "./path/to/backup"
                    }
                },
                {
                    "action": "check_deployment",
                    "data": {
                        "container_id": "container id",
                        "running": [
                            {
                                "type": "fetch",
                                "method": "GET / POST / PUT / PATCH / DELETE",
                                "url": "https://www.example.com",
                                "body": "{}"
                            },
                            {
                                "type": "restart",
                                "container_id": "container id"
                            }
                        ],
                        "failed to start": []
                    }
                }
            ],
            "version": 1 // Changing this will alert NDS to update the job
}- Log into an adnimistrator account in the NDS dashboard.
- If there is a newer version available, you will see a green arrow in the menu.
- Click on this green arrow. You will be taken to the update page
- Click "Update" and confirm that you want to update. The system will automatically update!
Updating to a newer version of NDS is simple! Simply follow the below steps:
- Download the latest version of NDS here
- Extract the folder. Important: If you are extracting to the same parent directory as your current installation, make sure that the new folder is a different name, otherwise you will overwrite your deployments.
- Copy your
nds_config.jsonfile from your old version and replace thends_config.jsonin the new version - Copy the entire
deploymentsfolder from your old version and replace thedeploymentsfolder in the new version. - IMPORTANT: If you are upgrading from a version less than v1.2.0 to a version higher, the dockerfile template changed in. So, you must copy all of your deployment folders inside of thedeploymentfolder, and NOT the entiredeploymentfolder. - Navigate to the new server in your terminal and run
npm install - Then, run
npm startto start the server. If it runs fine, congrats! You successfully updated your server. However, if it throws and error saying thatnds_configis outdated, continue to step 7 - To update
nds_config.jsonto the latest config version, simply runnpm run update-config. Once this finishes running, start the server again and everything should work!
If you would like to deploy a custom image, whether it be a python deployment or a pi-hole server, we've got you covered!
Simply change the NodeJS image field to your image of choice (doesn't need to be nodejs)
Then, change the Run command to your custom run command (cannot be NPM since NPM is only included in the nodejs base image). You can leave this run command blank.
If you would like to change the install command, change that field to your custom installation script (ex. pip install -r requirements.txt) . This field MUST be filled out with a valid command If you wish to not do anything, simply type in ls, the command to list files and directories.