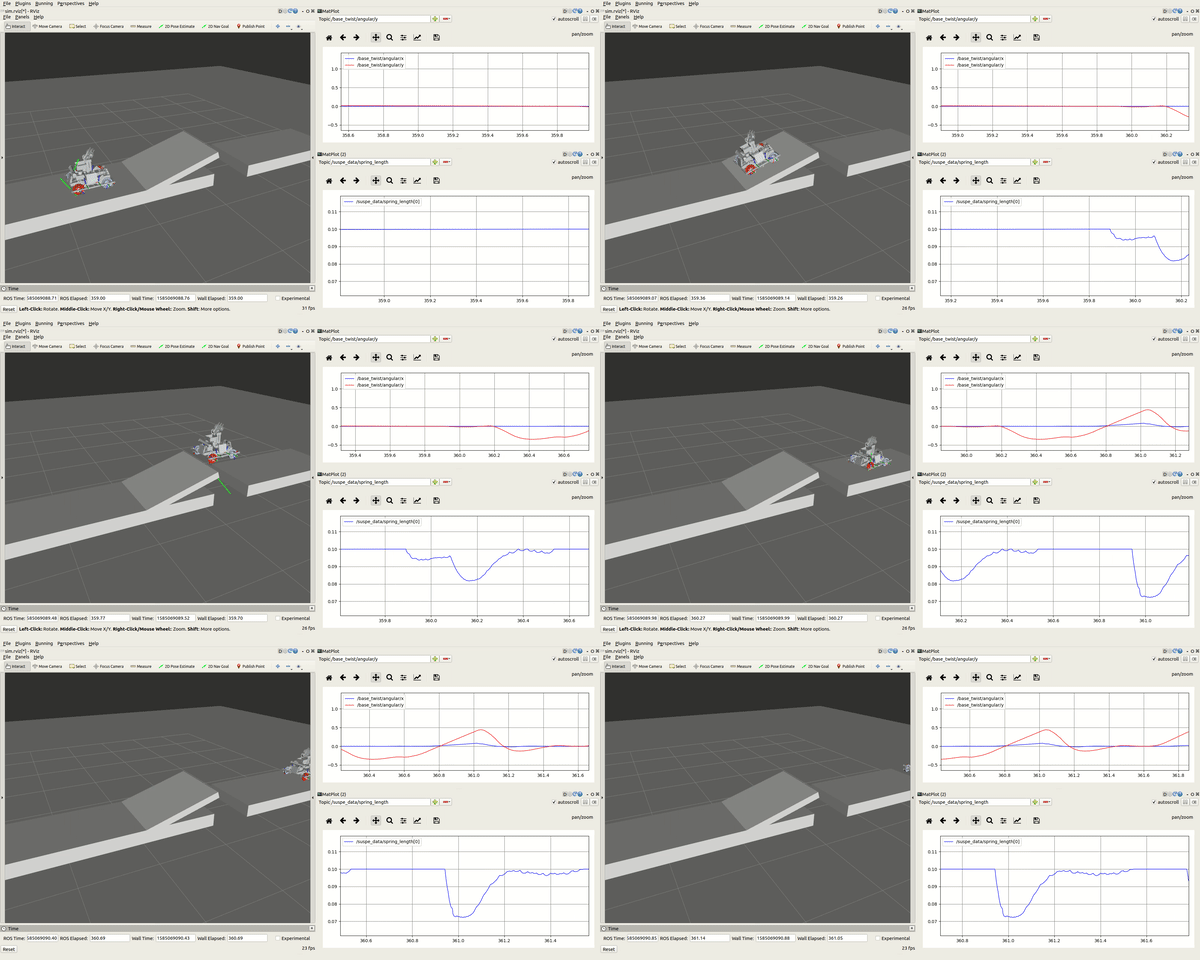
Rigid body dynamics simulation for suspension design of RoboMaster robots
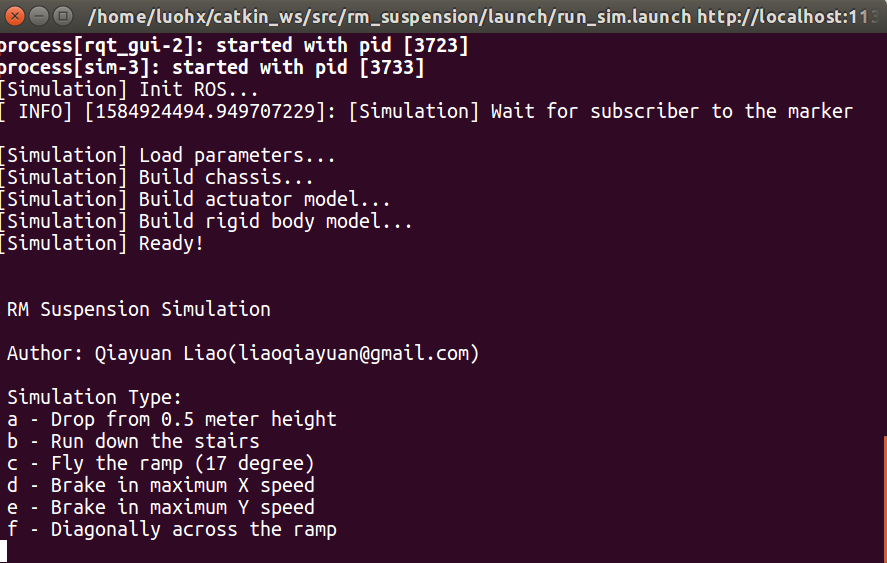
Simulation type:
- Drop from 0.5 meter height
- Run down the stairs
- Fly the ramp
- Brake in maximum speed;
- Diagonally across the ramp
Dependencies:
- Eigen
- ROS (for visualization and params loading)
- ROS - http://wiki.ros.org/ROS
- Eigen - http://eigen.tuxfamily.org
NOTE: on Ubuntu 16.04 or 18.04, you may instead install Eigen with
sudo apt-get install libeigen3-dev -y
- Get the source:
git clone [email protected]:QiayuanLiao/rm_suspension.git
This is a ros_package,you should put it in your ROS workspace.
-
Download the a demo rm_description package and put it to the workspace too. NOTE: the rm_description package is generated by Solidworks and contains a URDF file that describes the meshes, coordinate system and inertia of robot. But we only use it for visualization!!! You can run without rm_description, the whole computing process will still work correctly.
-
Make in your workspace
catkin_make
source devel/setup.bash
Open a new terminal,then type:
roslaunch rm_suspension run_sim.launch
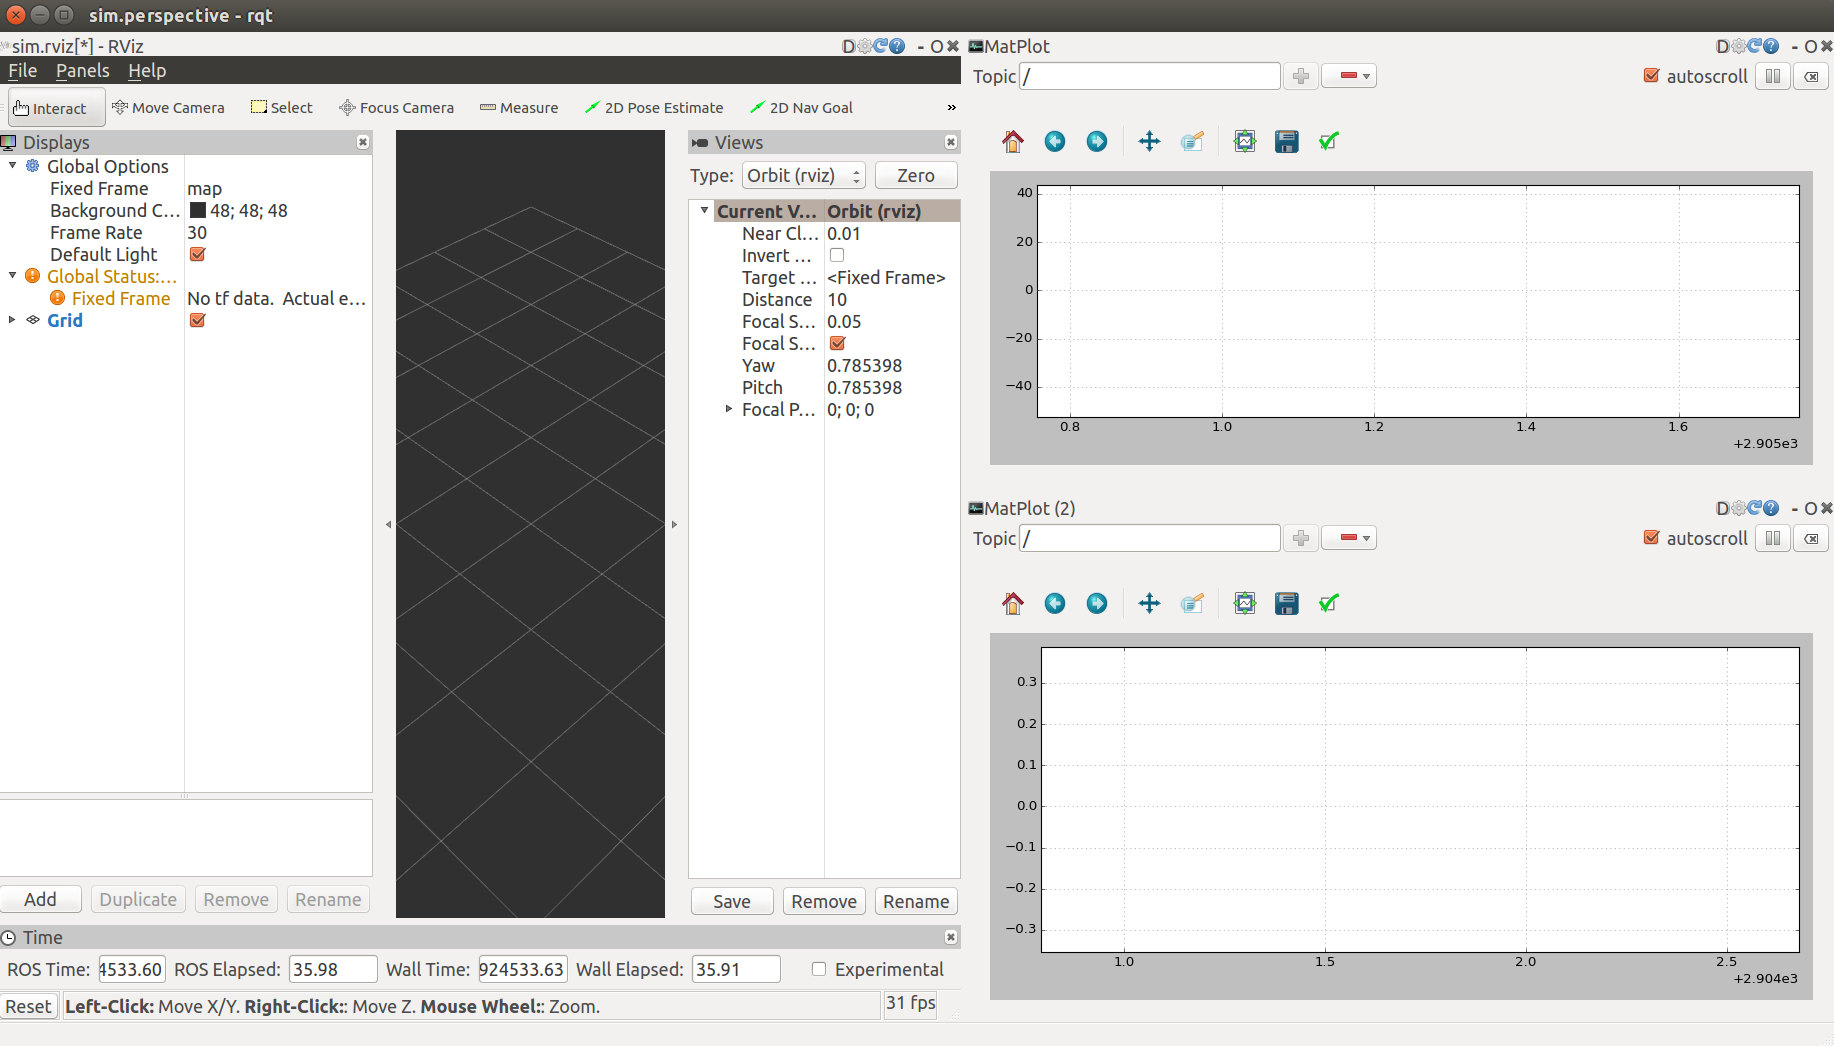
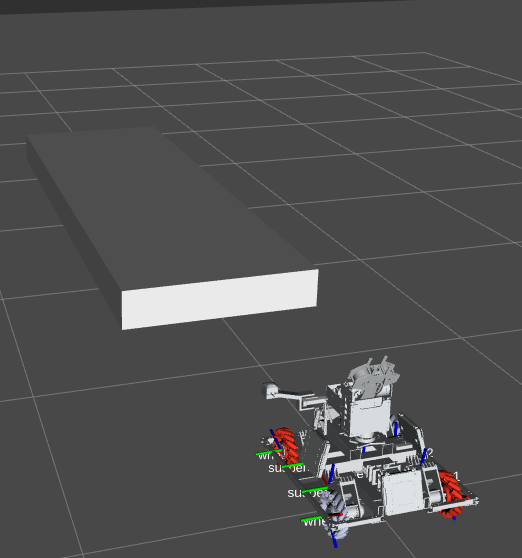
You will get a Rviz interface:
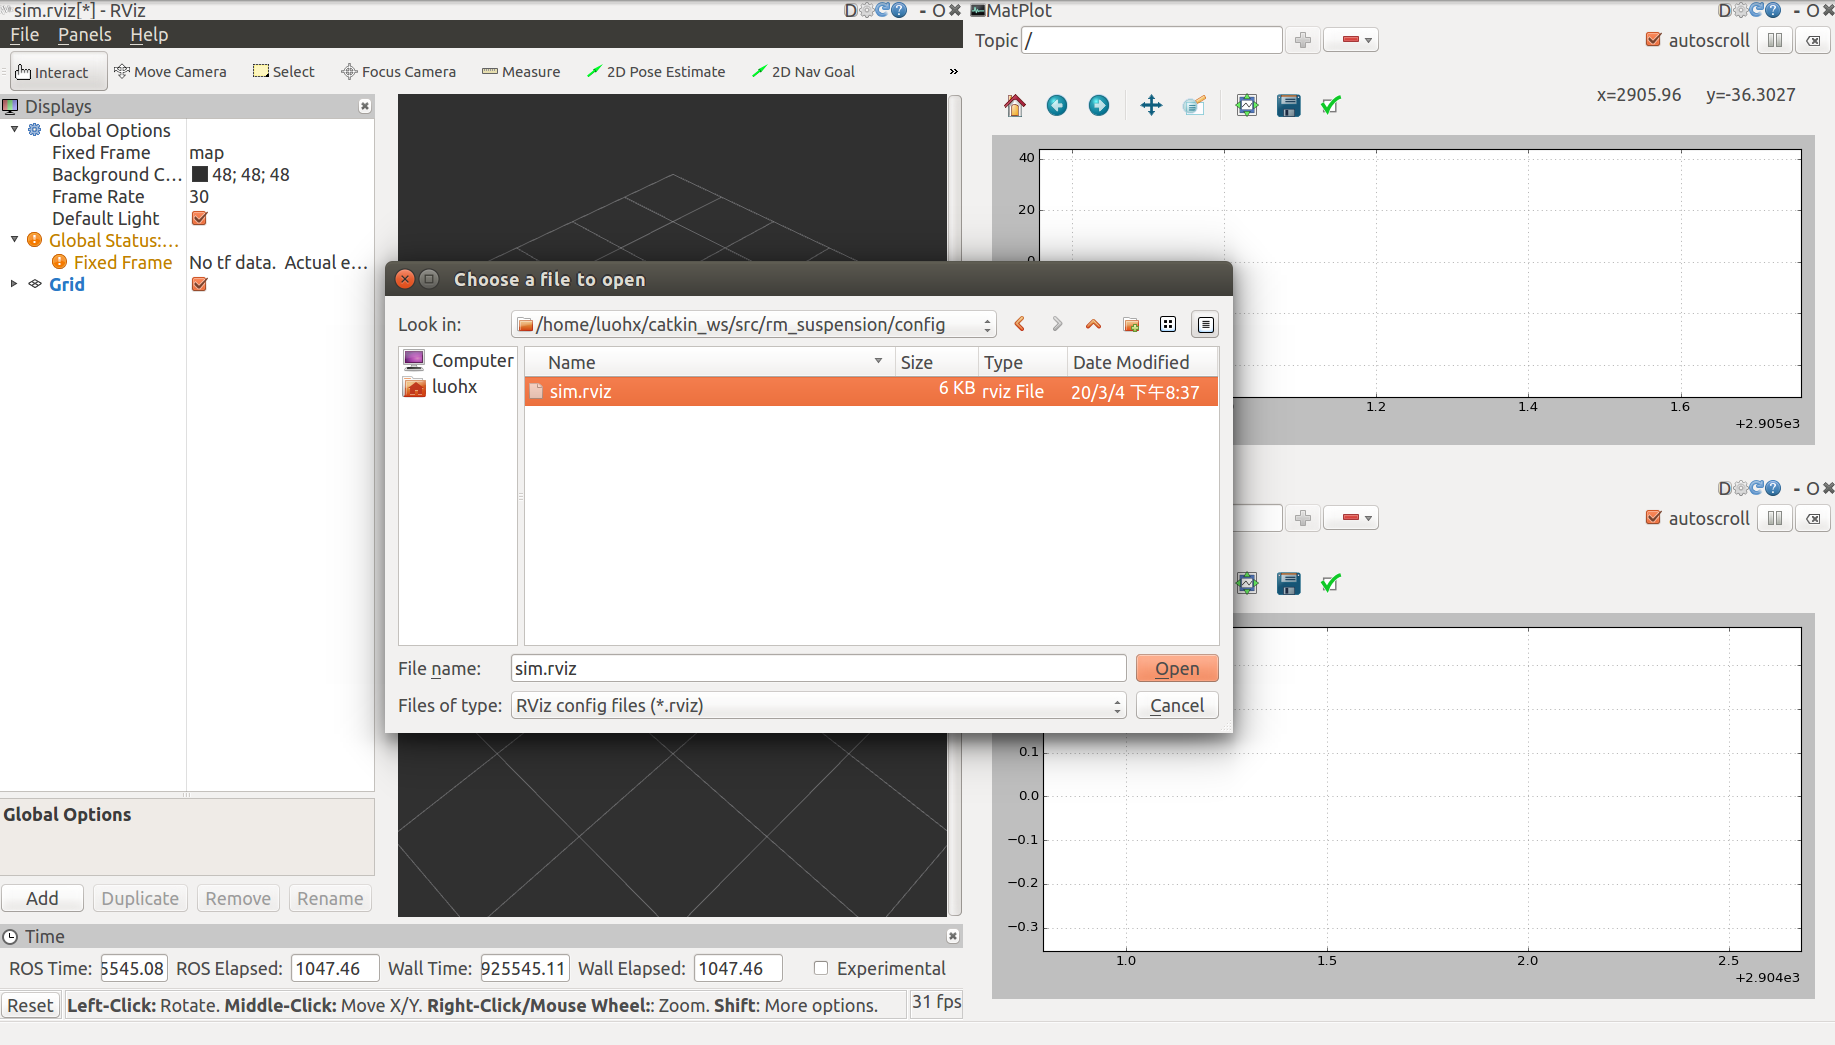
Then,you need to open config by Ctrl+o
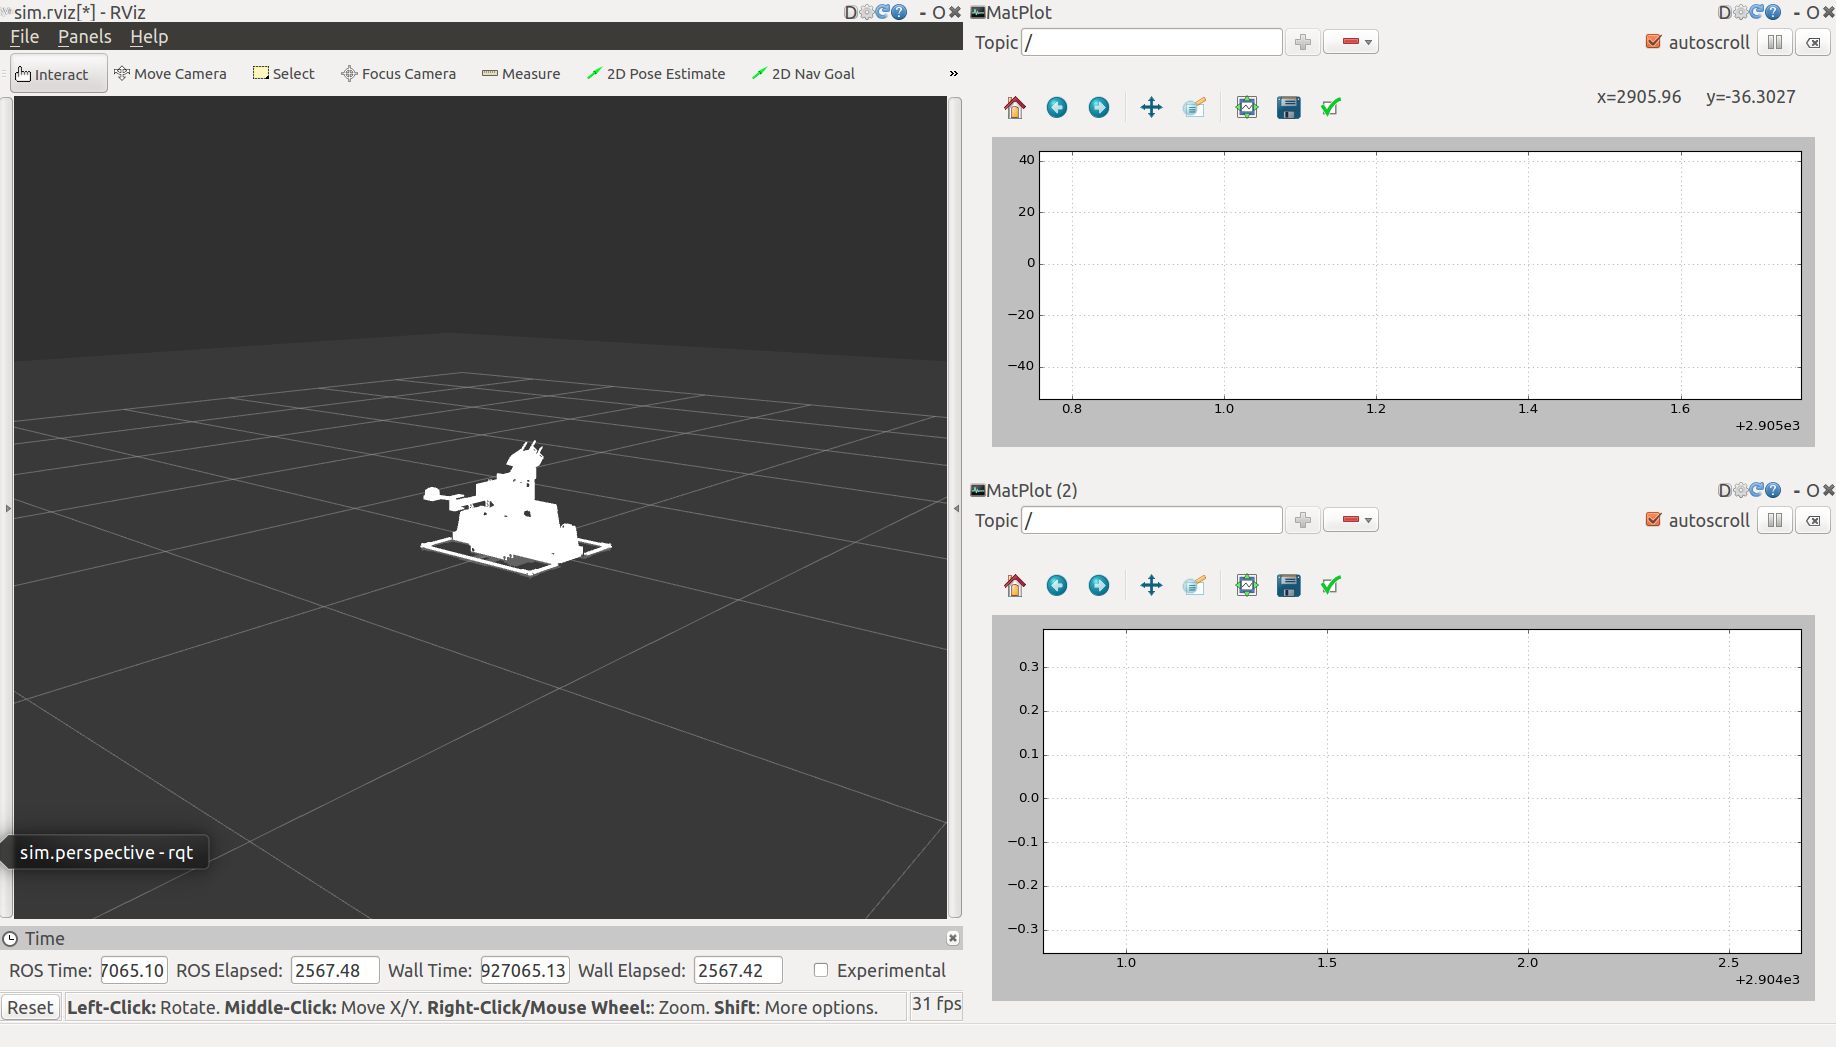
You should select sim.rviz in the rm_suspension/config and import it, then you will see
and the terminal will appear options like these,you can choose different simulation scenes according to the hint.
-
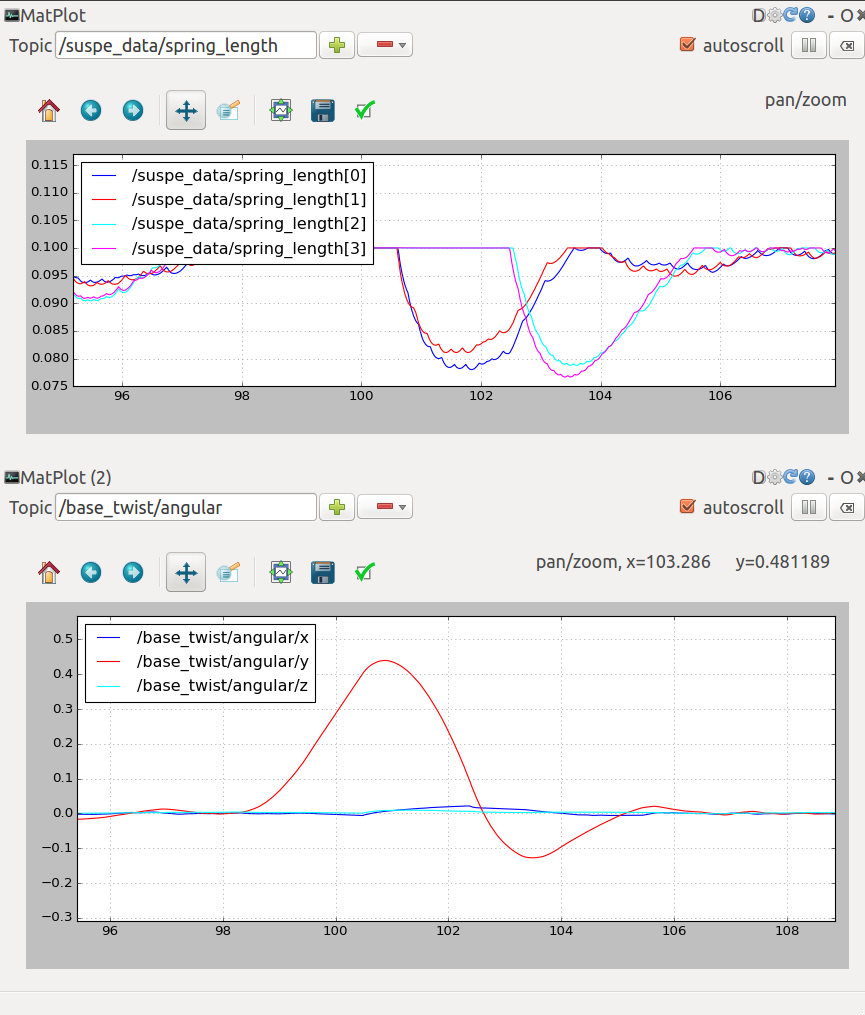
rqt_plot
There are two rqt_plot on the right of the interface, you can choose several variables of the robot and dispaly it in curve form. The two most useful variables are spring_length and the base_twist/angular. For example, you can judge whether the spring stroke is exhausted by observing the curve of the spring_length, base_twist/angular could tell you the pose of the robot. You can scale the curve by holding down the right mouse button in rqt_plot.
-
Rvis
On the left of the interface, you can observe the movement of the robot, which plays a significant role in flying the ramp.
The definition of the coordinate system is shown below.
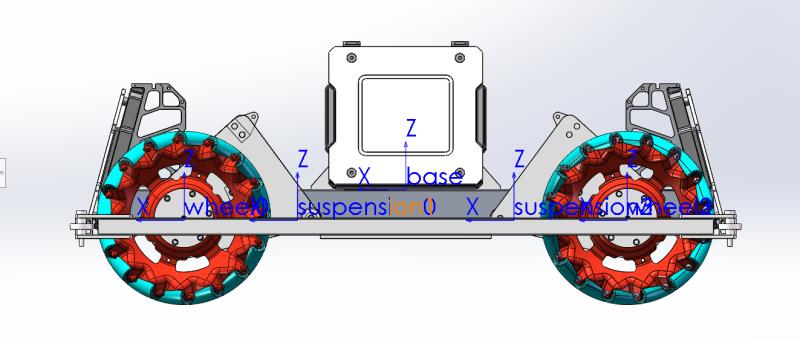
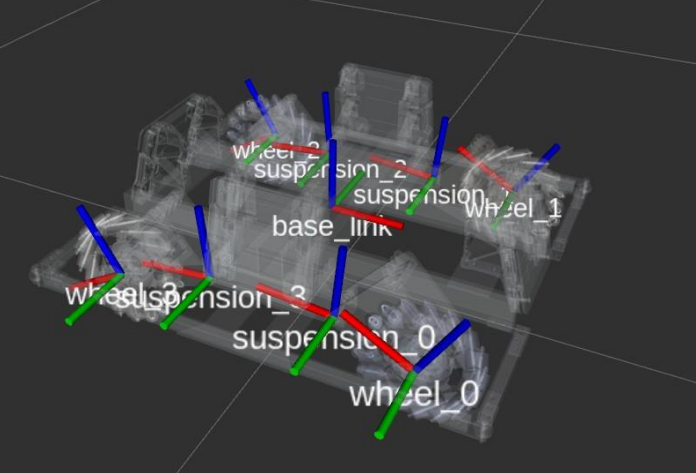
- The forward direction of chassis is along the +X axis.
- The X axis of suspension_* should parallel with the X axis of wheel_* .
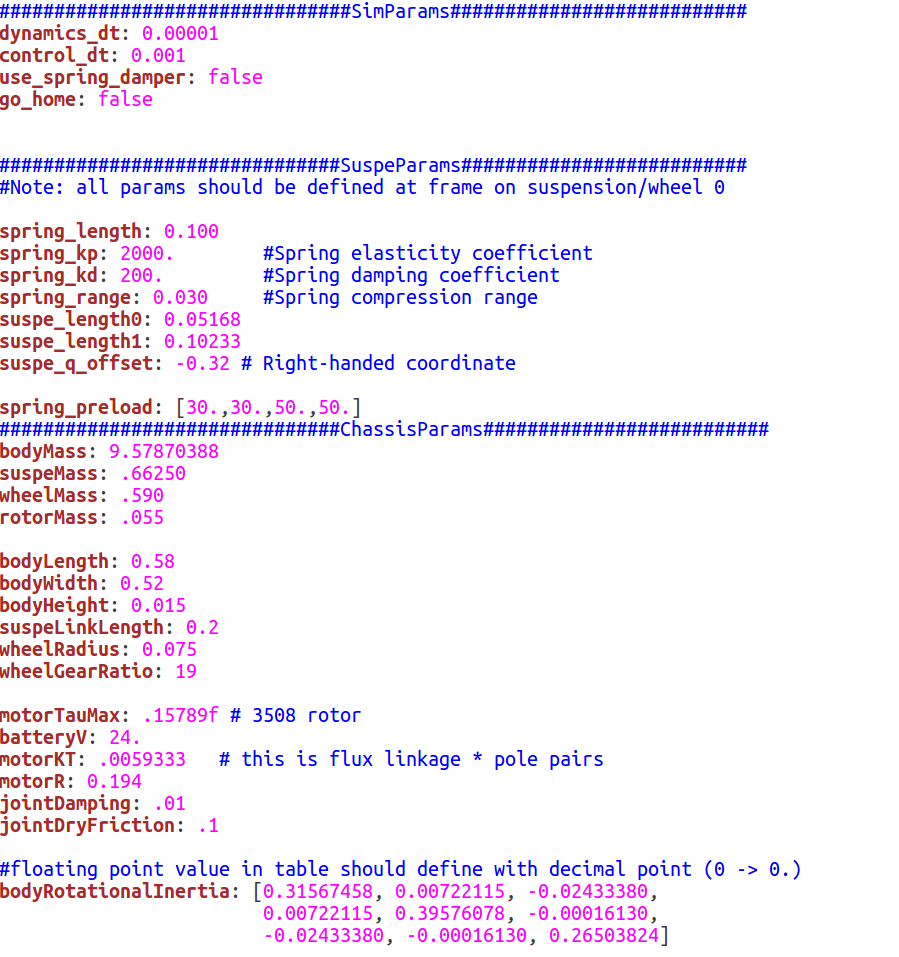
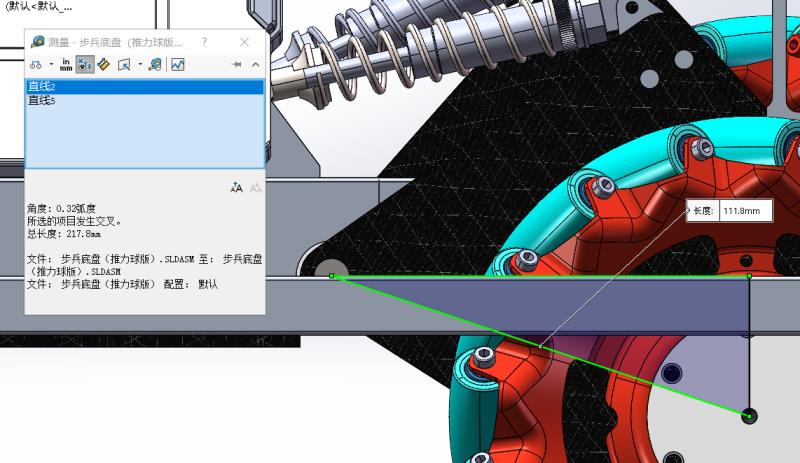
- suspe_q_offset(-0.32rad in the demo) contained by the following parameter file should be set casue by the limit of spring length.
In rm_suspension/config/sim_param.yaml, there are many robot parameters, you can test different effects on robot performance by changing the numerical value.
NOTE:
- all parameters about suspensions or wheels are defined by suspension_0 and wheel_0.
- the Inertia for a rigid body should be computed by Solidworks and is taken about the origin of the frame itself.
- Every time you change a variable of the robot, you should relaunch.
Previously mentioned, the URDF(rm_description) only for visualization. Because I can't find how to output the inertia of the rigid body correctly, and I am too lazy to write a URDF parser. You can use the solidworks plugin to export the URDF file of your robot.
这是一个RoboMaster机器人悬挂设计的刚体动力学仿真器
仿真类型:
- 从0.5米高跌落
- 冲下阶梯
- 飞坡
- 最大速度制动
- 斜穿过坡道
依赖:
- Eigen
- ROS (用于可视化和参数加载)
- ROS - http://wiki.ros.org/ROS
- Eigen - http://eigen.tuxfamily.org
注: 在 Ubuntu 16.04 或 18.04上, 你可以通过以下指令安装Eigen
sudo apt-get install libeigen3-dev -y
-
获取源代码:
git clone [email protected]:QiayuanLiao/rm_suspension.git这是一个ros_package,你需要把它放入你的ROS工作区。
-
下载rm_description 包,并将其放到工作区。 注:rm_description由Solidworks生成,包含描述机器人网格、坐标系和惯性的URDF文件。 但我们只把它用于可视化!!!你可以在没有rm_description的情况下运行程序,整个计算过程仍将正常工作。
-
在你的workspace中执行编译命令
catkin_make
source devel/setup.bash
打开一个新的终端,然后输入:
roslaunch rm_suspension run_sim.launch
你会看到一个Rviz界面:
然后,你需要通过Ctrl+o 打开配置
选择 rm_suspension/config中的sim.rviz 这个文件并确定
此刻终端会出现以下这些选项,你可以根据提示选择不同的模拟场景
- rqt_plot
界面右侧有两个rqt_plot的图框,你在选框中可以选择机器人的多个变量,并且将变量数值以曲线形式显示出来。最为有用的两个变量是spring_length和base_twist/angular。例如,你可以通过观察spring_length的变化曲线来判断弹簧行程是否用尽,通过base_twist/angular曲线来观察机器人的姿态变化。在rqt_plot中按住鼠标右键可以缩放曲线。
- Rvis
在界面左侧,你可以观察到机器人的运动状态,在飞坡的测试过程中起到尤其重要的作用。
- 底盘的前进方向是沿着+X轴。
- 悬架的X轴应与车轮的X轴平行。
- 以下参数文件包含的suspe_q_offset(演示中为-0.32rad)应根据弹簧长度的限制进行设置。
在rm_suspension/config/sim_param.yaml中,罗列了机器人的参数,你可以通过改变参数数值来测试其对机器人性能的不同影响。
注:
- 悬架或车轮的所有参数都由suspension_0和wheel_0定义。
- 刚体的惯性通过Solidworks计算,并取框架本身的原点。
- 每次更改机器人的变量时,都应该重新启动启动文件。
前面提到过,URDF(rm_description)仅用于可视化。 因为我找不到如何正确输出刚体的惯性,而且我懒得编写URDF解析器,你可以使用 solidworks plugin 导出你的机器人的urdf文件。
