Setting up TLS SSL certificates Let's Encrypt for ERPNext sites
$ sudo git clone https://github.com/letsencrypt/letsencrypt /opt/letsencrypt
$ sudo service nginx stop
$ cd /opt/letsencrypt

$ ./letsencrypt-auto certonly --standalone
After letsencrypt initializes, you will be prompted for some information. This exact prompts may vary depending on if you've used Let's Encrypt before, but we'll step you through the first time.
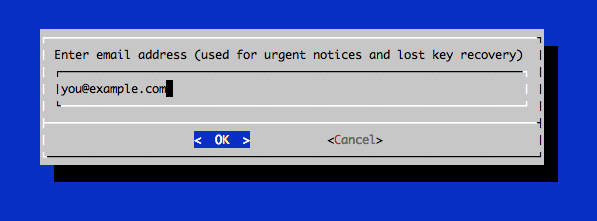
At the prompt, enter an email address that will be used for notices and lost key recovery:
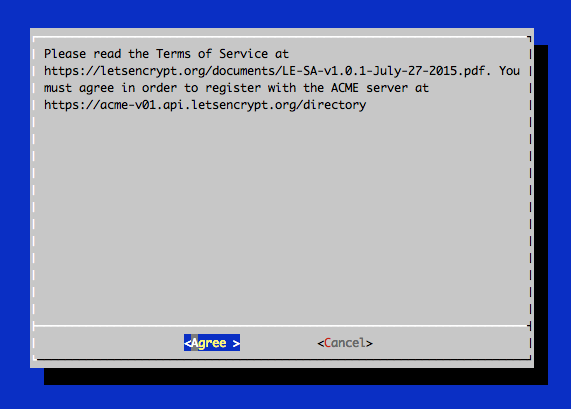
Then you must agree to the Let's Encrypt Subscribe Agreement. Select Agree:
Then enter your domain name(s). Note that if you want a single cert to work with multiple domain names (e.g. example.com and www.example.com), be sure to include all of them:

After obtaining the cert, you will have the following PEM-encoded files:
- cert.pem: Your domain's certificate
- chain.pem: The Let's Encrypt chain certificate
- fullchain.pem: cert.pem and chain.pem combined
- privkey.pem: Your certificate's private key
These certificates are stored under /etc/letsencrypt/live/example.com folder
Go to your erpnext sites site_config.json
$ cd frappe-bench/sites/{{site_name}}
Add the following two lines to your site_config.json
"ssl_certificate": "/etc/letsencrypt/live/example.com/fullchain.pem" ,
"ssl_certificate_key": "/etc/letsencrypt/live/example.com/privkey.pem"
Regenerate the nginx configuration
$ bench setup nginx
Restart the nginx server
$ sudo service nginx restart