The exercises mostly are just about the frontend, here I copied the backend from part 4 just for testing purposes and more ease to use to run it concurrently
## 5.1: bloglist frontend, step1
Clone the application from Github with the command:
git clone <https://github.com/fullstack-hy/bloglist-frontend>
remove the git configuration of the cloned application
cd bloglist-frontend   // go to cloned repository
rm -rf .git
The application is started the usual way, but you have to install its dependencies first:
npm install
npm start
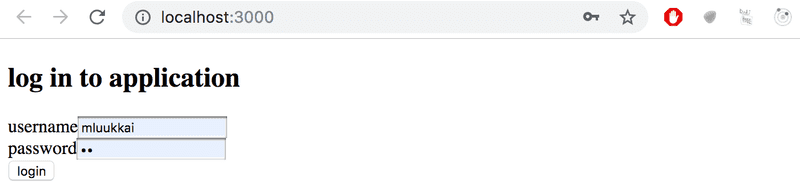
Implement login functionality to the frontend. The token returned with a successful login is saved to the application's state user.
If a user is not logged-in, only the login form is visible.
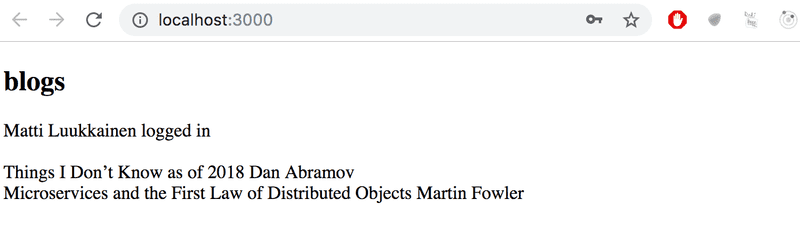
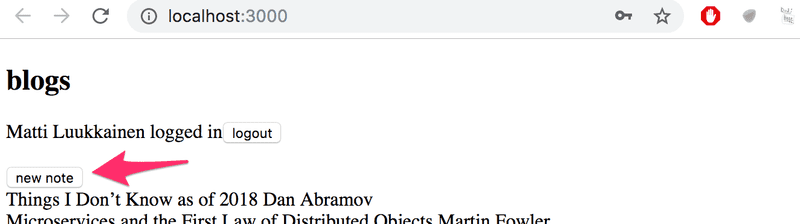
If user is logged-in, the name of the user and a list of blogs is shown.
User details of the logged-in user do not have to be saved to the local storage yet.
NB You can implement the conditional rendering of the login form like this for example:
  if (user === null) {
    return (
      <div>
        <h2>Log in to application</h2>
        <form>
          //...
        </form>
      </div>
    )
  }

  return (
    <div>
      <h2>blogs</h2>
      {blogs.map(blog =>
        <Blog key={blog.id} blog={blog} />
      )}
    </div>
  )
}Make the login 'permanent' by using the local storage. Also implement a way to log out.
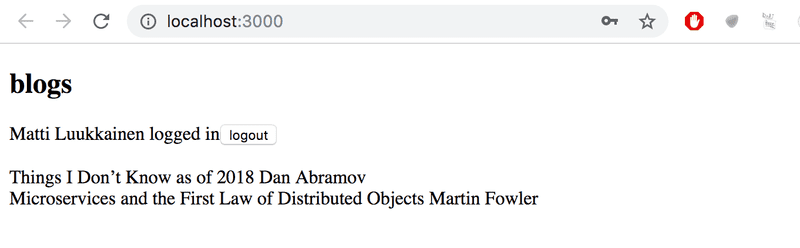
Ensure the browser does not remember the details of the user after logging out.
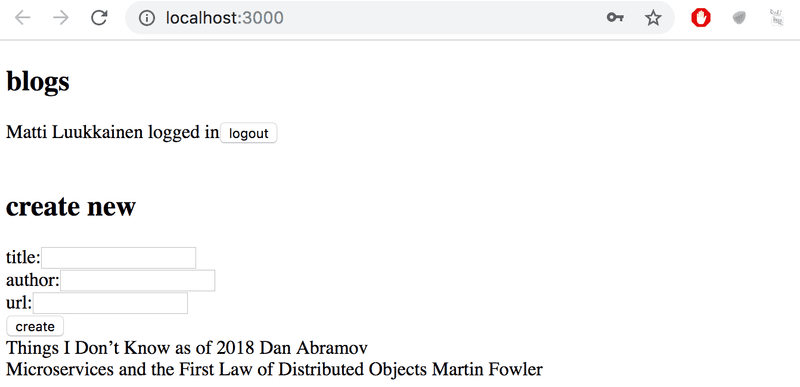
Expand your application to allow a logged-in user to add new blogs:
Implement notifications which inform the user about successful and unsuccessful operations at the top of the page. For example, when a new blog is added, the following notification can be shown:

Failed login can show the following notification:
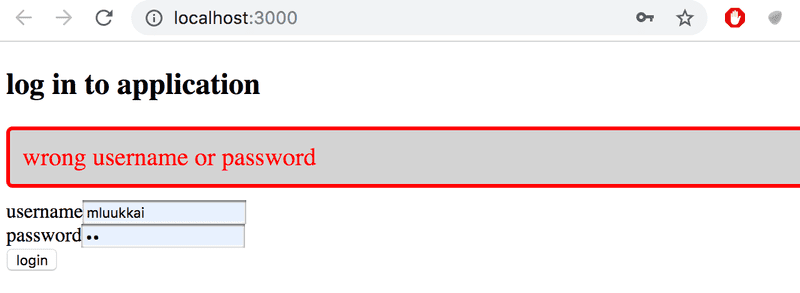
The notifications must be visible for a few seconds. It is not compulsory to add colors.
Change the form for creating blog posts so that it is only displayed when appropriate. Use functionality similar to what was shown earlier in this part of the course material. If you wish to do so, you can use the Togglable component defined in part 5.
By default the form is not visible
It expands when button create new blog is clicked
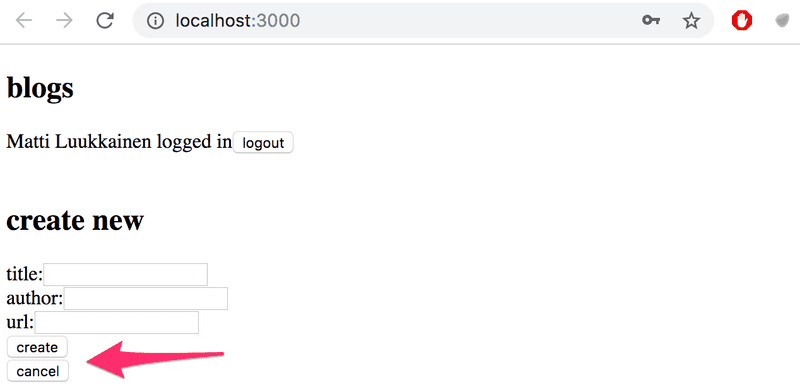
The form closes when a new blog is created.
Separate the form for creating a new blog into its own component (if you have not already done so), and move all the states required for creating a new blog to this component.
The component must work like the NoteForm component from the material of this part.
Let's add a button to each blog, which controls whether all of the details about the blog are shown or not.
Full details of the blog open when the button is clicked.
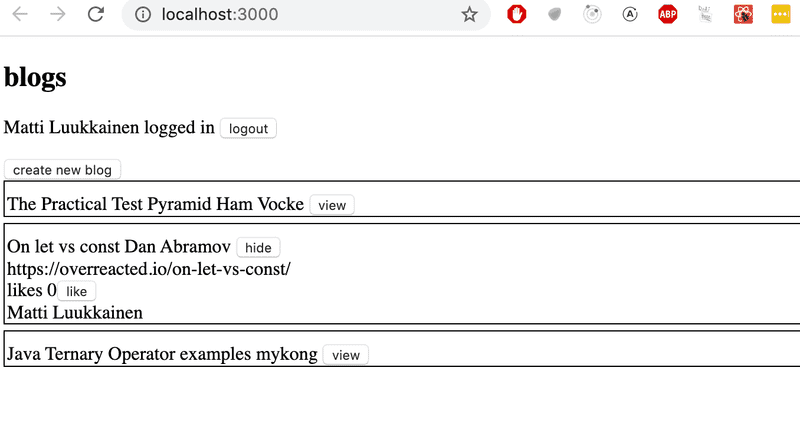
And the details are hidden when the button is clicked again.
At this point the like button does not need to do anything.
The application shown in the picture has a bit of additional CSS to improve its appearance.
It is easy to add styles to the application as shown in part 2 using inline styles:
const Blog = ({ blog }) => {
  const blogStyle = {
    paddingTop: 10,
    paddingLeft: 2,
    border: 'solid',
    borderWidth: 1,
    marginBottom: 5
  }

  return (
    <div style={blogStyle}>
      <div>
        {blog.title} {blog.author}
      </div>
      // ...
  </div>
)}
NB: even though the functionality implemented in this part is almost identical to the functionality provided by the Togglable component, the component can not be used directly to achieve the desired behavior. The easiest solution will be to add state to the blog post that controls the displayed form of the blog post.
Implement the functionality for the like button. Likes are increased by making an HTTP PUT request to the unique address of the blog post in the backend.
Since the backend operation replaces the entire blog post, you will have to send all of its fields in the request body. If you wanted to add a like to the following blog post:
{
  _id: "5a43fde2cbd20b12a2c34e91",
  user: {
    _id: "5a43e6b6c37f3d065eaaa581",
    username: "mluukkai",
    name: "Matti Luukkainen"
  },
  likes: 0,
  author: "Joel Spolsky",
  title: "The Joel Test: 12 Steps to Better Code",
  url: "https://www.joelonsoftware.com/2000/08/09/the-joel-test-12-steps-to-better-code/"
},
You would have to make an HTTP PUT request to the address /api/blogs/5a43fde2cbd20b12a2c34e91 with the following request data:
{
  user: "5a43e6b6c37f3d065eaaa581",
  likes: 1,
  author: "Joel Spolsky",
  title: "The Joel Test: 12 Steps to Better Code",
  url: "https://www.joelonsoftware.com/2000/08/09/the-joel-test-12-steps-to-better-code/"
}
One last warning: if you notice that you are using async/await and the then-method in the same code, it is almost certain that you are doing something wrong. Stick to using one or the other, and never use both at the same time "just in case".
Modify the application to list the blog posts by the number of likes. Sorting the blog posts can be done with the array sort method.
Add a new button for deleting blog posts. Also implement the logic for deleting blog posts in the frontend.
Your application could look something like this:

The confirmation dialog for deleting a blog post is easy to implement with the window.confirm function.
Show the button for deleting a blog post only if the blog post was added by the user.
Define PropTypes for one of the components of your application.
Add ESlint to the project. Define the configuration according to your liking. Fix all of the linter errors.
Create-react-app has installed ESlint to the project by default, so all that's left for you to do is to define your desired configuration in the .eslintrc.js file.
NB: do not run the eslint --init command. It will install the latest version of ESlint that is not compatible with the
Make a test which checks that the component displaying a blog renders the blog's title and author, but does not render its url or number of likes by default.
Add CSS-classes to the component to help the testing as necessary.
Make a test which checks that the blog's url and number of likes are shown when the button controlling the shown details has been clicked.
Make a test which ensures that if the like button is clicked twice, the event handler the component received as props is called twice.
Make a test for the new blog form. The test should check, that the form calls the event handler it received as props with the right details when a new blog is created.
In the last exercises of this part we will do some E2E tests for our blog application. The material of this part should be enough to complete the exercises. You should absolutely also check out the Cypress documentation. It is probably the best documentation I have ever seen for an open source project.
I especially recommend reading Introduction to Cypress, which states
This is the single most important guide for understanding how to test with Cypress. Read it. Understand it.
Configure Cypress to your project. Make a test for checking that the application displays the login form by default.
The structure of the test must be as follows:
describe('Blog app', function() {
  beforeEach(function() {
    cy.request('POST', 'http://localhost:3003/api/testing/reset')
    cy.visit('http://localhost:3000')
  })

  it('Login form is shown', function() {
    // ...
  })
})
The beforeEach formatting blog must empty the database using for example the method we used in the material.
Make tests for logging in. Test both successful and unsuccessful login attempts. Make a new user in the beforeEach block for the tests.
The test structure extends like so:
describe('Blog app', function() {
  beforeEach(function() {
    cy.request('POST', 'http://localhost:3003/api/testing/reset')
    // create here a user to backend
    cy.visit('http://localhost:3000')
  })

  it('Login form is shown', function() {
    // ...
  })

  describe('Login',function() {
    it('succeeds with correct credentials', function() {
      // ...
    })

    it('fails with wrong credentials', function() {
      // ...
    })
  })
})
Optional bonus exercise: Check that the notification shown with unsuccessful login is displayed red.
Make a test which checks that a logged-in user can create a new blog. The structure of the test could be as follows:
describe('Blog app', function() {
  // ...

  describe('When logged in', function() {
    beforeEach(function() {
      // log in user here
    })

    it('A blog can be created', function() {
      // ...
    })
  })

})
The test has to ensure that a new blog is added to the list of all blogs.
Make a test which checks that users can like a blog.
Make a test for ensuring that the user who created a blog can delete it.
Optional bonus exercise: also check that other users cannot delete the blog.
Make a test which checks that the blogs are ordered according to likes with the blog with the most likes being first.
This exercise is quite a bit trickier than the previous ones. One solution is to find all of the blogs and then compare them in the callback function of a then command.
If you use a map on a selection from cypress, mind that it uses a jQuery map. This means that the arguments of the callback function are swapped from an ordinary JavaScript map (i.e. you use (i, el) => {...} instead of (el, i) => {...}).
Note that you might end up having problems if you click a like button many times in row. It might be that cypress does the clicking so fast that it does not have time to update the app state in between the clicks. One remedy for this is to wait for the number of likes to update in between all clicks.
This was the last exercise of this part, and it's time to push your code to github and mark the exercises you completed in the exercise submission system.