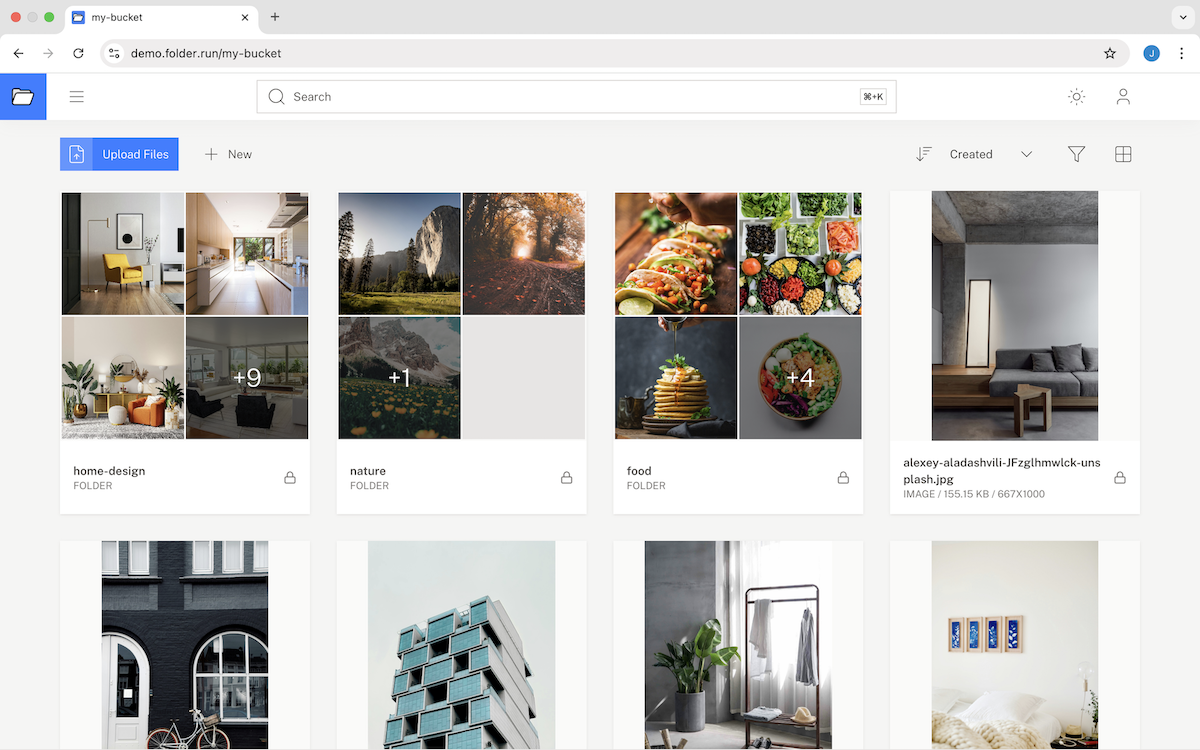
An open-source, serverless Digital Asset Management (DAM) software that helps you store, organize, and share files and folders. With Folder, you can securely share files, manage permissions, and even publish folders as a static website.


- Alternative to Google Drive: Store files, manage assets, and serve them via CDN.
- Built for AI & Modern Workflows: Direct file access for AI training or querying.
- Developer-Friendly: Deploy on Cloudflare with serverless architecture.
- Frontend: Nuxt, TailwindCSS, Nuxt UI
- Backend: Nitro
- Database: Cloudflare D1
- Storage: Cloudflare R2
- Authentication: OAuth (Google, GitHub)
- Server: Cloudflare Workers
- Deployment: Cloudflare Wrangler
- Intuitive file and folder management
- Files and Folder uploads
- Secure file sharing with customizable permissions
- Public/Private visibility settings
- Public folder as website
- File previews for common formats
- Search functionality
- Responsive design for mobile and desktop
- Dark mode
- Authentication with Google and Github
- Custom domain support
- Serverless architecture
- Cloudflare Account (for R2, D1 and Hosting)
- GitHub/Google Cloud Account (for OAuth authentication)
- Domain name (optional, for custom domains)
-
Create Cloudflare resources
- Set up D1 Database
- Create an R2 Bucket
-
Set up OAuth
- Create an OAuth App in GitHub Developer Settings (or Google Cloud Console)
- Obtain Client ID & Secret
-
Clone the repository
git clone https://github.com/bansal/folder.git cd folder -
Install dependencies:
npm install -
Configure Cloudflare credentials
- Rename
wrapper.example.toml→wrapper.toml - Update
wrapper.tomlthe configuration with your Cloudflare API key, R2 bucket name, and D1 DB name
- Rename
-
Deploy to Cloudflare Workers:
npm run deploy
- Configure your environment variables in a
.envfile - Install dependencies:
npm install - Start the development server:
npm run dev - Visit http://localhost:3000 in your browser
Contributions are welcome! Please feel free to submit a Pull Request.
- Fork the repository
- Create your feature branch:
git checkout -b feature/amazing-feature - Commit your changes:
git commit -m 'Add some amazing feature' - Push to the branch:
git push origin feature/amazing-feature - Open a Pull Request
This project is still in development. Use at your own risk. See DISCLAIMER for details.
Read LICENSE