Makers that are well prepared get the most out of their experience. Before you attend your Make Day, there are a couple of activities to complete. Please walk through the steps below and make sure to have a working system before the actual Make session starts. It should only take about 15 minutes!
Download and install the Arduino IDE. Alternatively you can use Micropython or Eclipse
For advanced users, you can use arduino-cli, you can set it up following these instructions.
For interested users, you can also use micropython, you can set it up following these instructions.
We will begin by installing the ESP8266 (that thingy in your box with the micro-USB port) support for the Arduino IDE:
- Open the Arduino IDE
- Go to Files (for Windows) or Arduino (for Mac) > Preferences
- Copy this: http://arduino.esp8266.com/stable/package_esp8266com_index.json
- Paste it in the 'Additional Boards Managers URLs' field
- Click OK and close the preferences window
- Go to Tools > Board > Boards Manager...
- Navigate to esp8266 by esp8266 community and install the software for Arduino.
Now it's time to plug the ESP8266 board into your computer, and see how to blink an LED (the Hello World in the electronics):
- Remove the ESP8266 from it's packet.
- Navigate to Tools > ESP8266 Boards (2.7.4) > NodeMCU 1.0 (ESP-12E Module)
- Select the right USB port from Tools > Port
- If Port is not available in Win10 (https://sparks.gogo.co.nz/ch340.html) or any other errors, check Troubleshooting
- Clone (or download, or simply copy-paste to your Arduino IDE window) the BlinkESP code and run it in Arduino IDE by clicking 'Upload'.
- After compiling and uploading, the LED on your ESP8266 board should start flashing. You did it!
Troubleshooting:
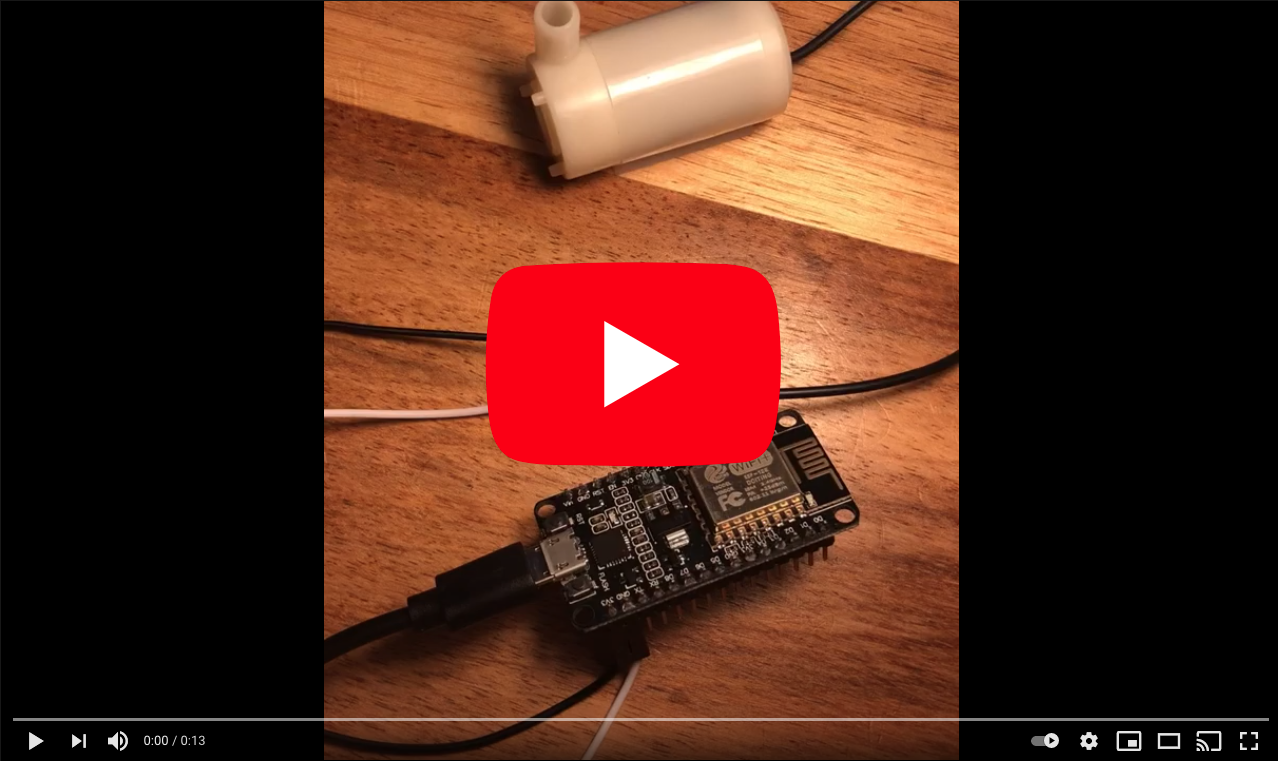
- Strip the red and black wires of the pump.
- Plug the ESP8266 into your laptop or a cellphone charge using the MicroUSB cable.
- From your water pump press the red wire onto the 3V3 pin and black to GND pin or hook them up using the dupont wires.
- You should hear the motor of the pump spinning.
Alternatively
- Use a 3V battery and press the wires directly onto it.
Troubleshooting:
Please help us spread the word about Make events so that we can grow the community and keep helping devs learn new tech 🚀 💦 🌱.
- Use the phrase
#OfferZenSwag with @offerzen. - Share a photo or story on: Twitter, LinkedIn, Instagram or Facebook
See you online soon <3
Here's a fabulous example from @hendrikdelarey

Read through the Plant Tech readme including project extensions, community contributions and useful resources to get an idea for where you want to take your self-watering plant project on the evening of the event.
Please edit or add to the docs as you go!